Step-by-Step Installation Guide for Tier-on-Tier Shutters
Step-by-Step Installation Guide for Tier-on-Tier Shutters
Welcome to our comprehensive step-by-step installation guide for tier-on-tier shutters. At North London Shutters and Blinds, we know that correctly installing your tier-on-tier shutters can transform your living space, offering a blend of style and functionality. Our experienced team is dedicated to ensuring that each client receives personalized service, leading to a flawless installation process.
Understanding Tier-on-Tier Shutters
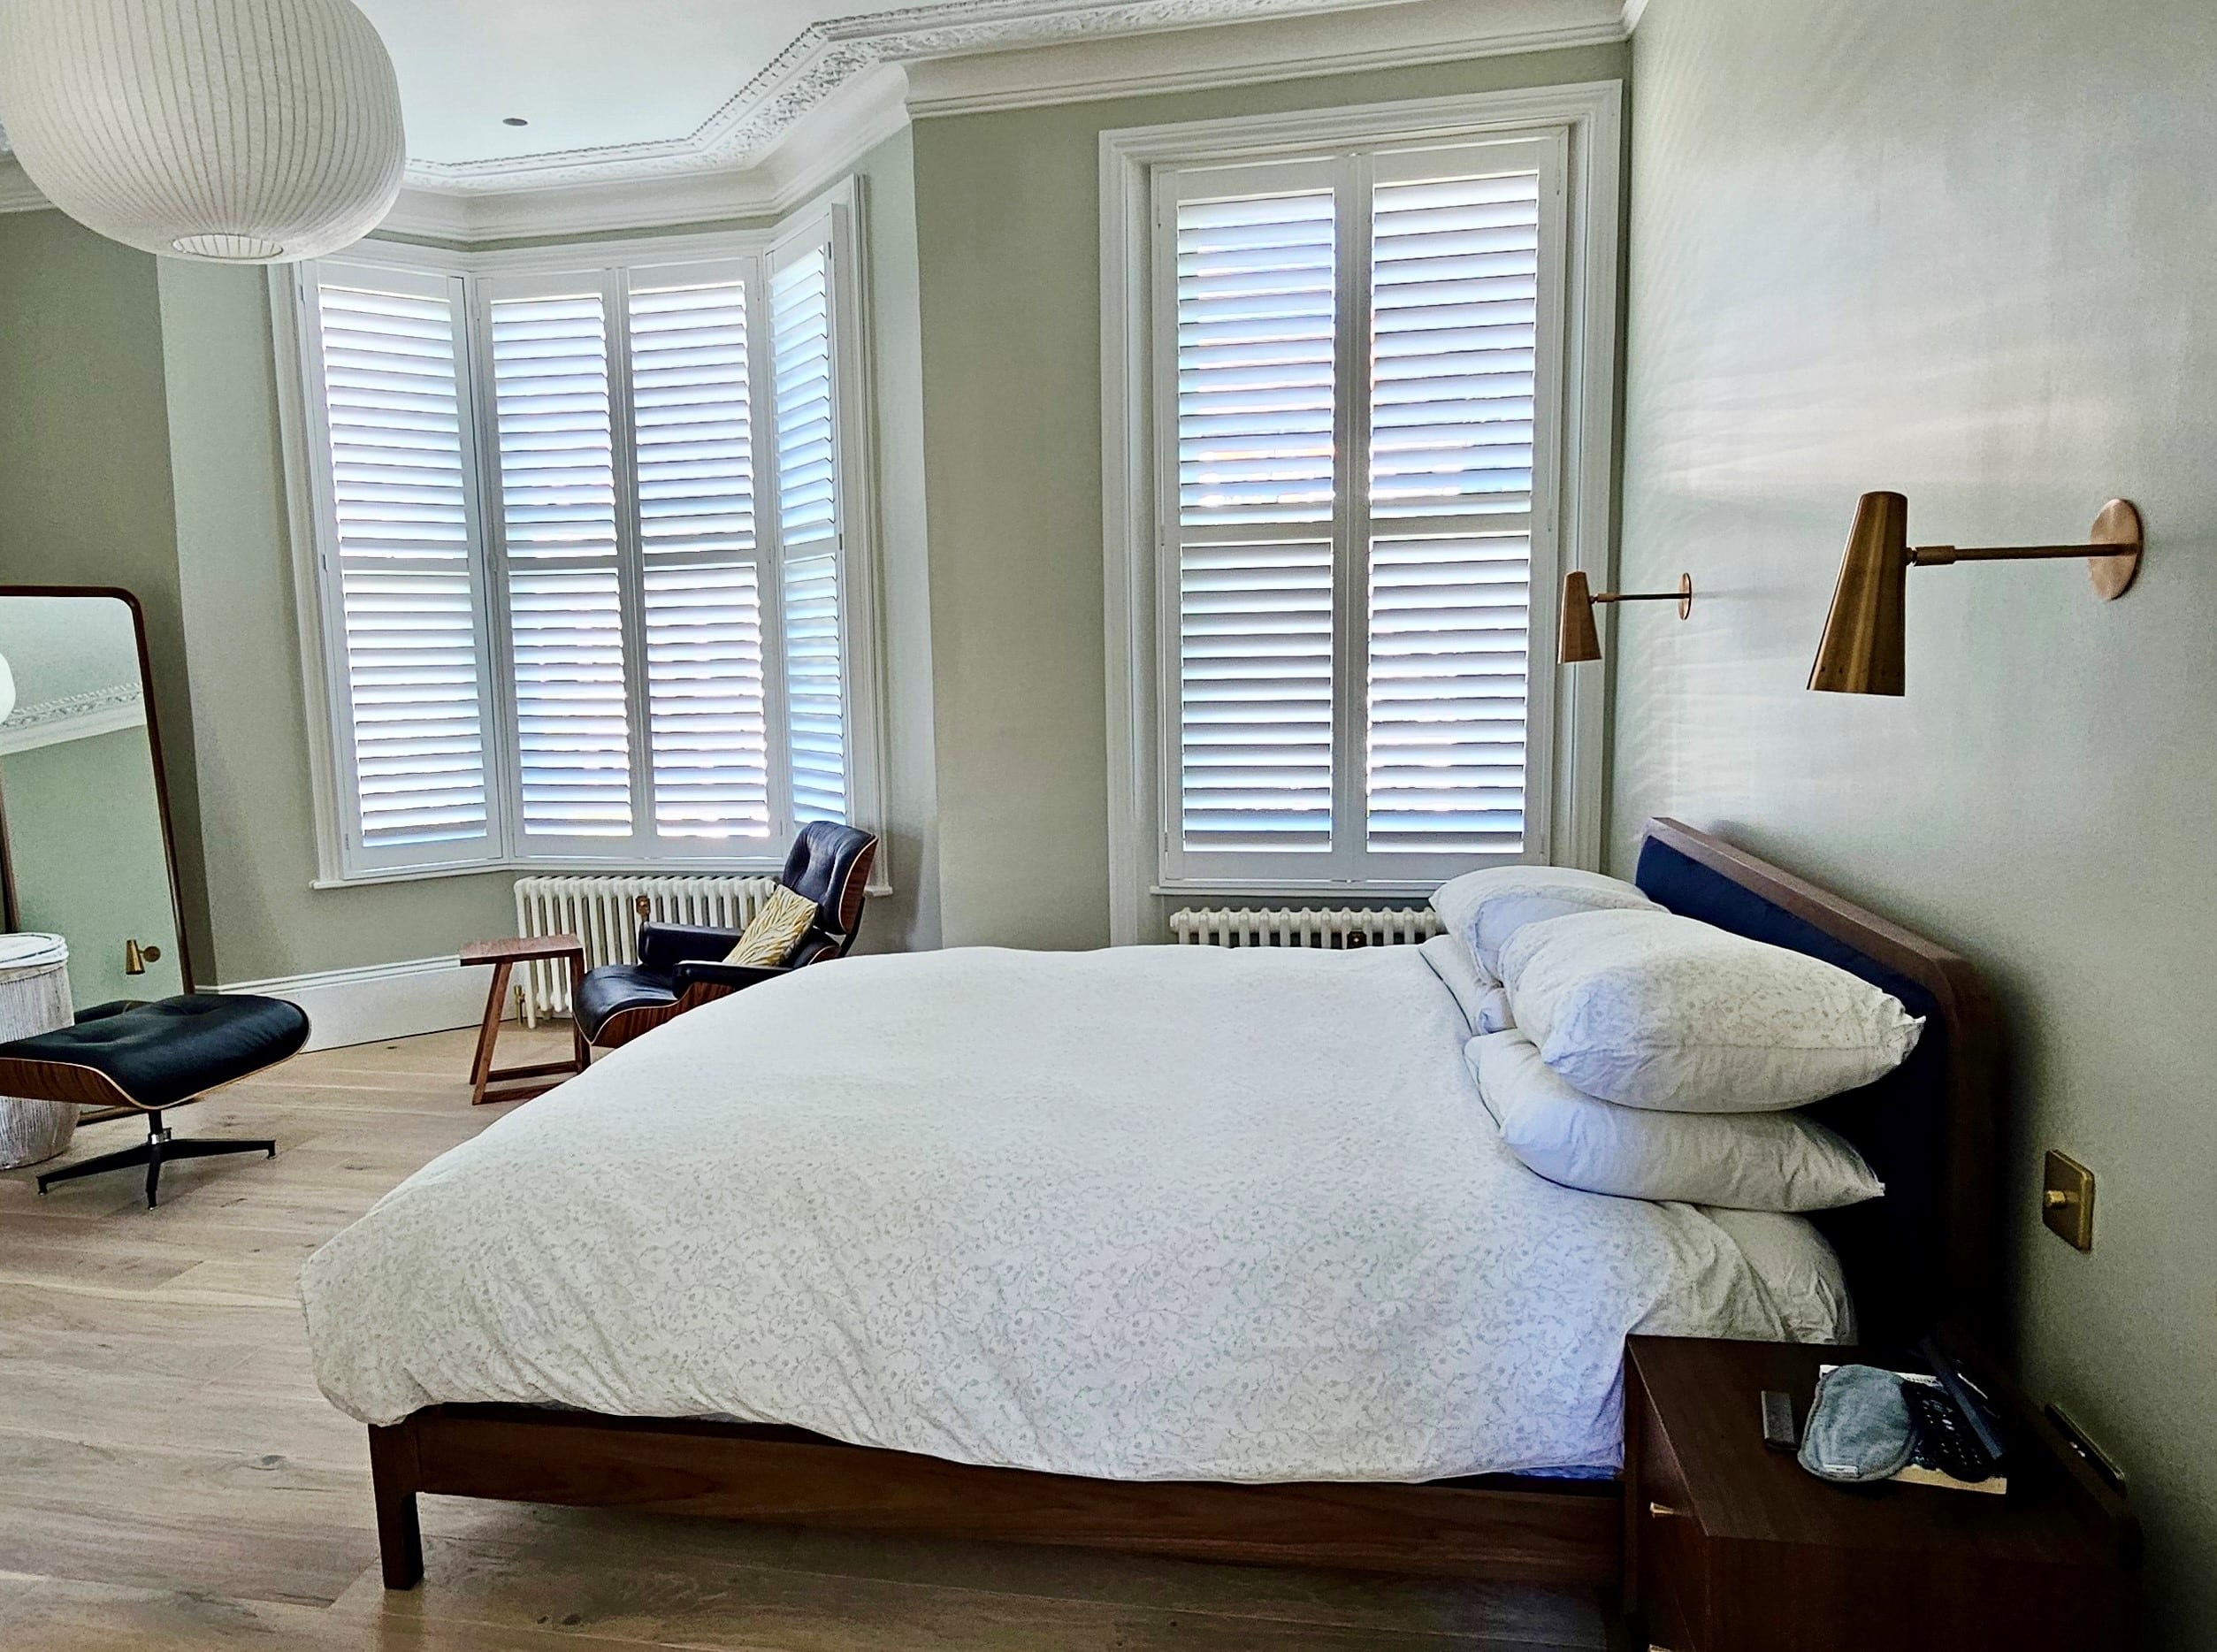
Before diving into the installation process, it’s essential to understand what tier-on-tier shutters are. These unique window treatments feature two separate panels, allowing you to open the top and bottom independently. This feature grants unparalleled control over light and privacy, making them an ideal choice for living rooms, bedrooms, and any space where you need flexibility. For more options, you might also explore our range of white wood plantation shutters.
Advantages of Tier-on-Tier Shutters
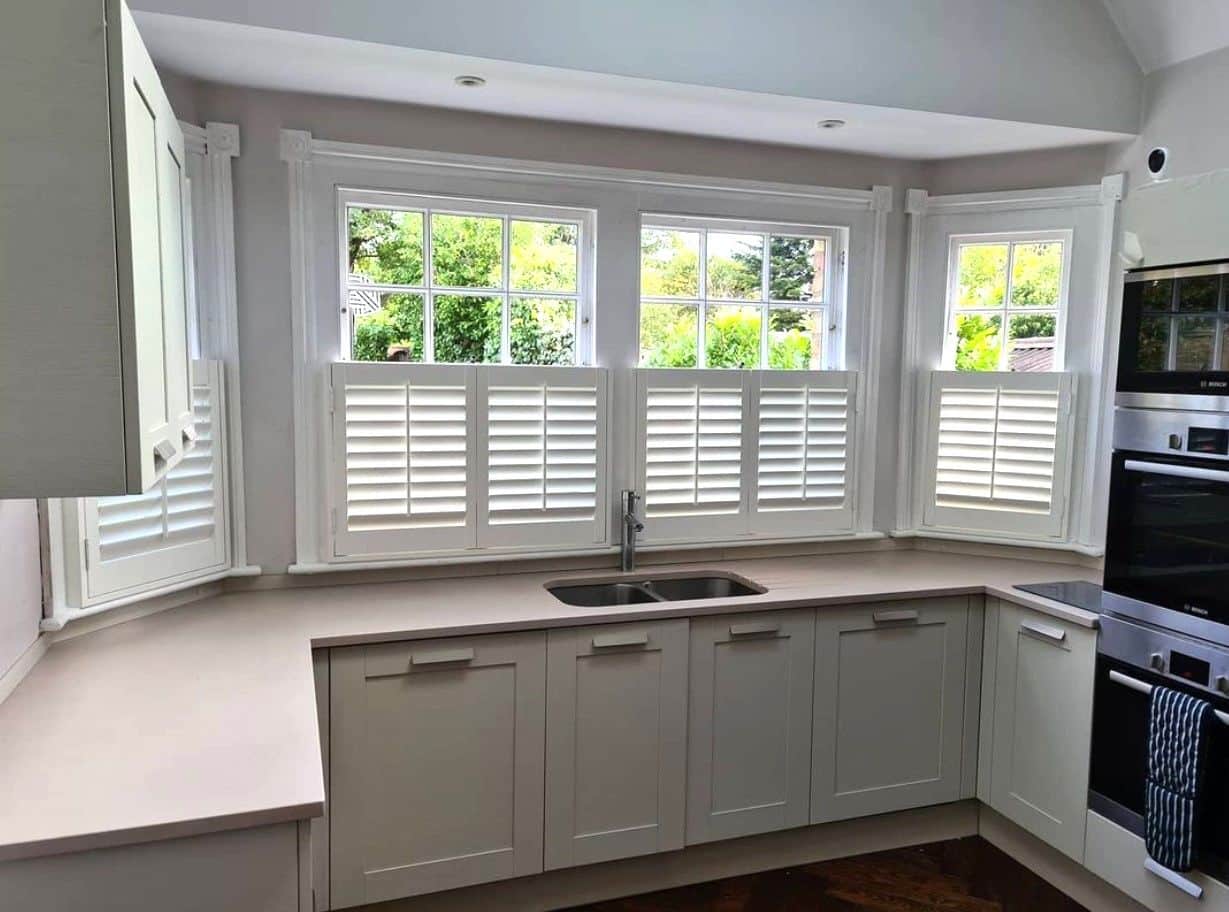
- Enhanced Light Control: Adjust the top and bottom panels to let in light while maintaining privacy.
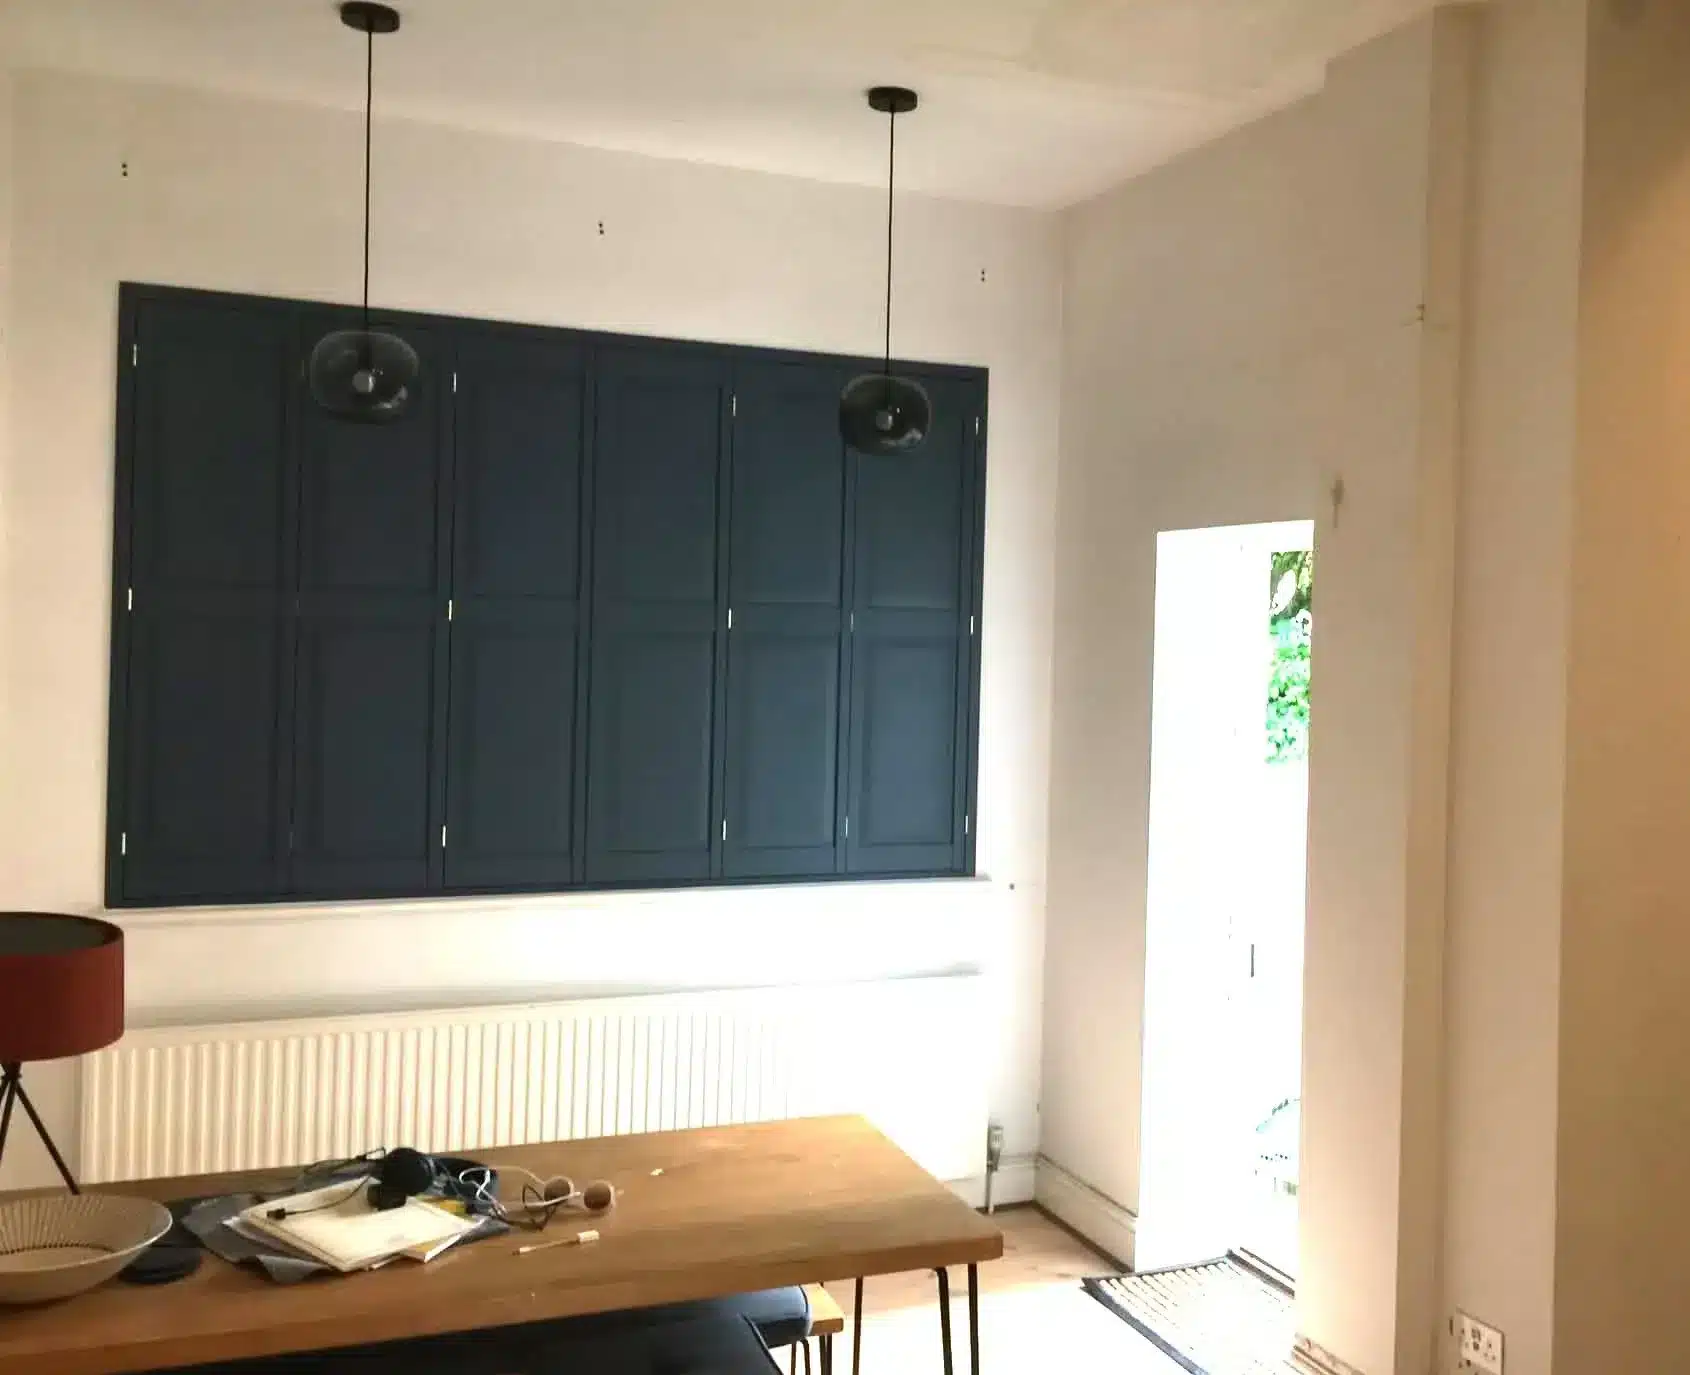
- Unique Aesthetic Appeal: Add visual interest to your interiors with customizable designs.
- Increased Energy Efficiency: Help regulate temperatures in your rooms. For more information on energy efficiency and savings, visit the Energy Saving Trust.
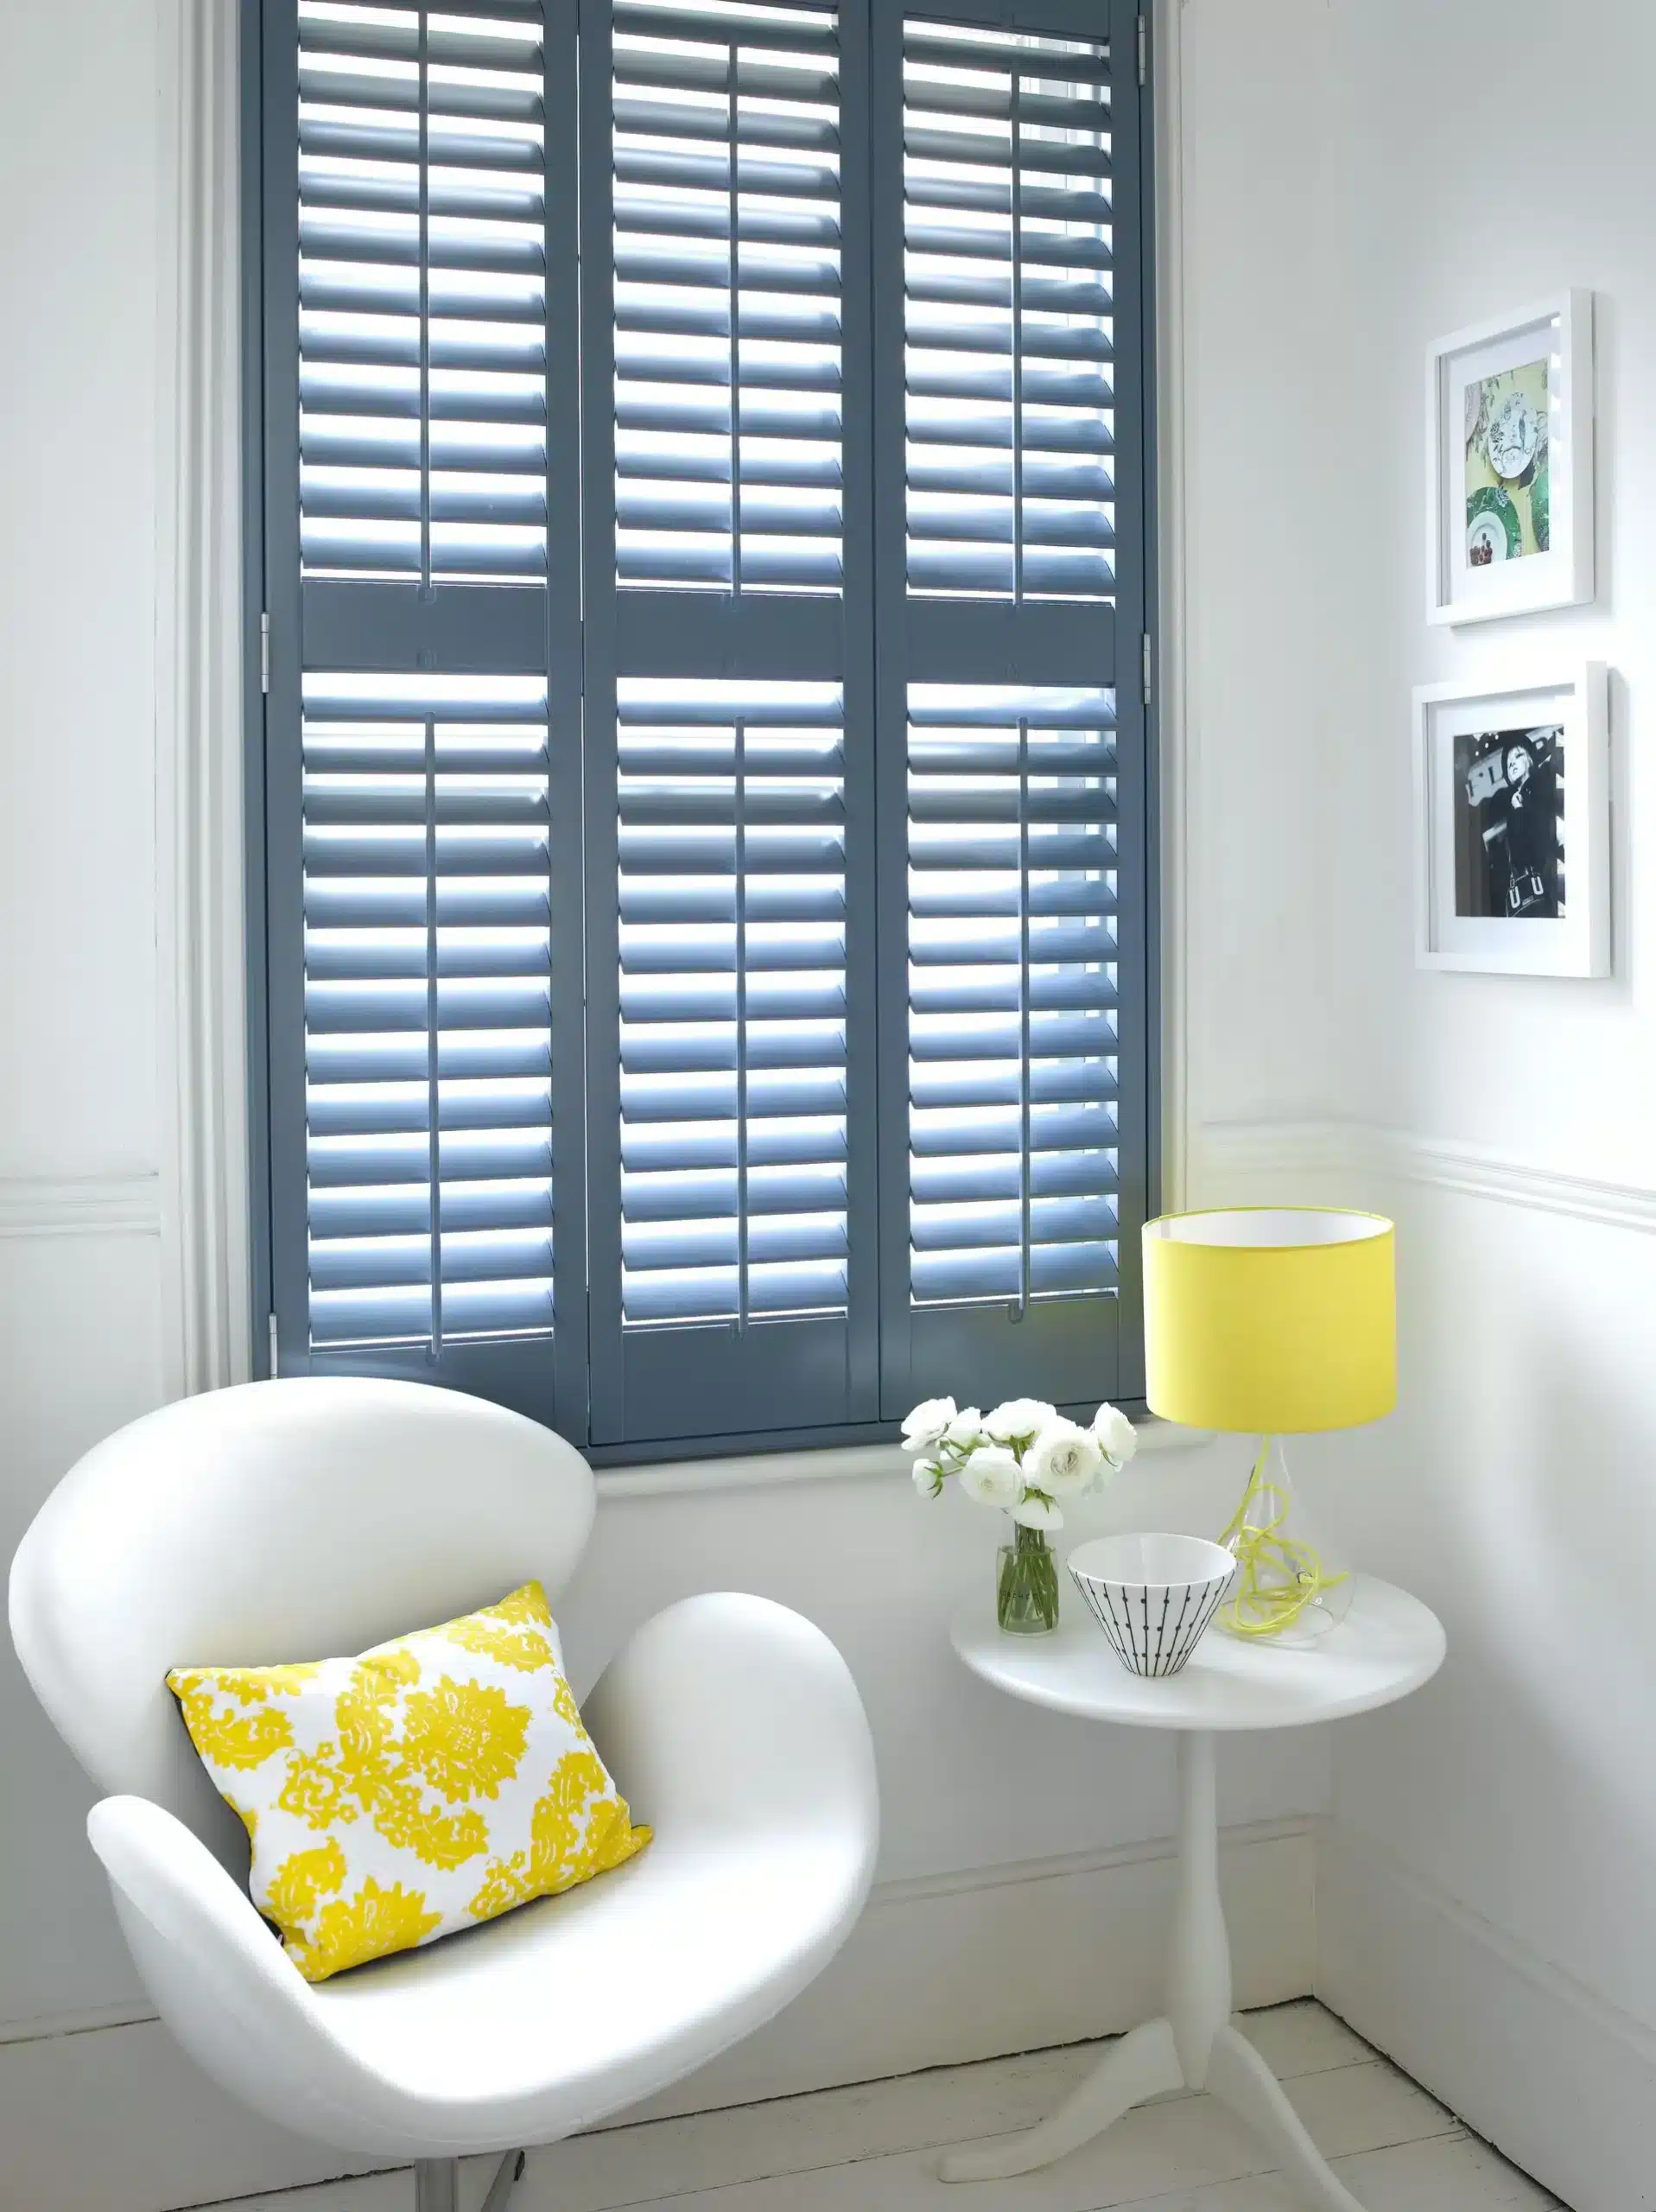
- Durability: Crafted from premium materials, our shutters are made to last. You can learn more about our shutters made in the UK.
Gathering Your Tools and Materials
Before you start the step-by-step installation guide for tier-on-tier shutters, ensure you have the necessary tools and materials at your disposal. Here’s a list of what you’ll need:
- Measuring tape
- Level
- Drill with drill bits
- Screwdriver
- Stud finder
- Safety goggles
- Tier-on-tier shutters kit
Step 1: Measure Your Windows
Accurate measurements are crucial for a precise fit. Use your measuring tape to measure the height and width of your window. Here’s a quick guide on how to measure:
- Measure the width from the top of your window frame to the bottom, noting the smallest measurement.
- Measure the height from the left side to the right, again noting the smallest number.
These measurements will help in creating a perfect fit for your new tier-on-tier shutters.
Step 2: Preparing the Installation Area
Before installing, ensure that the area around your window is clear and clean. Removing any curtains or blinds will provide you with better access to the window frame. Check that the window frame is in good shape, as durability is essential for mounting your shutters securely. Consider our curtains and shutters options for a cohesive look.
Step 3: Installing the Top Frame
Using the level, mark where the top frame of your tier-on-tier shutters should be installed. Ensure this line is straight, as it will be pivotal for mounting the entire system:
- Align the top frame with your marked line and secure it using screws provided in your shutters kit.
- Double-check that the frame is level before tightening all screws.
Step 4: Attaching the Bottom Frame
Once the top frame is mounted, it’s time to attach the bottom frame:
- Align the bottom frame with the window’s bottom edge.
- Secure the frame with screws, ensuring it is also level according to your marks.
Step 5: Installing the Shutter Panels
With both frames in place, you can now install the shutter panels:
- Attach the top panel to the top frame using the included hinges.
- Ensure the panel swings freely before attaching the bottom panel in the same manner.
Step 6: Final Adjustments
After installing both panels, ensure there is proper alignment:
- Check that both panels open and close without obstruction.
- Adjust as necessary to ensure even gaps on the sides.
Step 7: Adding Finishing Touches
Once everything is installed and aligned correctly, consider adding finishing touches:
- Install any additional hardware such as rods or magnetic catches for extra functionality.
- Finish with a coat of eco-friendly paint if needed for aesthetic purposes.
Maintaining Your Tier-on-Tier Shutters
To ensure longevity and maintain beauty, regular cleaning and maintenance of your tier-on-tier shutters are advised:
- Dust regularly with a microfiber cloth.
- For deep cleaning, use a damp cloth with gentle cleaners.
- Check hinges and screws periodically to ensure everything remains secure.
- For more tips on home maintenance and improvement, check out resources from Good Housekeeping.
Conclusion
We hope this step-by-step installation guide for tier-on-tier shutters has provided you with the confidence and knowledge to undertake this project. Remember, our expert team at North London Shutters and Blinds is always here to help should you need assistance, ensuring you have the best possible experience in enhancing your home’s interior. You might also be interested in our black window shutters as an alternative style.
For more personalized service or to explore our range of plantation shutters, feel free to contact us!
Email: admin@northlondonshuttersandblinds.co.uk
Phone: 020 3417 6465
We look forward to assisting you!