Essential Tips for Shutter Installation: 7 Best Practices
Essential Tips for Shutter Installation
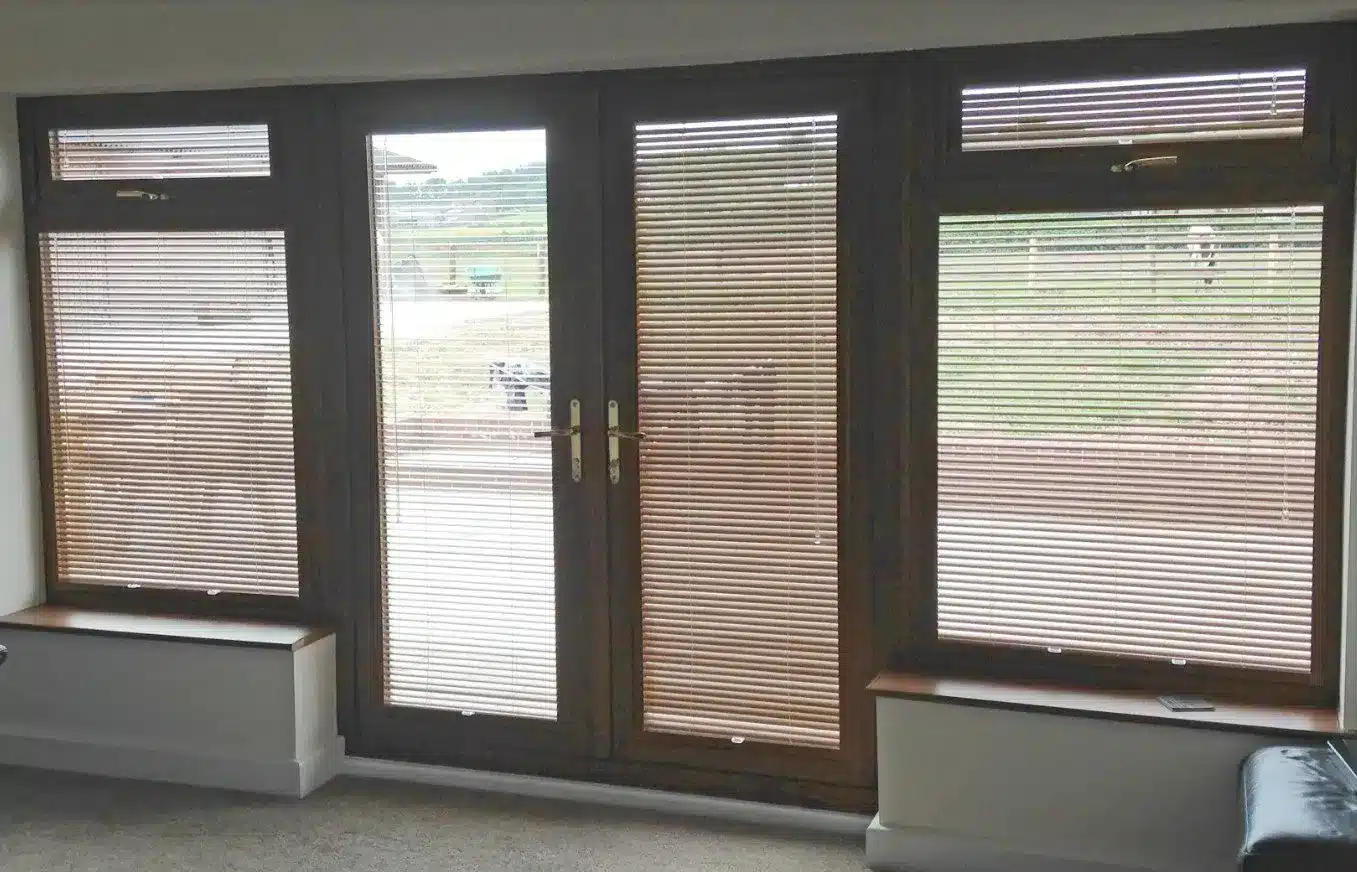
When it comes to enhancing the aesthetics and functionality of your home, choosing the right window treatments is crucial. Plantation shutters are an ideal option, blending luxury with practicality. However, the effectiveness of your shutters often hinges on proper installation. Here, we present you with the essential tips for shutter installation that will ensure you achieve the look and functionality you desire.
1. Measuring Your Windows Accurately
The very first step requires precision. Accurate measurements are critical to ensure your shutters fit perfectly. Here are a few points to consider:
- Use a metal measuring tape to get a precise measure.
- Measure the height and width of your window frame at three different points: top, middle, and bottom.
- Always record your measurements in inches for consistency.
2. Choosing the Right Style for Your Home
Plantation shutters come in various styles such as full-height, cafe, and tier-on-tier designs. Each style has its advantages:
- Full-Height Shutters: Ideal for creating a uniform look.
- Cafe Shutters: Great for maintaining privacy while allowing natural light.
- Tier-on-Tier Shutters: Offer maximum flexibility in light control.
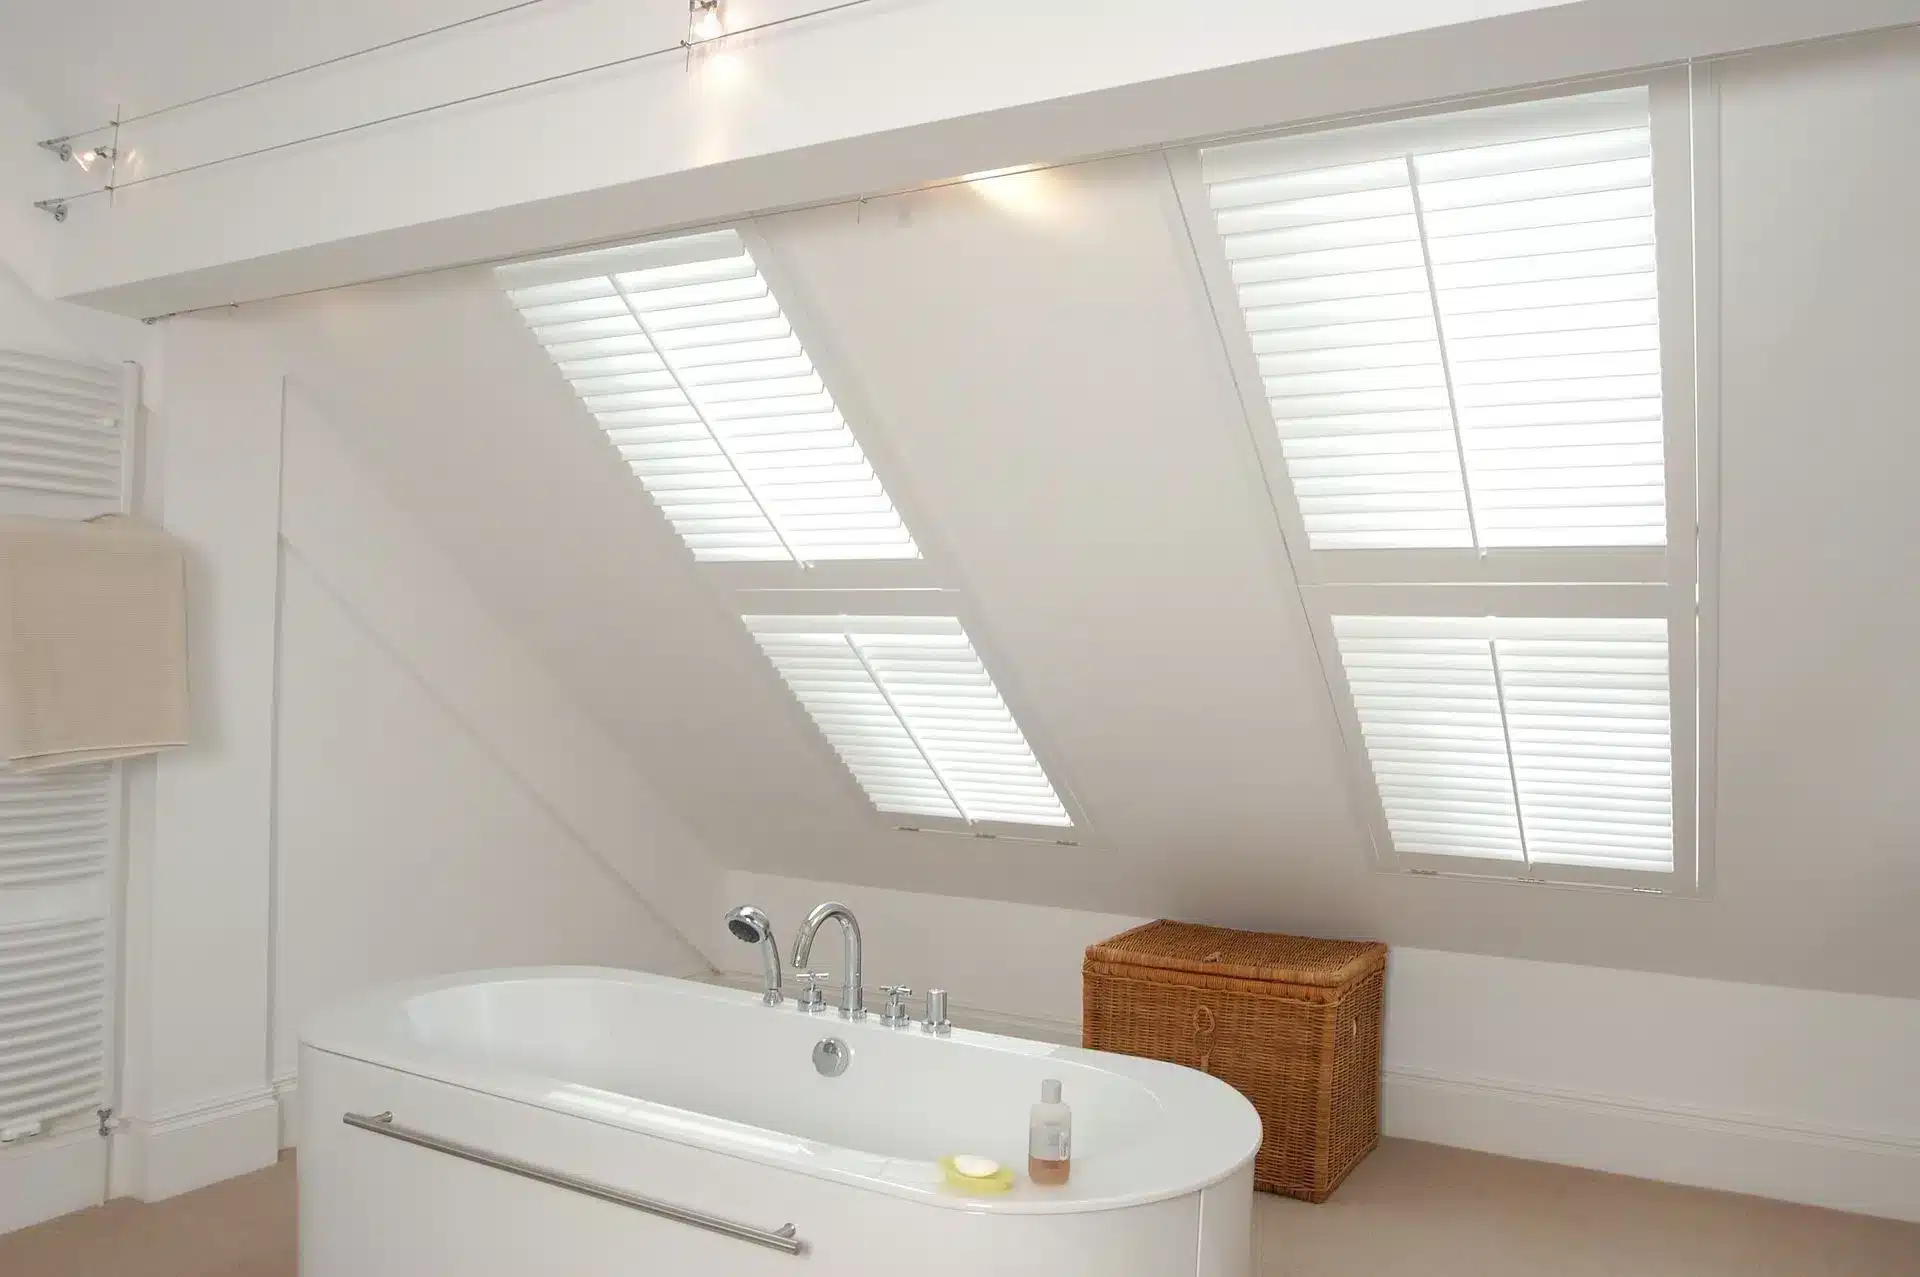
3. Selecting the Perfect Material
Your choice of material plays a pivotal role in the durability and appearance of your shutters. Consider:
- Wood Shutters: Provide a classic and timeless look.
- Composite Shutters: More affordable and effective in humid areas.
- Vinyl Shutters: An excellent option for moisture-rich environments like bathrooms.
4. Installation Tools Needed
Having the right tools on hand will make your essential tips for shutter installation much simpler. Gather these tools:
- Electric drill
- Screwdriver
- Level
- Tape measure
- Pencil for marking
5. Preparing Your Window Frame
Before installation, ensure that the window frame is clean and free of obstructions. Remove any old window treatments and clean the area thoroughly. This sets a solid foundation for your plantation shutters.
6. Installation Steps
- Position the Hinges: Align the hinges on the frame and mark their positions.
- Drill Holes: Carefully drill holes for the screws, avoiding the window glass and frame.
- Attach the Frame: Secure the frame to the wall with screws provided, ensuring it’s level.
- Mount the Panels: Hang the shutter panels carefully on the frame, ensuring they slide open easily without obstruction.
- Final Adjustments: Make any necessary adjustments to the screws for a snug fit.
7. Testing the Functionality
Once installed, test the functionality of your shutters. Open and close them to check for smooth operation. Ensure that adjustments can be made, allowing you full control over light and privacy.
8. Maintenance Tips for Longevity
With proper installation, maintenance is the next aspect to consider:
- Dust your shutters regularly using a soft cloth or duster.
- Avoid harsh chemicals; instead, use mild soap and water for deeper cleaning.
- Inspect and tighten screws or hinges as needed.
9. Conclusion
Incorporating essential tips for shutter installation will not only improve the aesthetics of your home but also optimize the functionality of your plantation shutters. For a wide selection, check out our shutter shop that features various styles and materials. At North London Shutters and Blinds, we pride ourselves on offering quality and personalized service. If you’re looking for premium handcrafted shutters, don’t hesitate to reach out! For more information on enhancing your home’s energy efficiency, visit the UK government’s energy efficiency guidance or browse helpful tips and resources at Which? Blinds and Shutters Reviews.
Contact Us
If you have more questions or need assistance with shutter installation, contact us:
Email: admin@northlondonshuttersandblinds.co.ukT: 020 3417 6465