Step-by-Step Guide to Installing Tier-on-Tier Shutters
Step-by-Step Guide to Installing Tier-on-Tier Shutters
Welcome to our comprehensive step-by-step guide to installing tier-on-tier shutters. At North London Shutters and Blinds, we pride ourselves on offering premium plantation shutters tailored to meet your individual needs. In this guide, we will walk you through the installation process, providing tips and insights to make your DIY project a success.
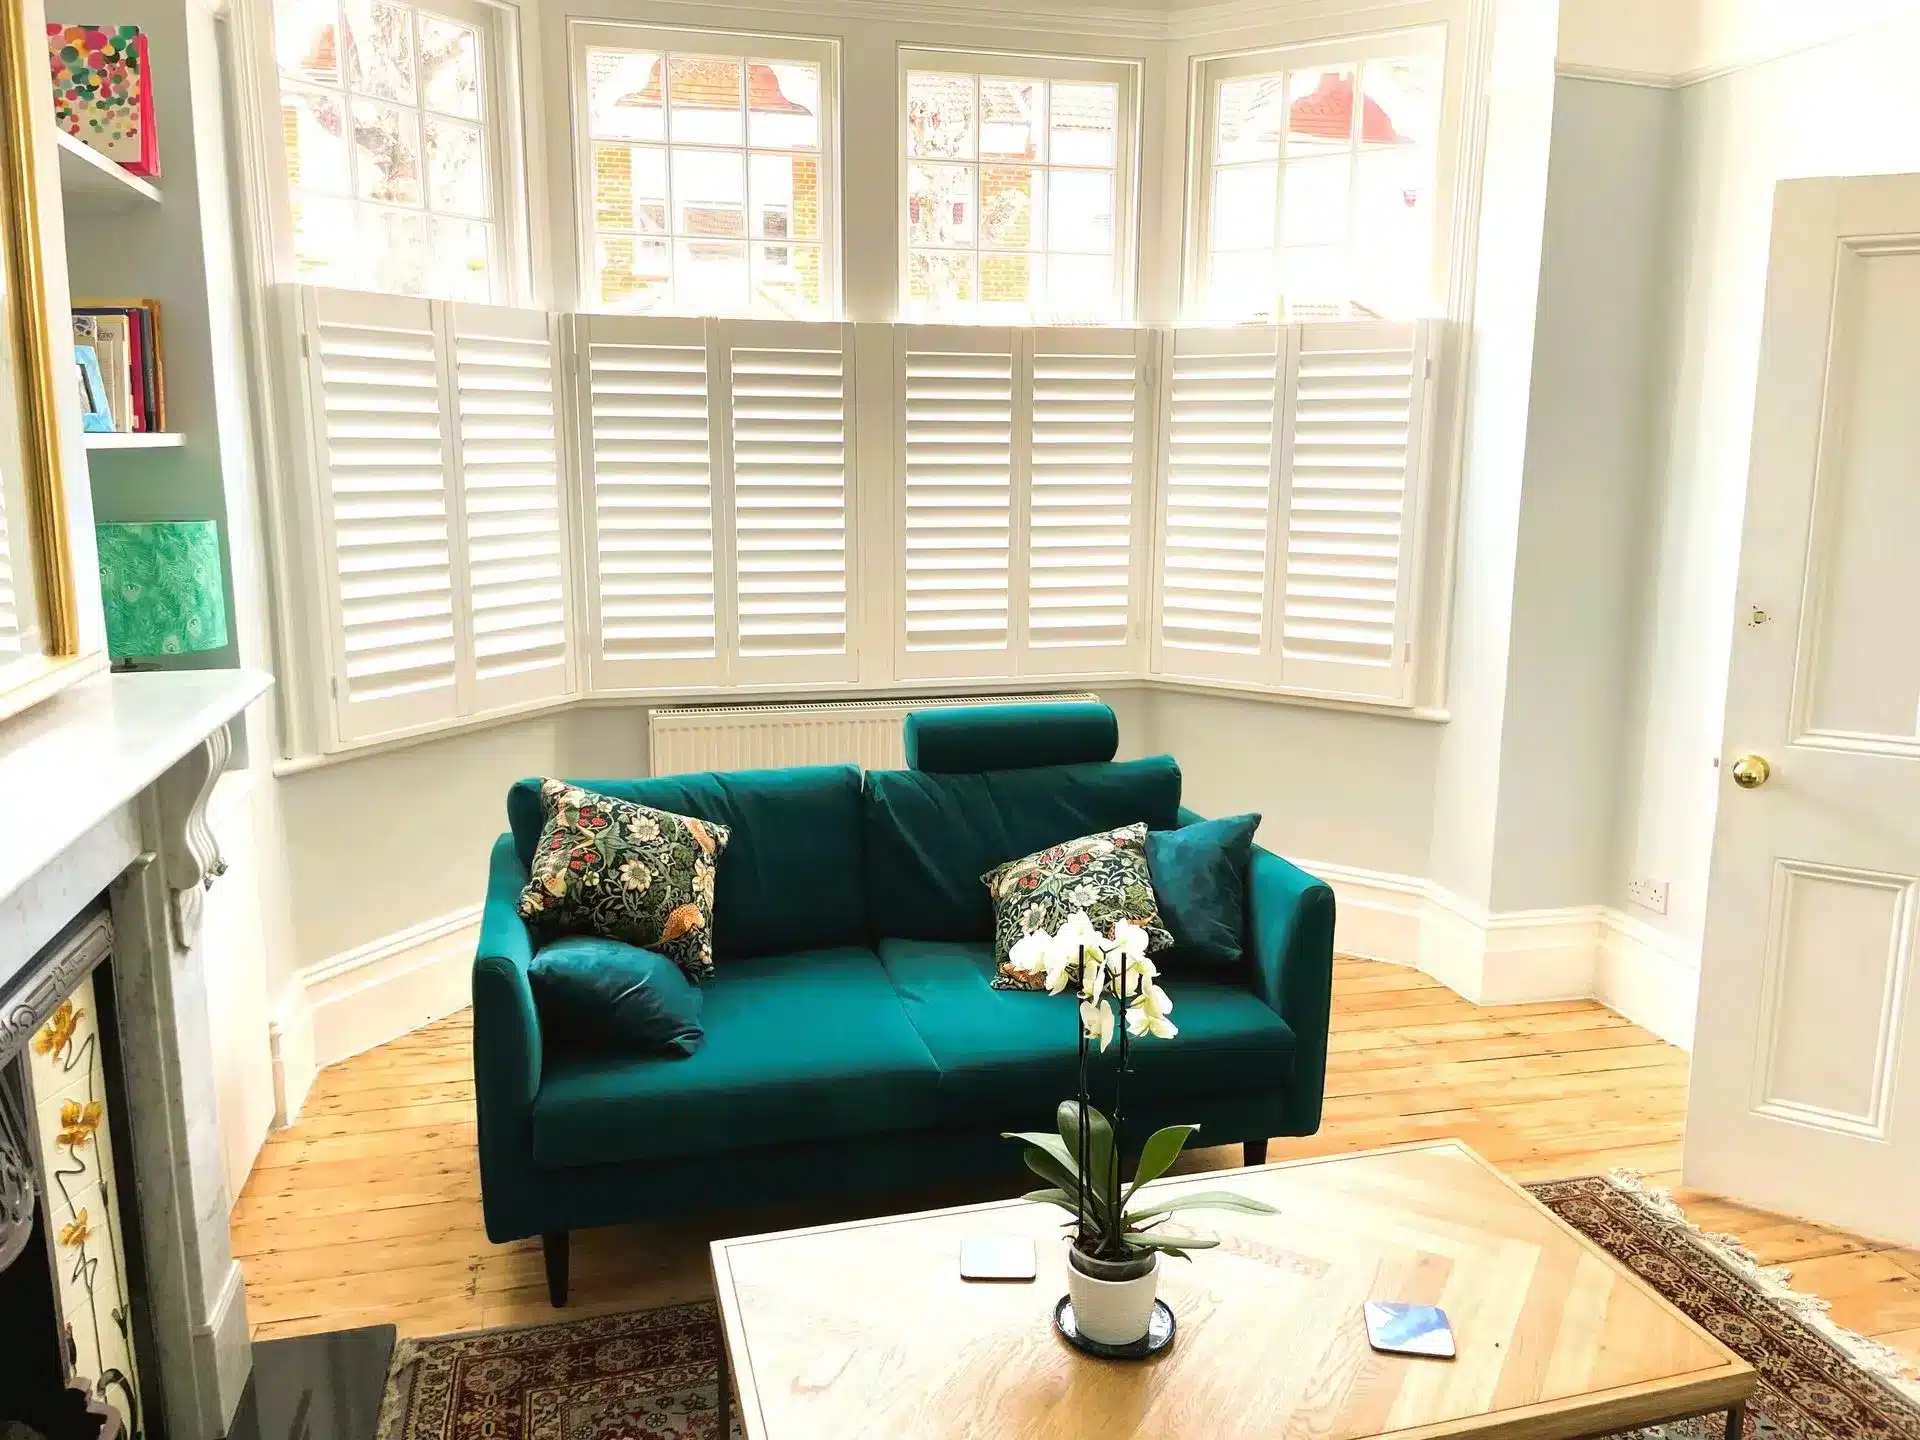
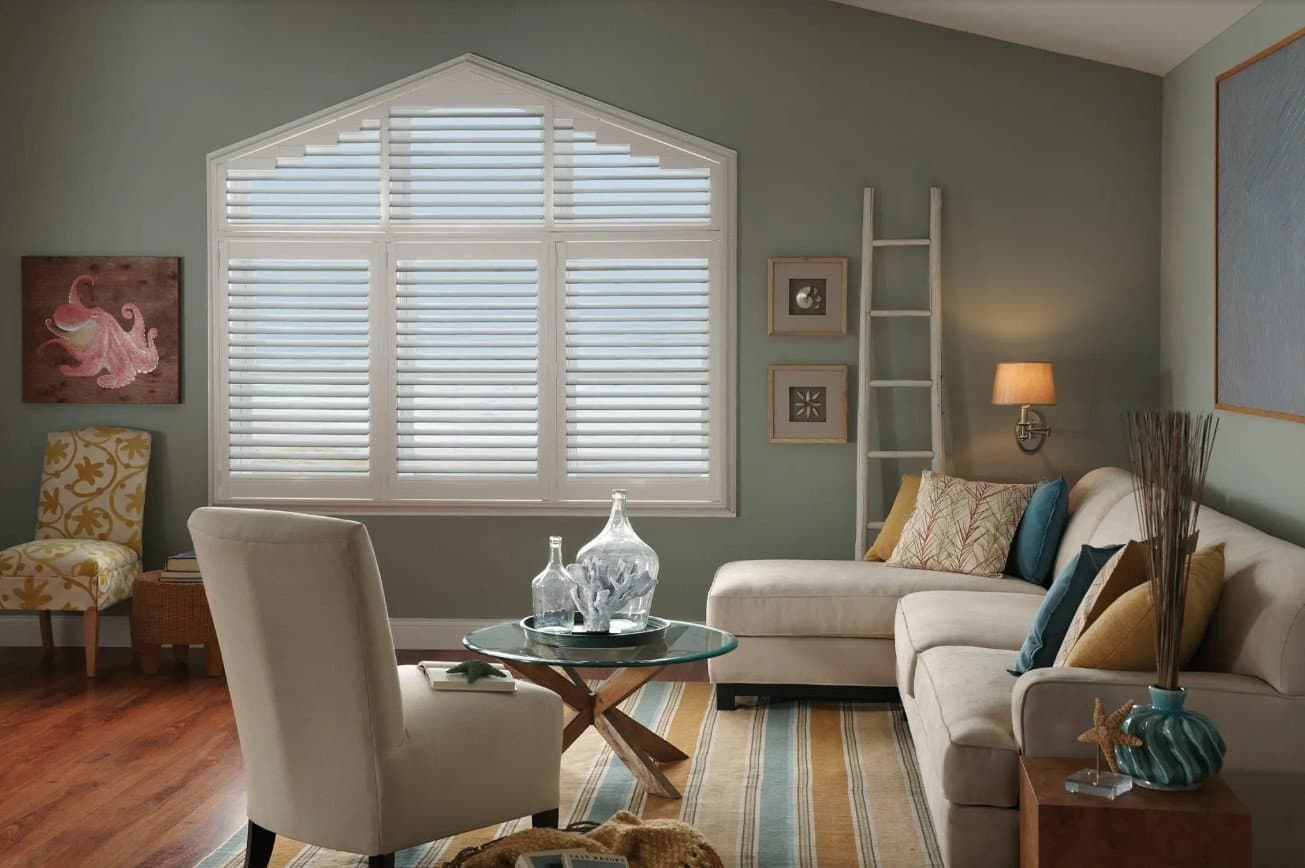
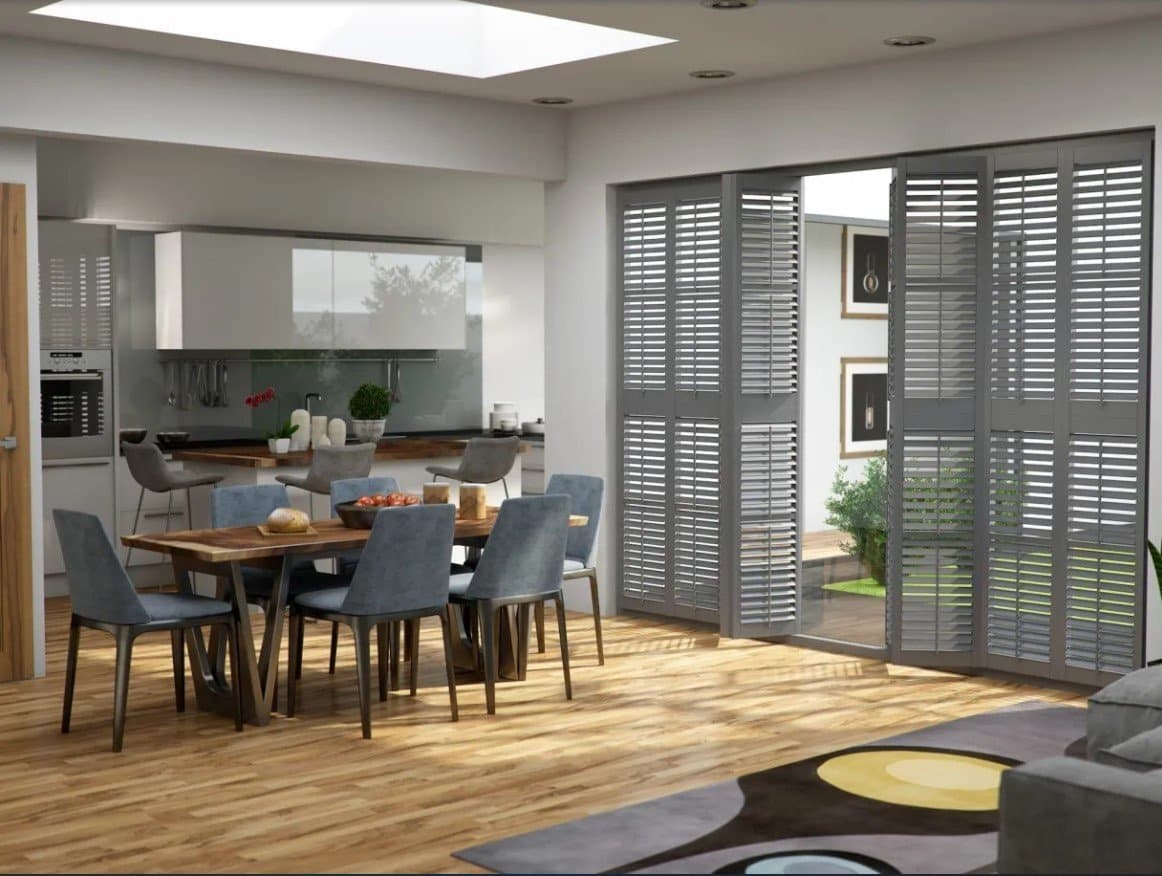
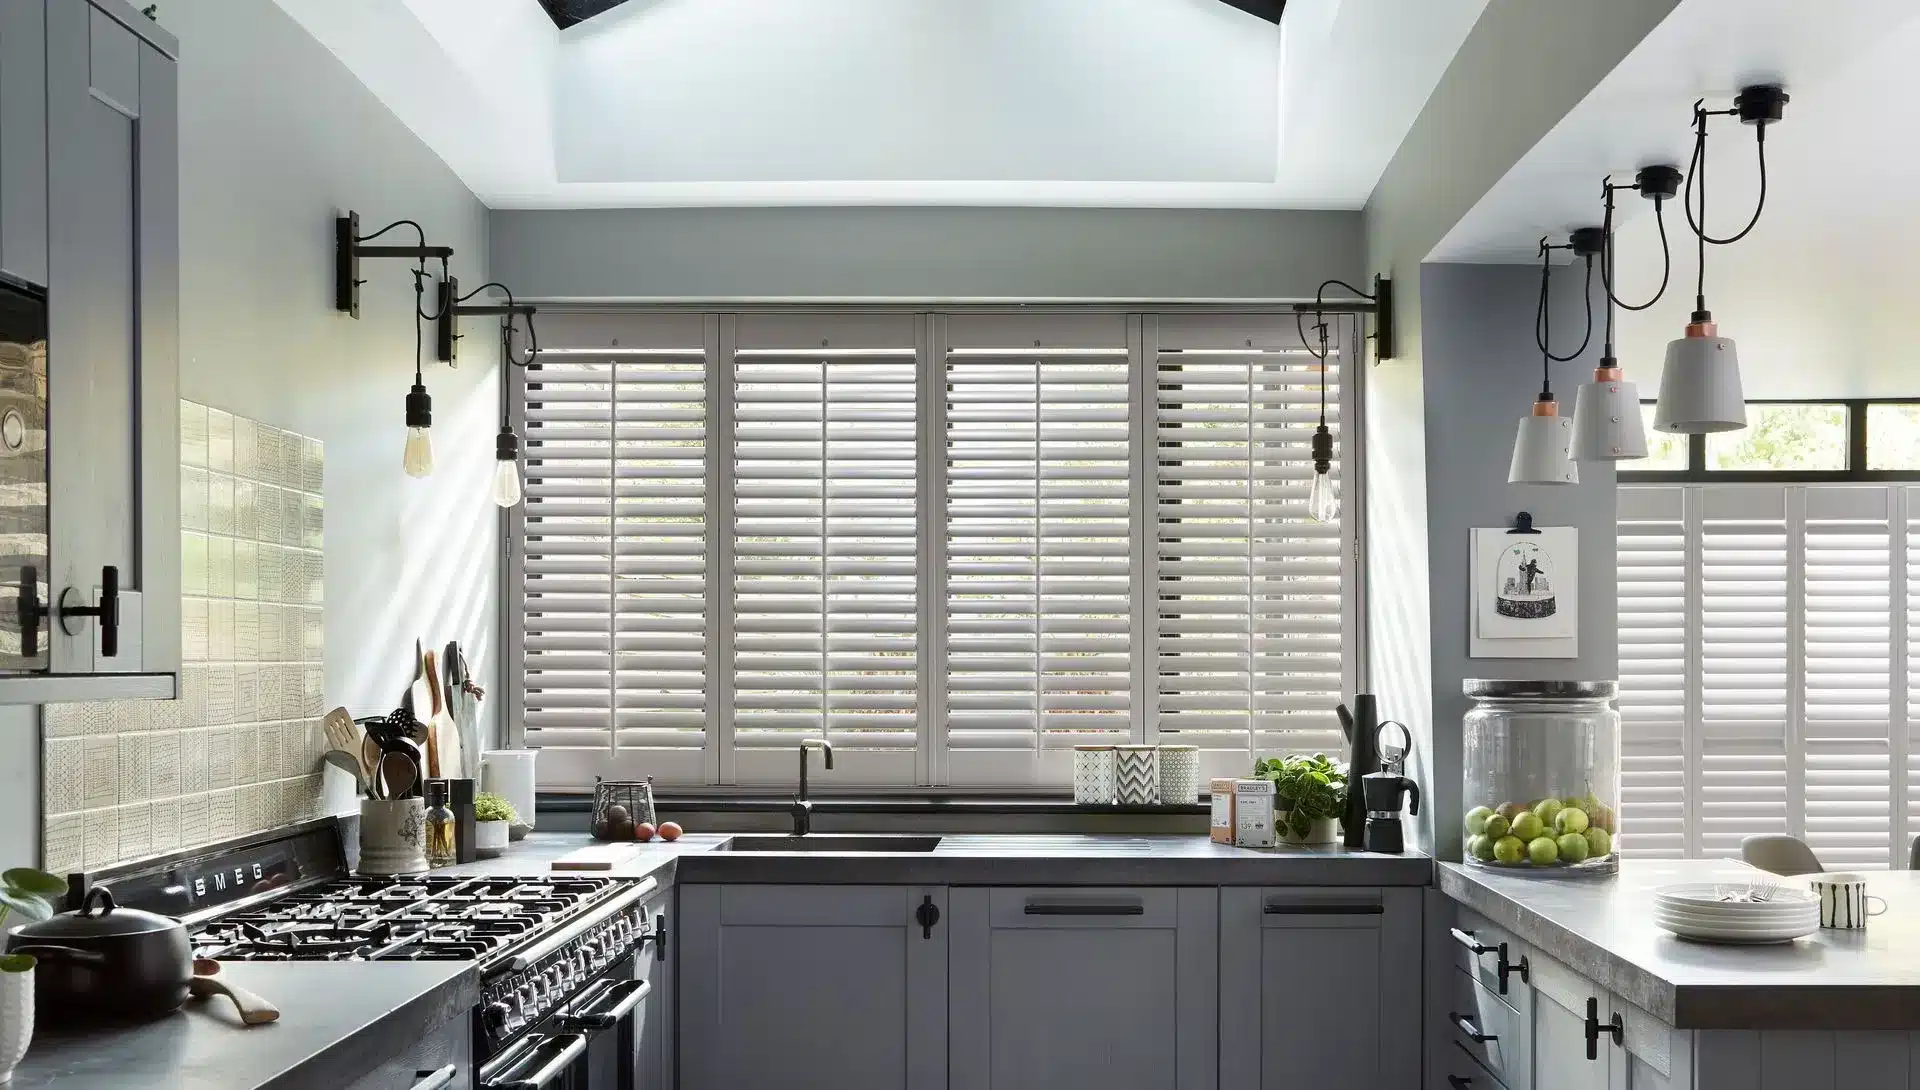
What are Tier-on-Tier Shutters?
Tier-on-tier shutters are a type of shutter that consists of two separate panels, allowing you to adjust the top and bottom sections independently. This flexibility provides excellent light control, privacy options, and aesthetic appeal, making them a popular choice for homeowners across North London. For additional options, consider our shutters for doors to enhance your home’s functionality. For more information about different types of window coverings, visit Which? Blinds and Shutters Reviews.
Benefits of Installing Tier-on-Tier Shutters
- Versatility: The adjustable nature of tier-on-tier shutters allows you to control the amount of light entering your space while maintaining privacy.
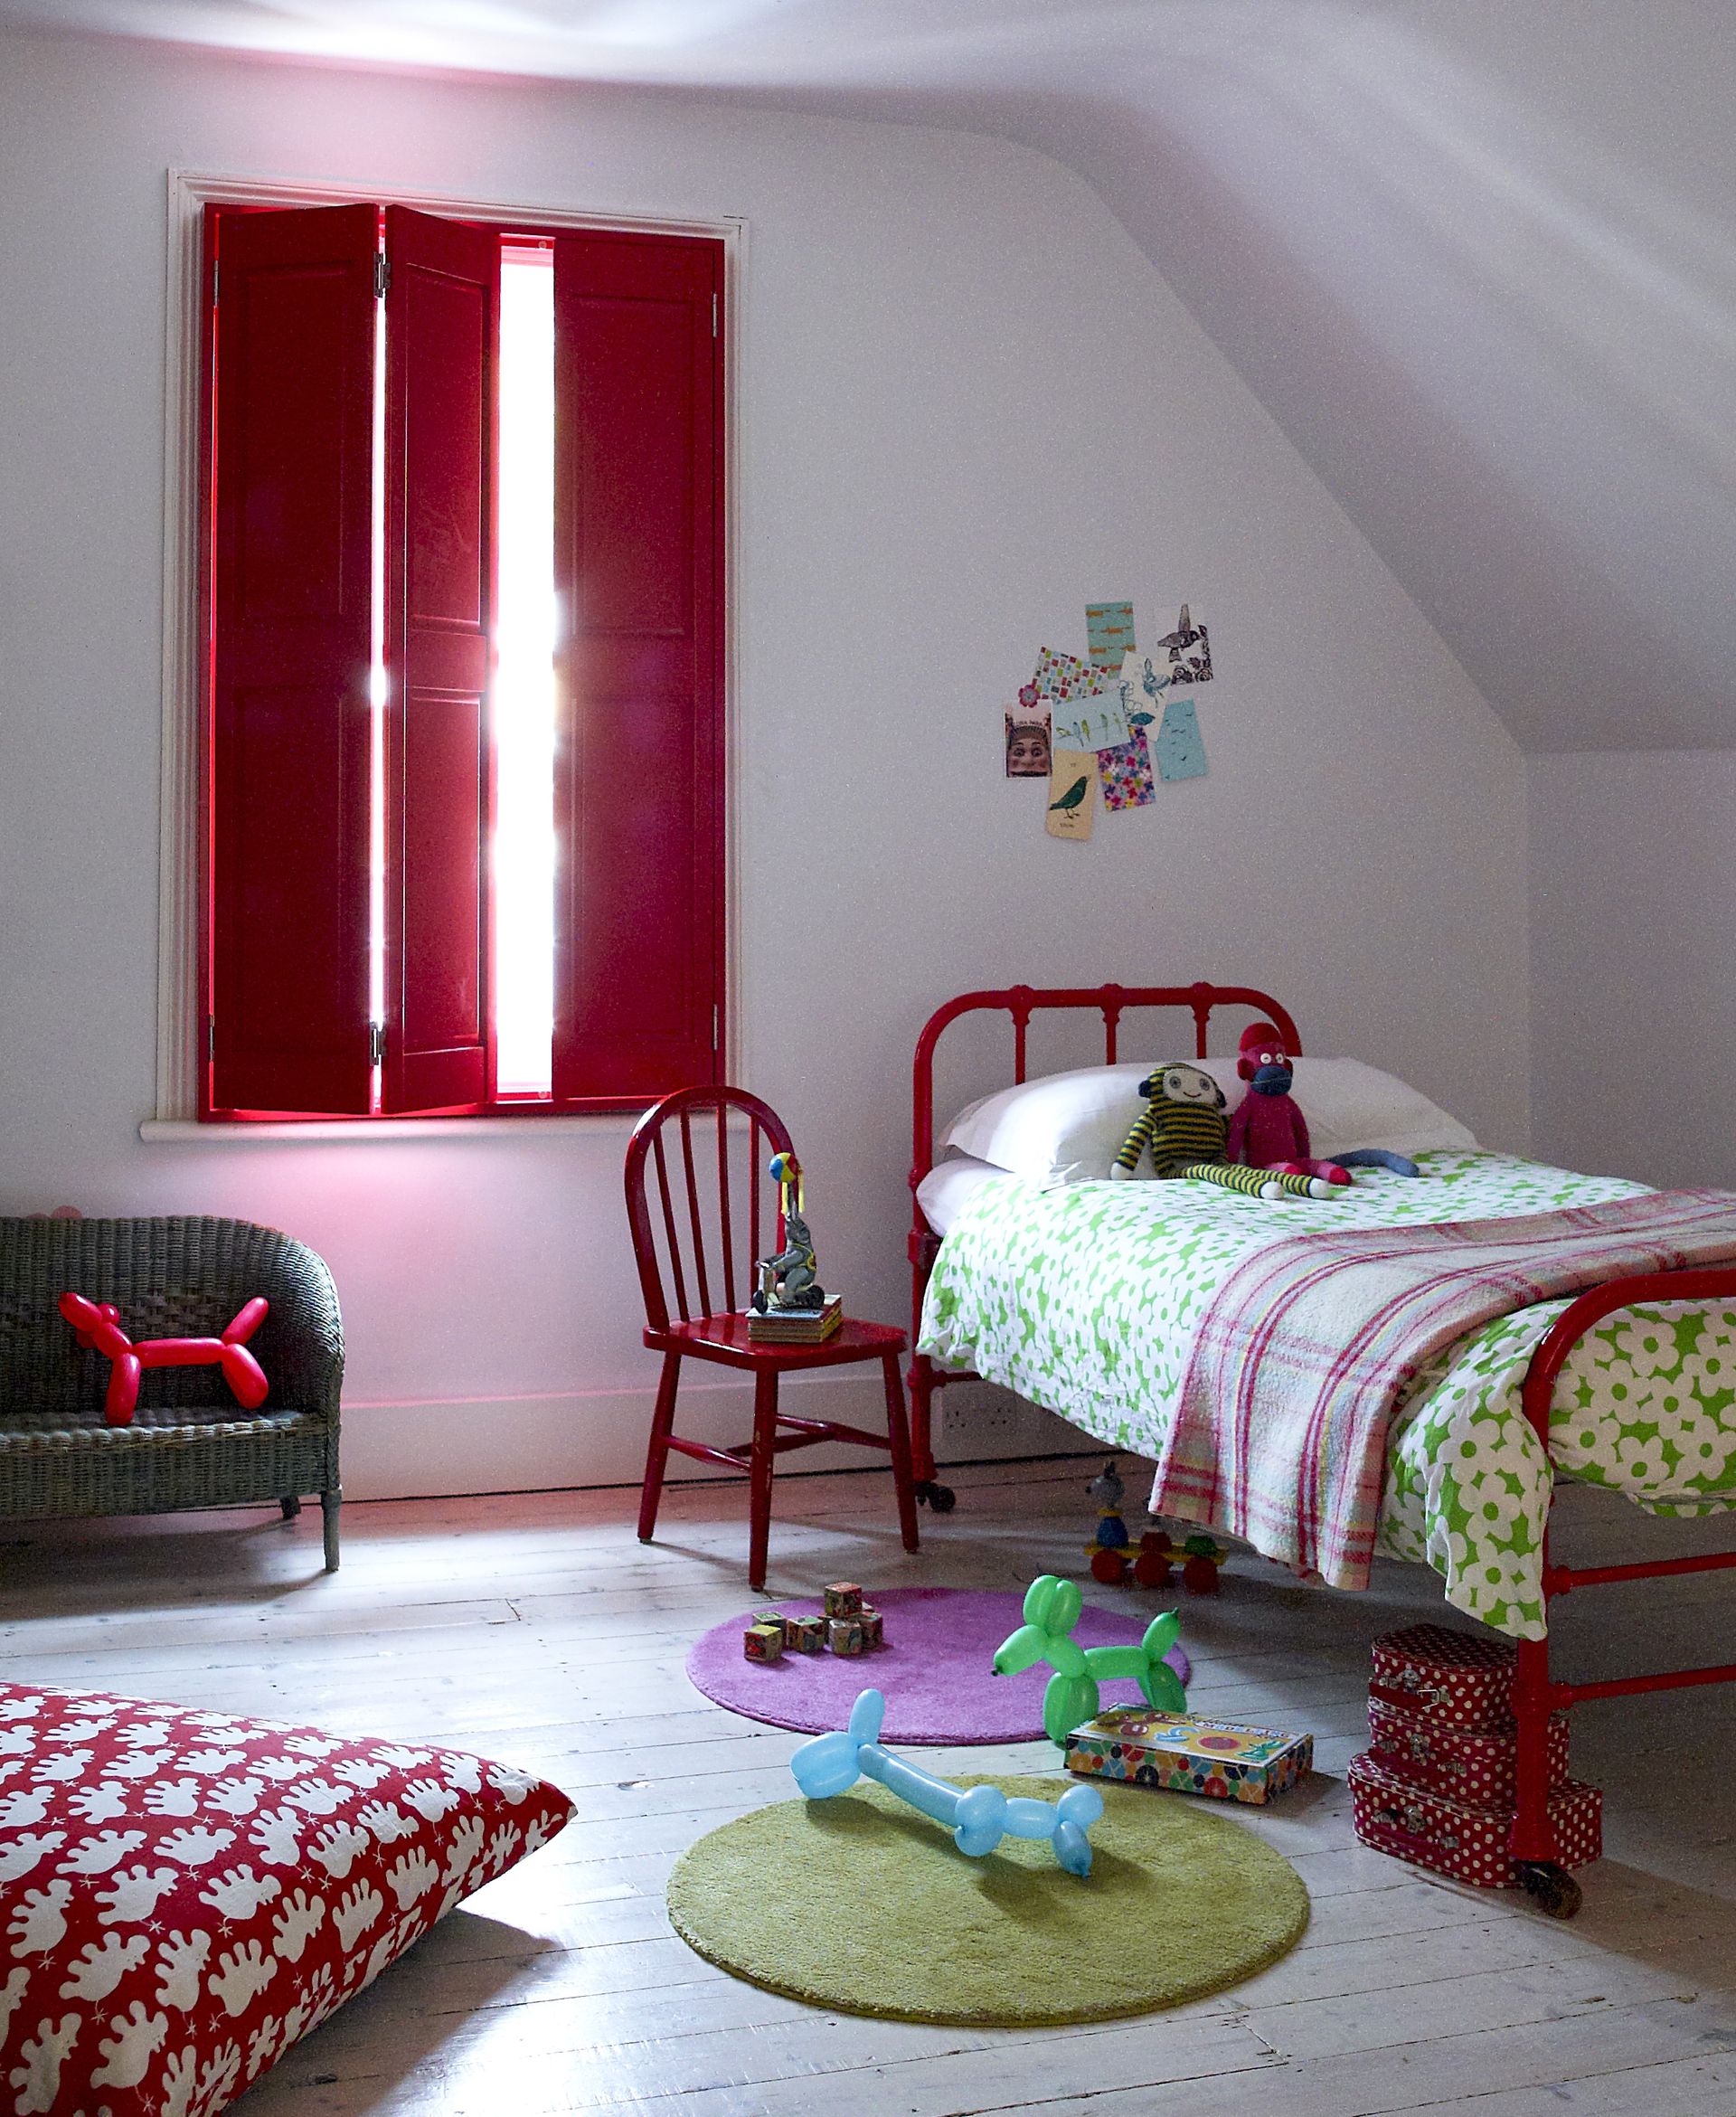
- Aesthetic Appeal: These shutters offer a classic and elegant look, enhancing your home’s overall decor. For more aesthetic options, check out our white wood window shutters.
- Energy Efficiency: Properly installed shutters can help insulate your home, reducing energy costs. For further insights, visit Ofgem on Energy Efficiency.
- Customization: Available in various colors and materials, tier-on-tier shutters can be tailored to fit your specific style.
Tools You Will Need
Before starting your installation, gather the following tools:
- Measuring tape
- Screwdriver
- Level
- Drill
- Pencil
- Bracket mounting hardware (included with your shutters)
- Safety goggles
Step 1: Measure Your Windows
The first step in our step-by-step guide to installing tier-on-tier shutters is to accurately measure your windows. Follow these guidelines:
- Measure the width of your window at the top, middle, and bottom. Use the narrowest measurement.
- Measure the height from the top of the window frame to the sill.
- Record your measurements to ensure a perfect fit.
Step 2: Prepare Your Shutters
Once you have your measurements, prepare your tier-on-tier shutters:
- Unbox the shutters and check for any damage.
- Ensure all parts and hardware are included.
- If necessary, finish the shutters with eco-friendly paint or stain.
Step 3: Install the Brackets
Installing the brackets is a crucial step:
- Using a level, mark the locations for the brackets on your window frame. Ensure they are evenly spaced and level.
- Drill pilot holes for the screws.
- Attach the brackets securely using screws.
- Repeat this for both the upper and lower tiers.
Step 4: Attach the Shutter Panels
With the brackets in place, it’s time to attach the shutter panels:
- Lift the top tier panel and align it with the installed brackets.
- Slide the panel into the brackets and ensure it’s secure.
- Repeat for the bottom tier panel.
Step 5: Adjust the Shutters
Once your shutters are installed, it’s important to make any adjustments:
- Open and close both tiers to ensure smooth operation.
- Adjust the tilt rods for optimal light control.
- Check alignment and make any necessary adjustments to the brackets.
Step 6: Final Touches
Complete your installation by double-checking that everything is securely fastened and functioning properly. You might want to:
- Clean the shutters to remove any dust from the installation.
- Consider applying a coat of eco-friendly wood treatment to enhance durability and appearance. For more tips, refer to Good Housekeeping Home and Garden.
Maintenance Tips for Your Tier-on-Tier Shutters
To keep your tier-on-tier shutters looking great, follow these maintenance tips:
- Regularly dust the shutters with a soft cloth or feather duster.
- Occasionally wash the panels with a damp cloth to remove stains.
- Avoid using harsh chemicals that may damage the finish.
Why Choose North London Shutters and Blinds?
With over 15 years of experience, North London Shutters and Blinds offers a personalized approach to your window treatment needs. Our commitment to quality craftsmanship and eco-friendly materials ensures you receive the best product while supporting the local economy. We also provide a range of curtains and shutters for a complete home solution.
Conclusion
Installing tier-on-tier shutters can transform your space while offering functionality and style. We hope this step-by-step guide to installing tier-on-tier shutters has provided you with the information needed to tackle this project confidently. For a professional touch, consider reaching out to us at admin@northlondonshuttersandblinds.co.uk or call us at 020 3417 6465 for assistance. Additionally, check out our black window shutters for trendy options for your modern home.