Step-by-Step Guide to Installing Plantation Shutters: 7 Tips
Step-by-Step Guide to Installing Plantation Shutters
Welcome to our comprehensive step-by-step guide to installing plantation shutters. At North London Shutters and Blinds, we pride ourselves on helping homeowners enhance their spaces with beautiful and functional window treatments. With over 15 years of experience, we understand the importance of quality installation for the longevity of your shutters. This guide will take you through every stage of the installation process, ensuring that you can easily and correctly install your new plantation shutters.
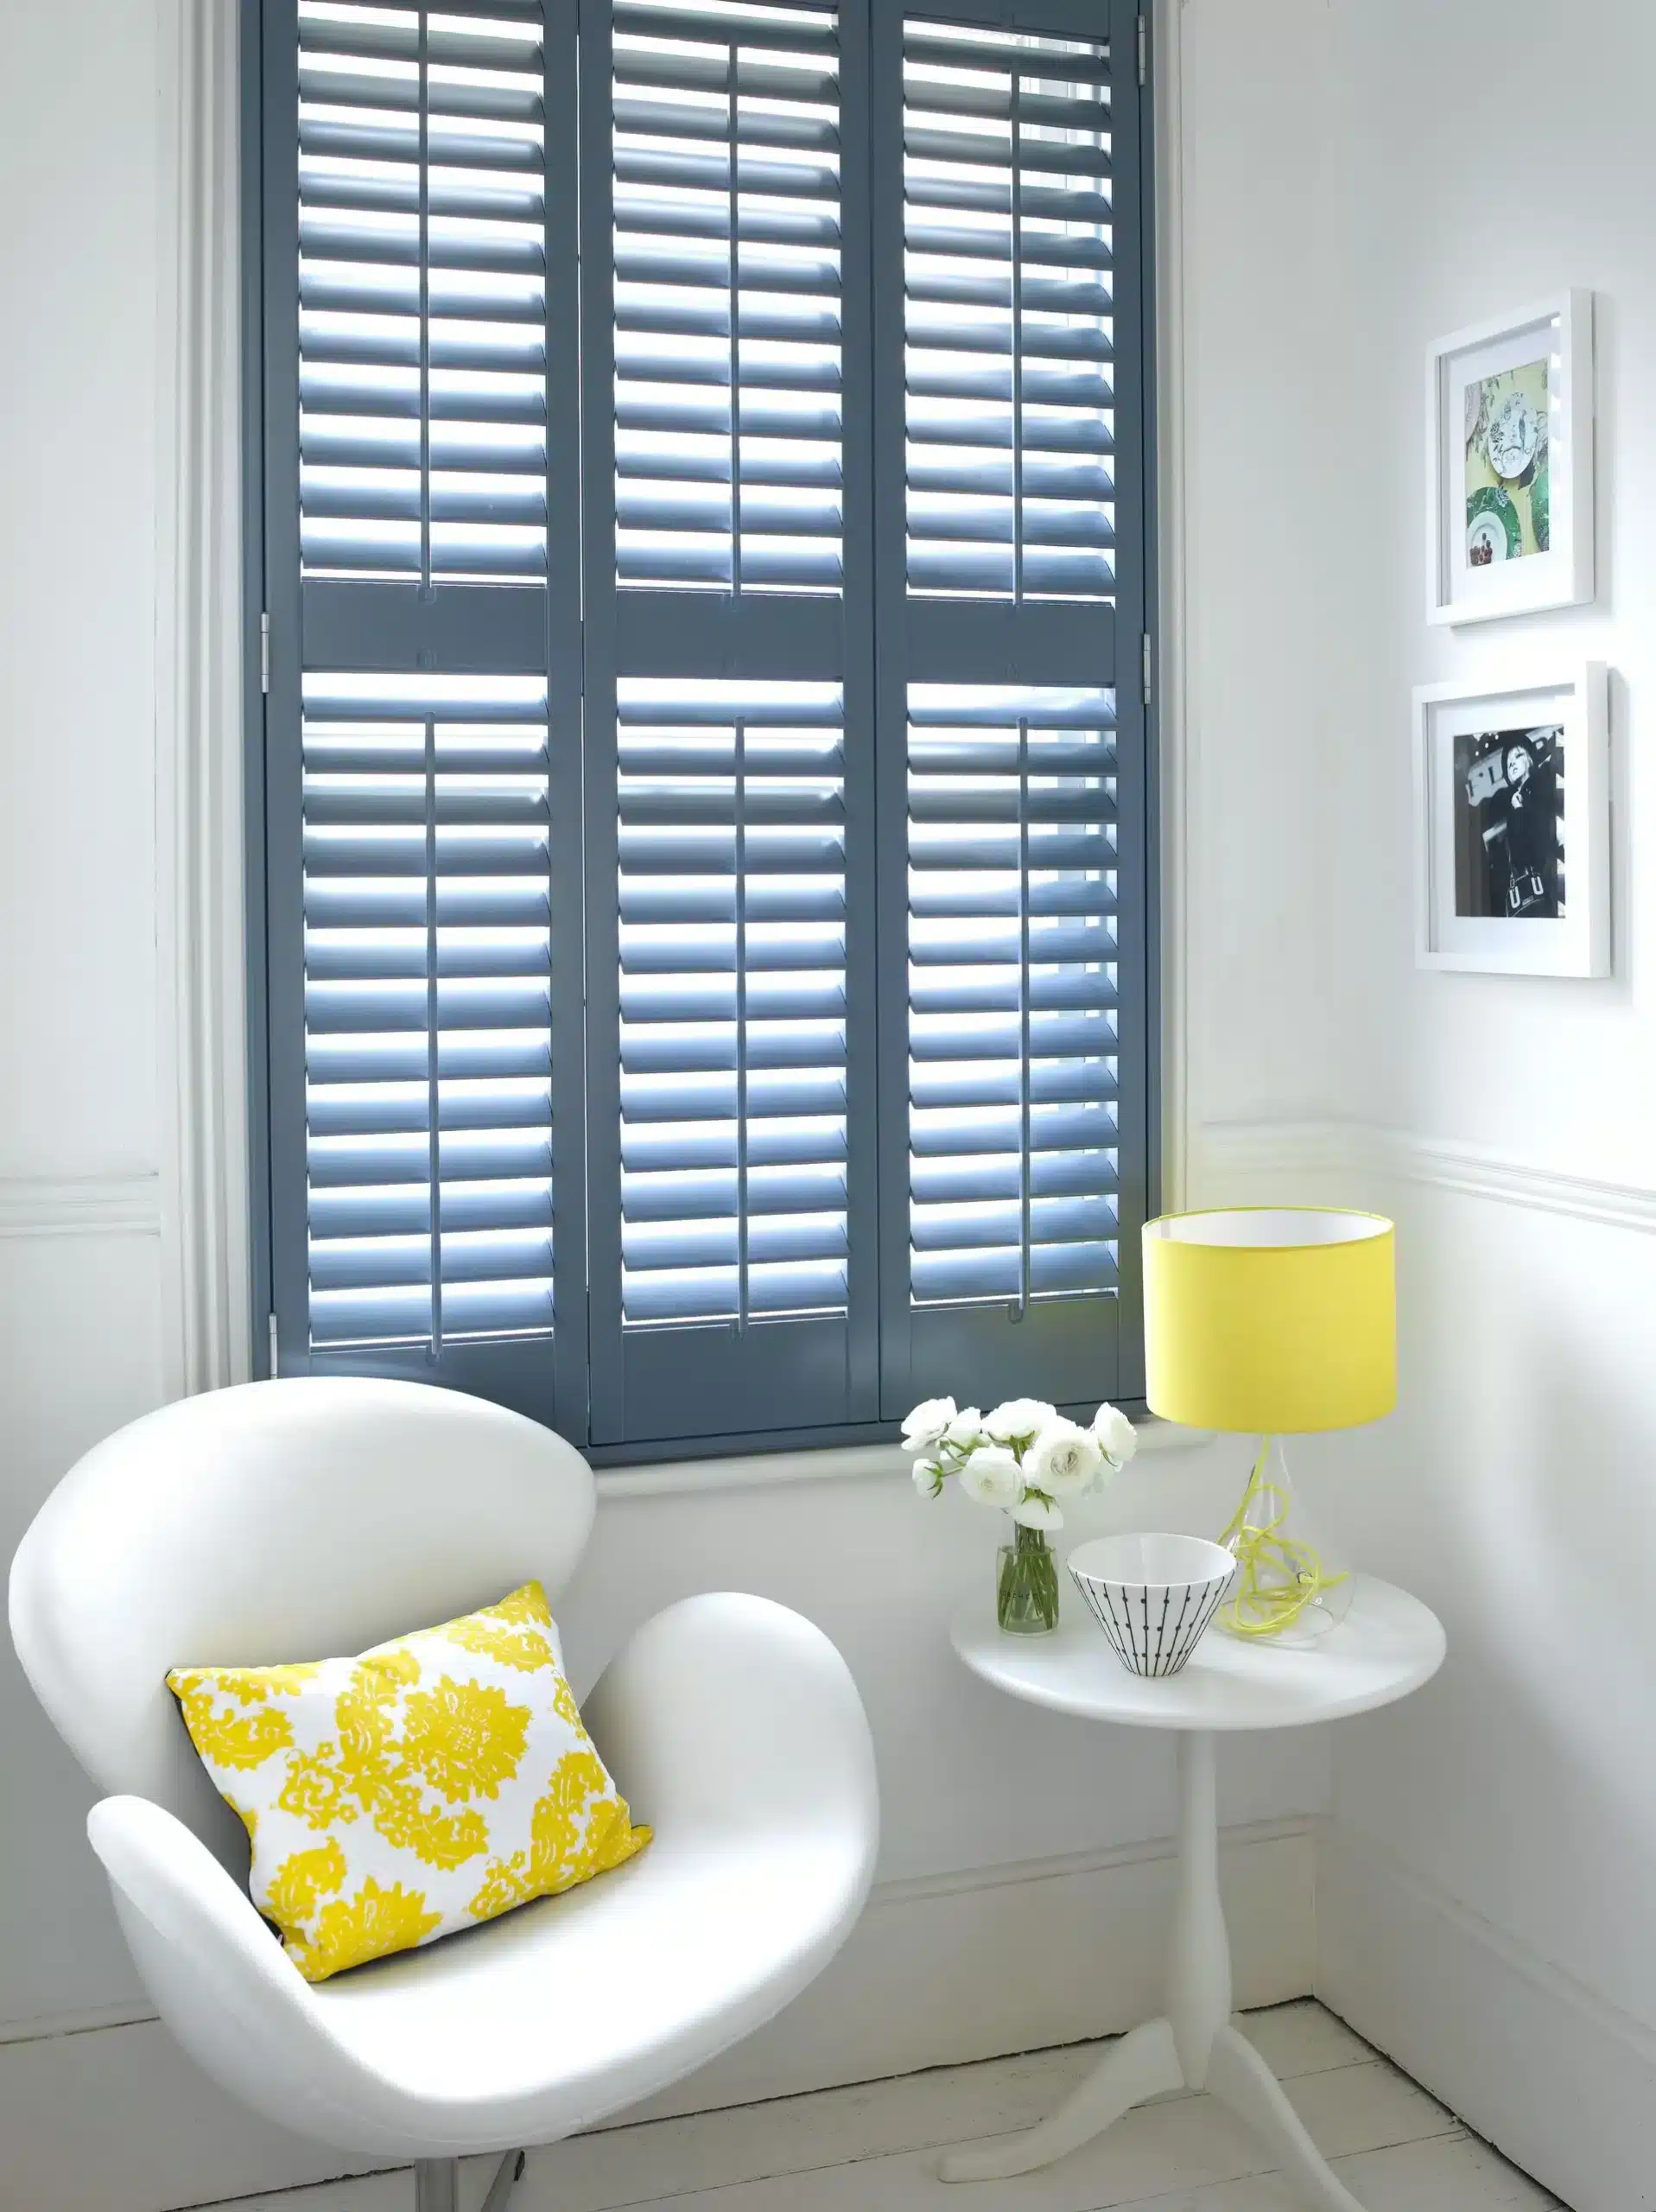
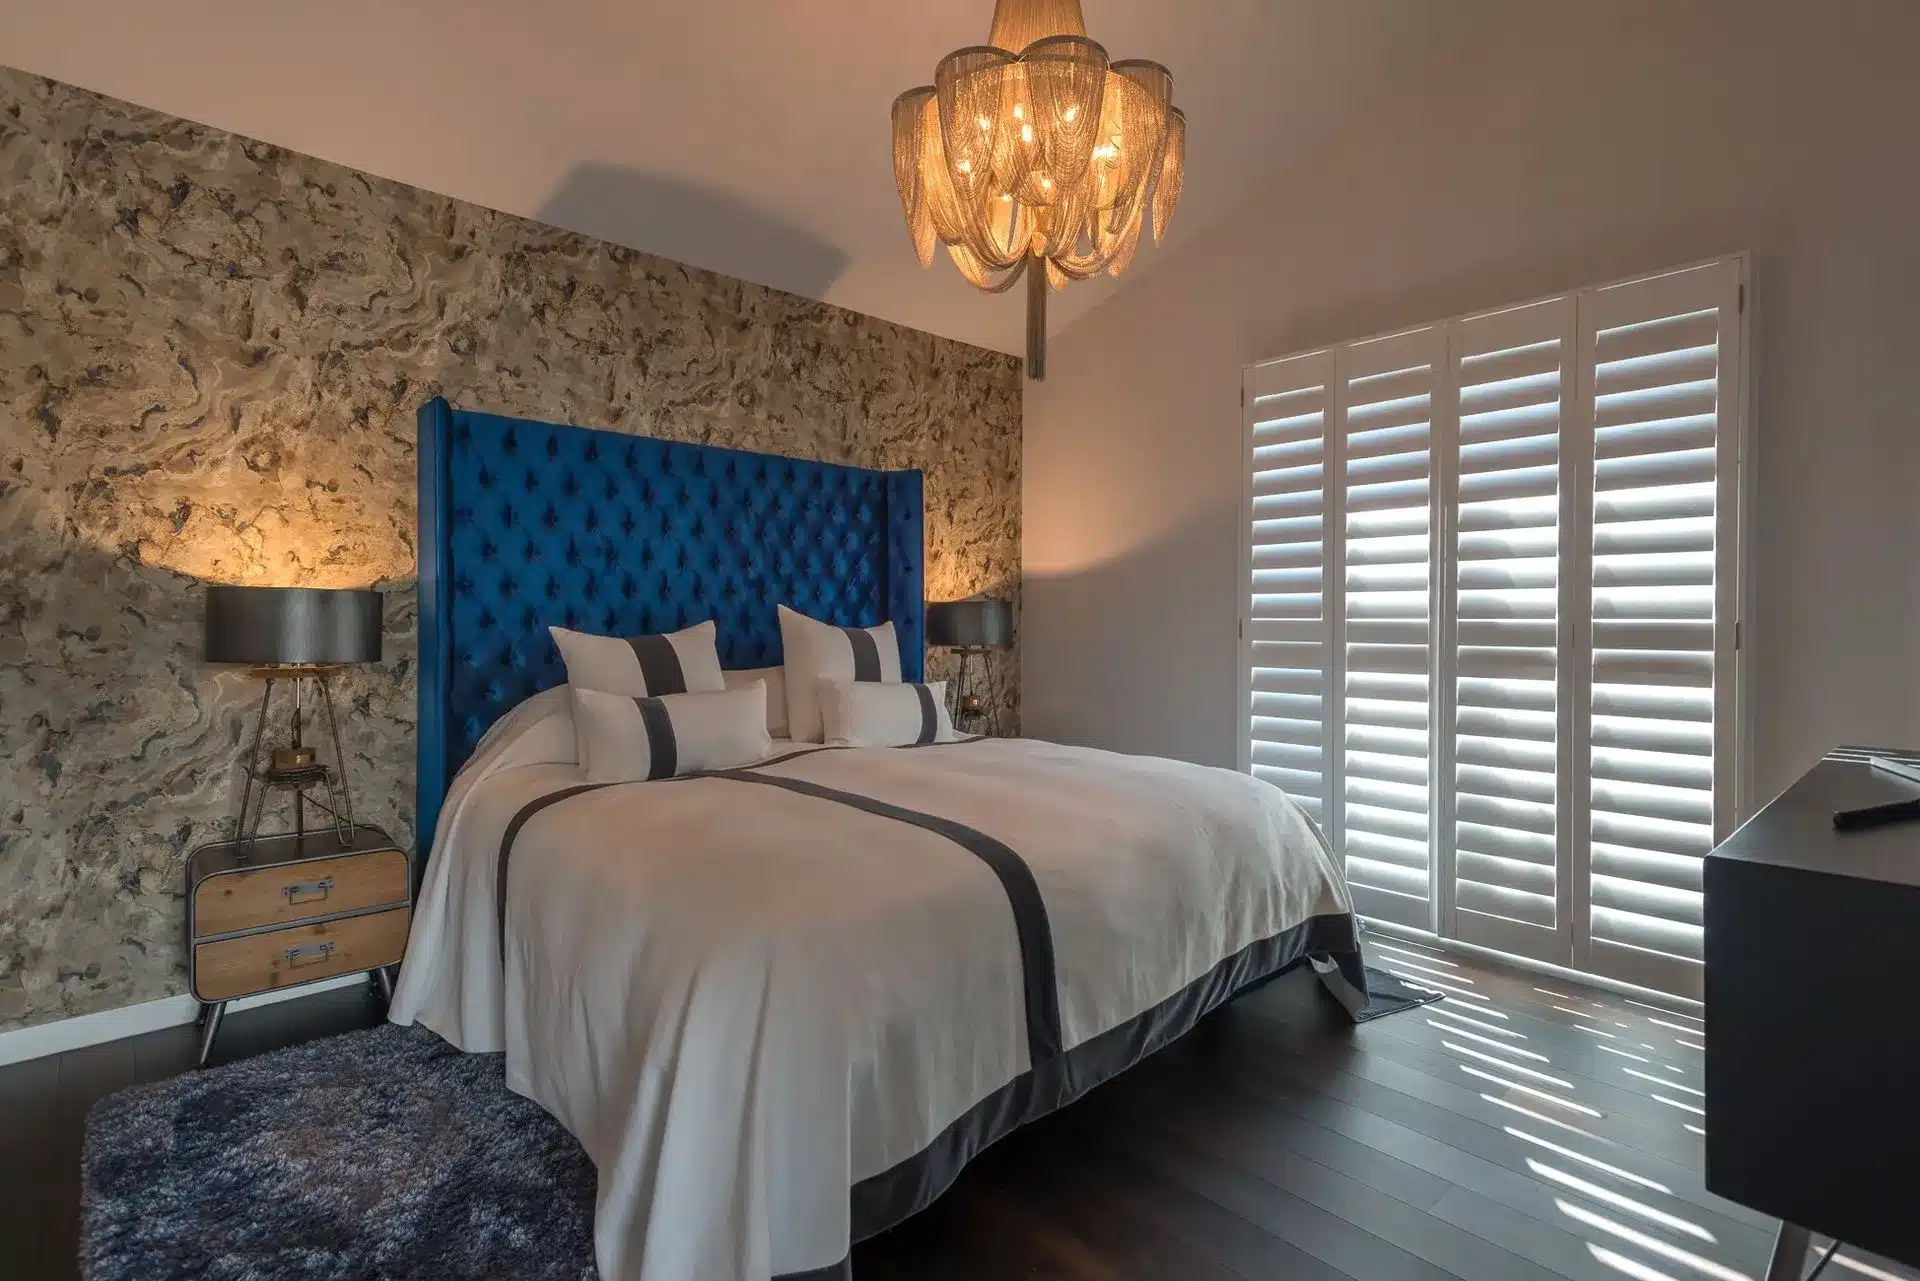
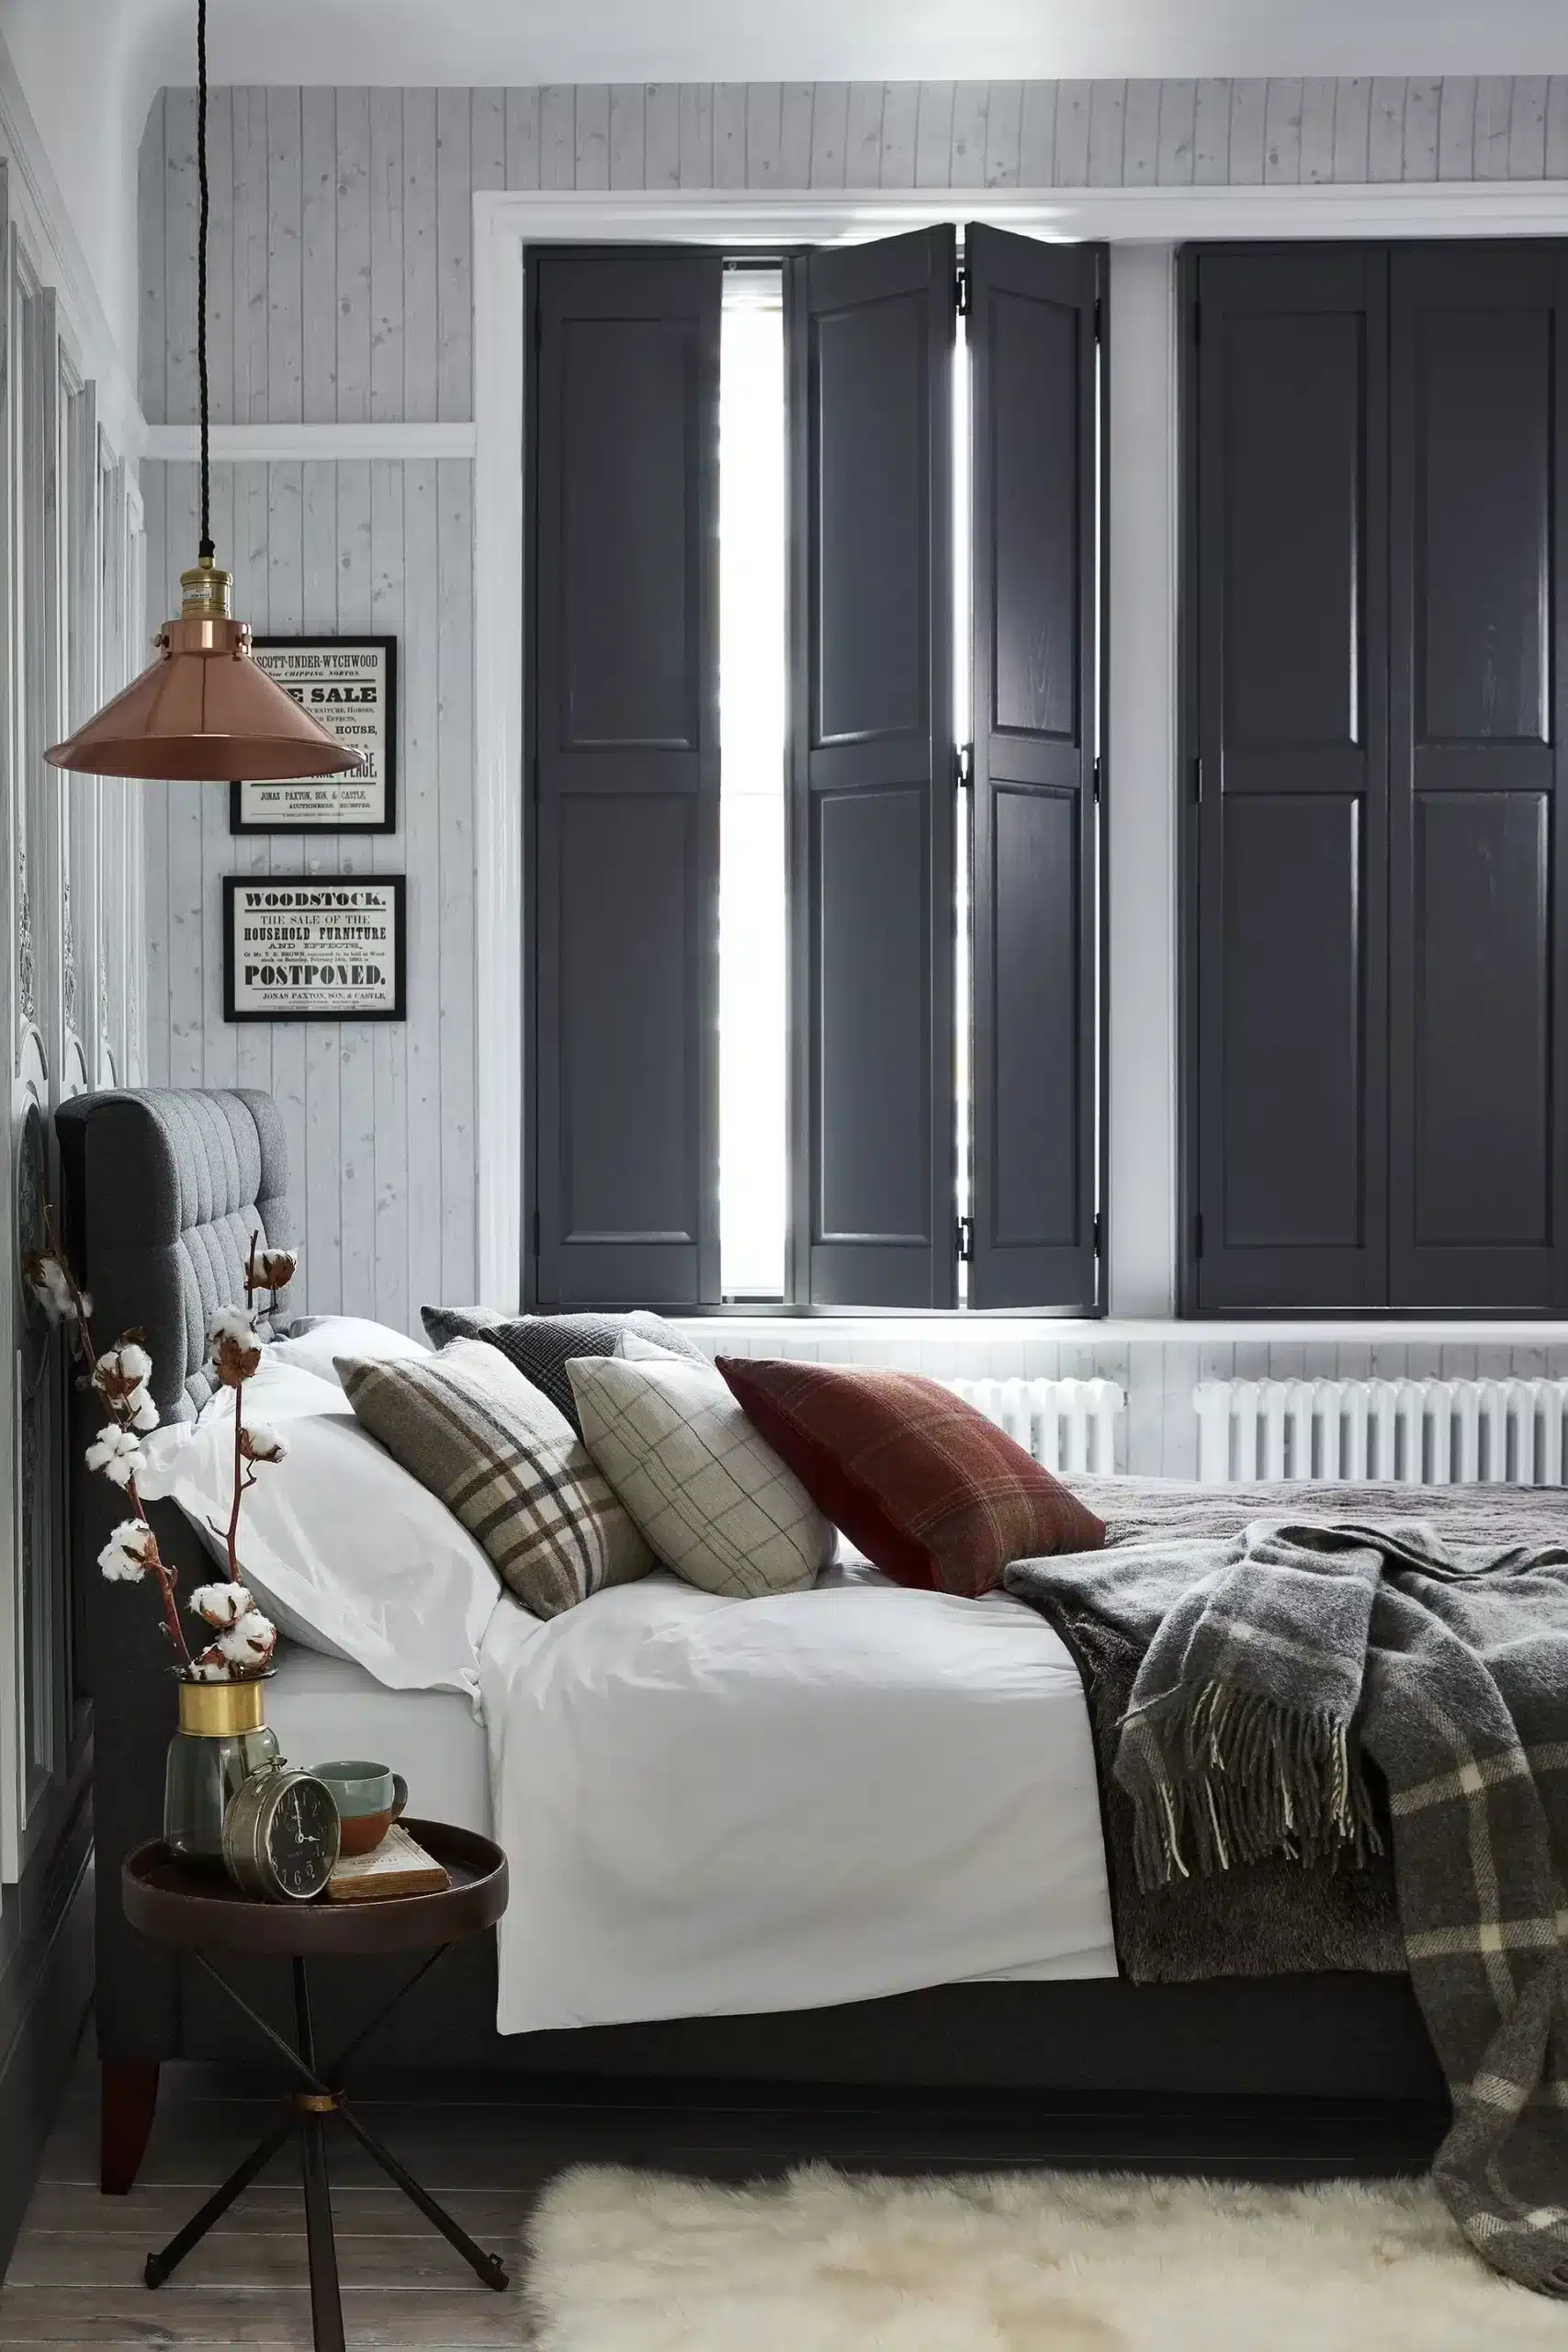
Why Choose Plantation Shutters?
Before we get into the nitty-gritty of installation, let’s review why plantation shutters are an excellent choice for your windows:
- Light Control: Plantation shutters allow you to easily adjust the amount of light entering your room.
- Privacy: They provide superior privacy compared to curtains or blinds.
- Energy Efficiency: Quality shutters can help improve your home’s energy efficiency and reduce heating costs, as outlined by the UK Government.
- Style: They add a timeless elegance to any interior design.
Preparation: Tools and Materials Needed
Before diving into the step-by-step guide to installing plantation shutters, gather the necessary tools and materials:
- Tape measure
- Level
- Drill
- Screwdriver
- Shutter installation kit (screws, brackets, etc.)
- Stud finder (if mounting on drywall)
- Safety goggles
Step 1: Measure Your Windows
Accurate measurements are crucial for a smooth installation process. Here’s how to measure:
- Measure the width of the window frame at three different points: the top, middle, and bottom.
- Record the smallest measurement as your width.
- Next, measure the height of the frame from the highest point to the sill in the same three locations.
- Use the smallest height measurement for your shutters.
Step 2: Selecting Your Shutter Style
After obtaining measurements, choose the shutter style that suits your home. Options include:
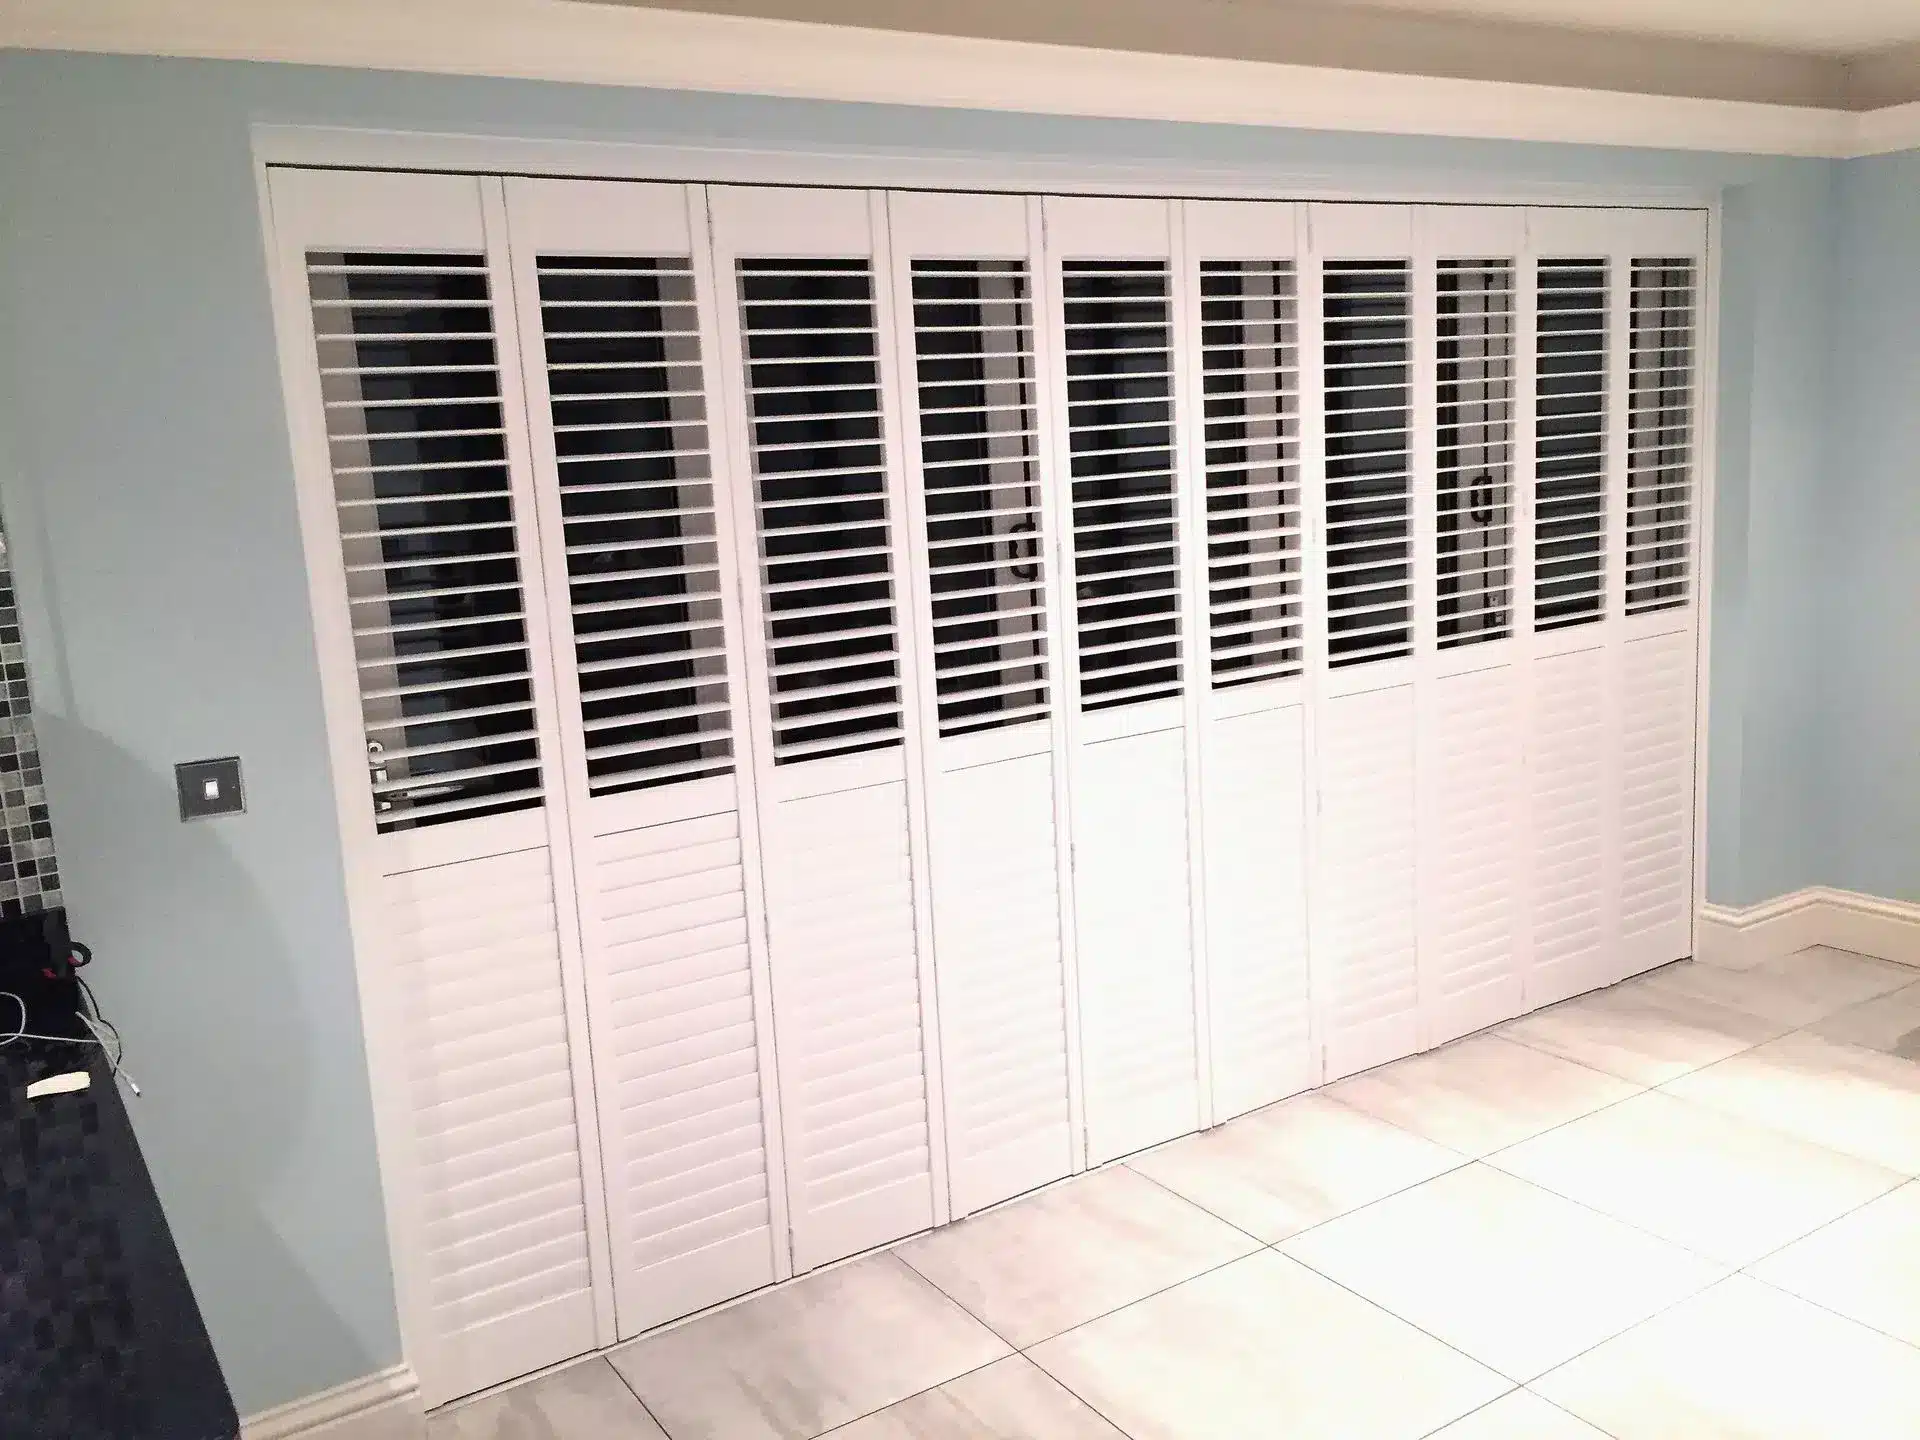
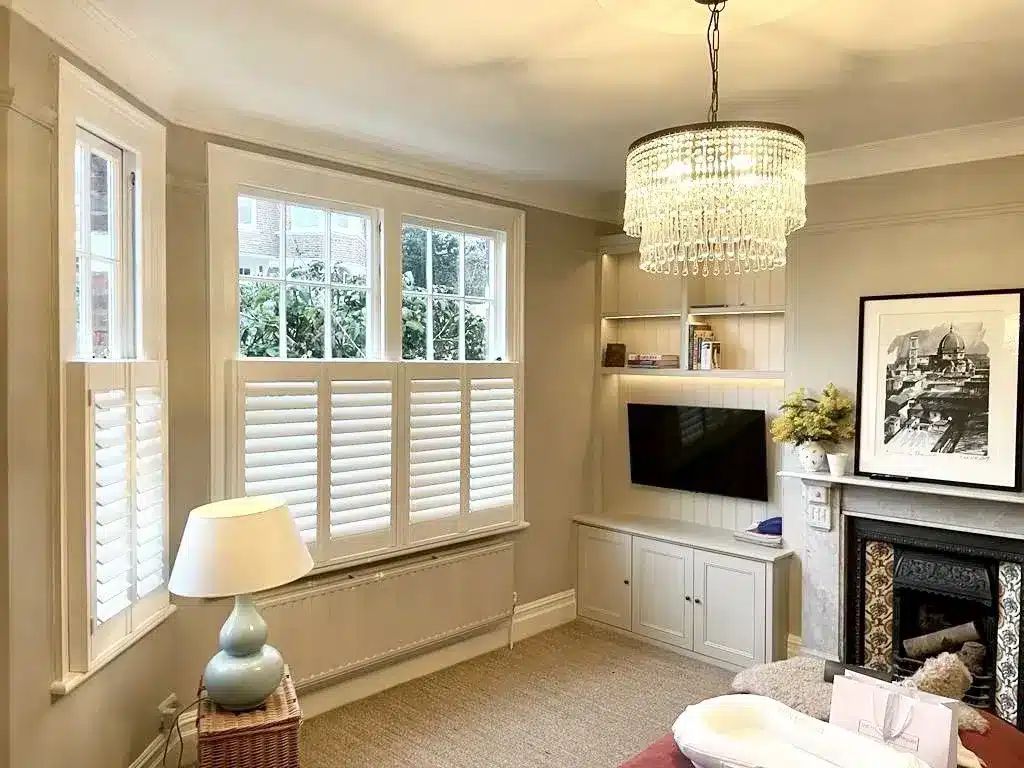
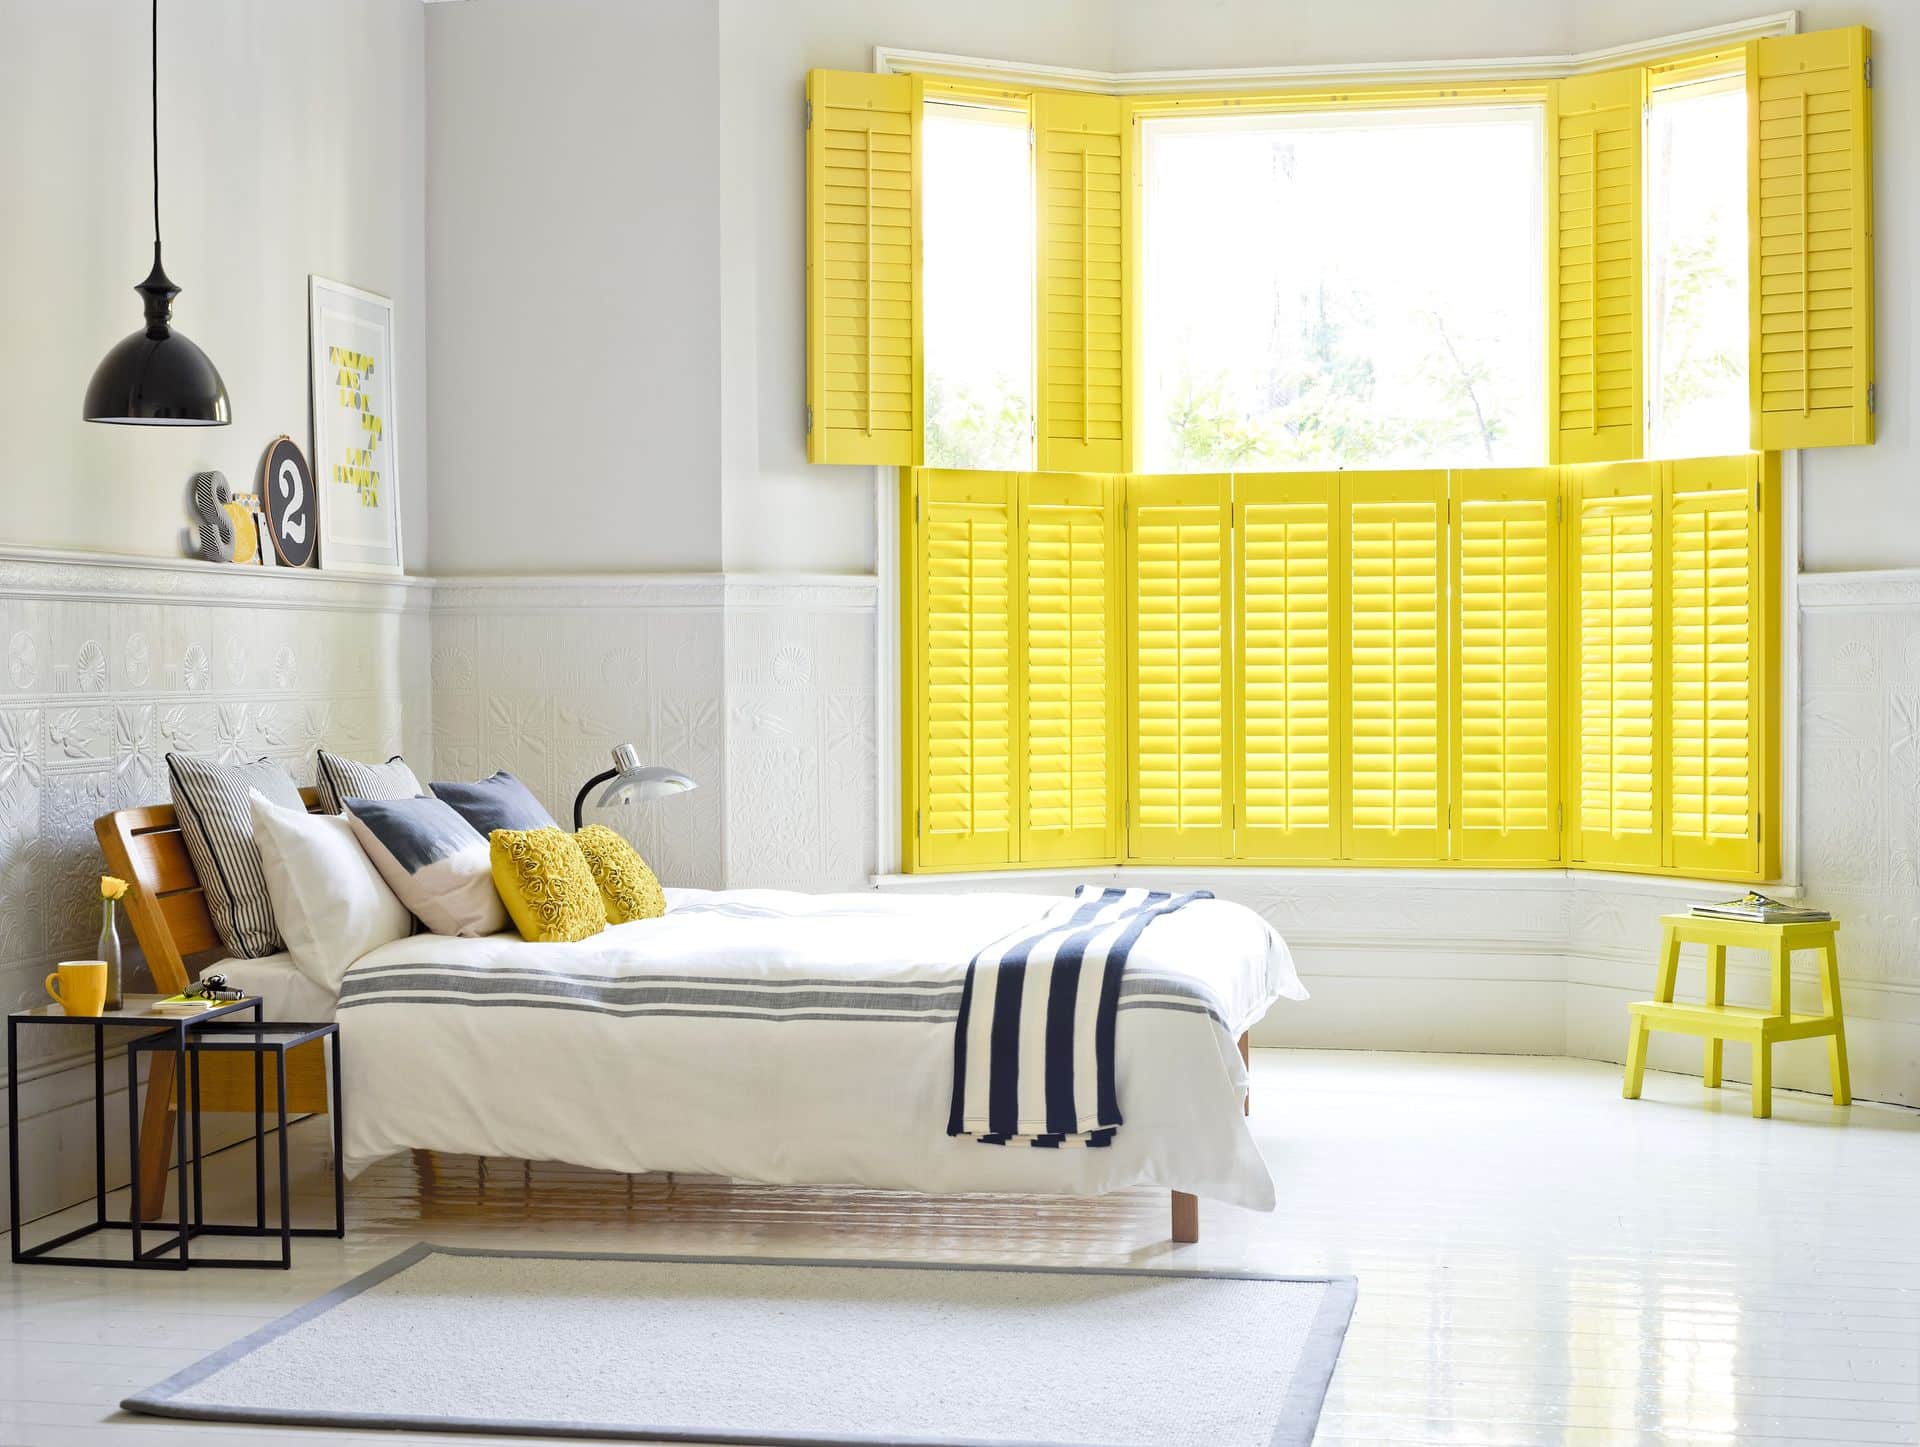
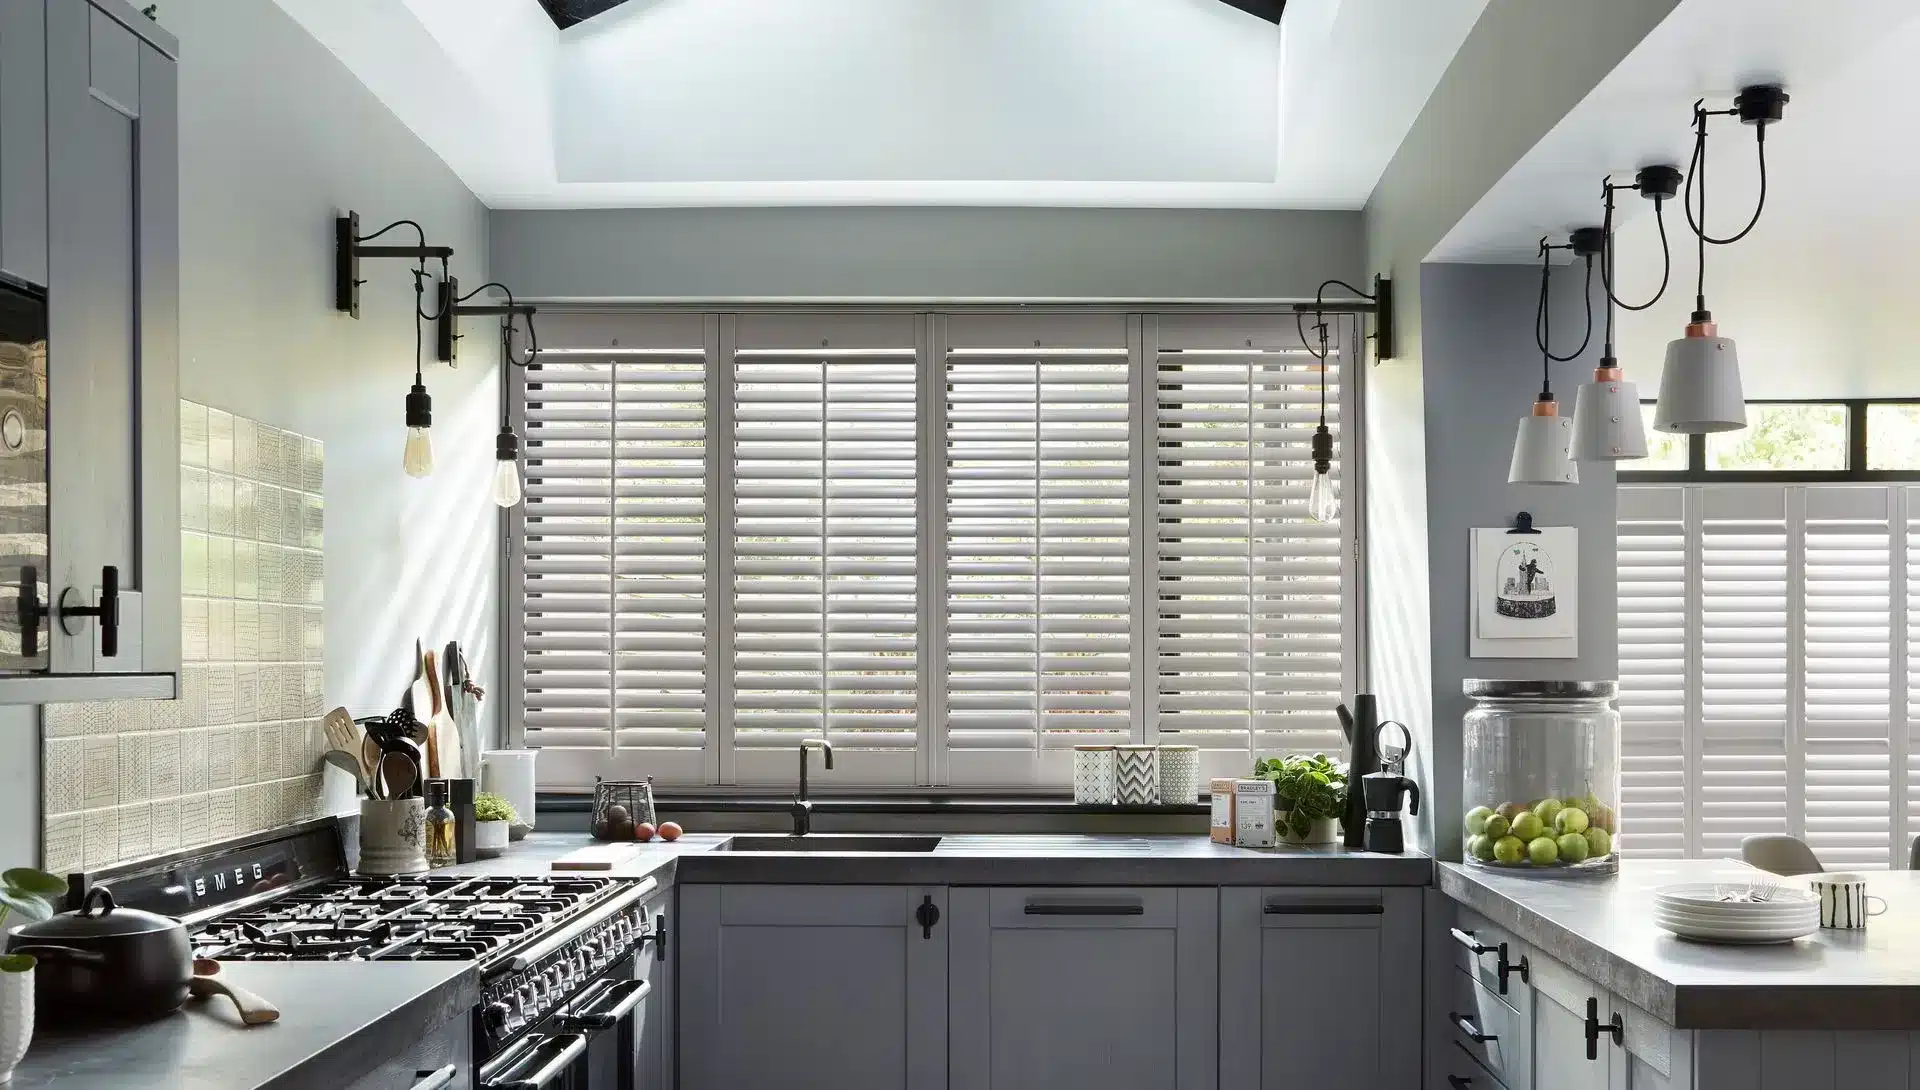
- Full-height shutters: Ideal for maximum light and privacy control.
- Café shutters: Perfect for a stylish look without compromising on natural light.
- Tier-on-tier shutters: Versatile for managing light and privacy separately.
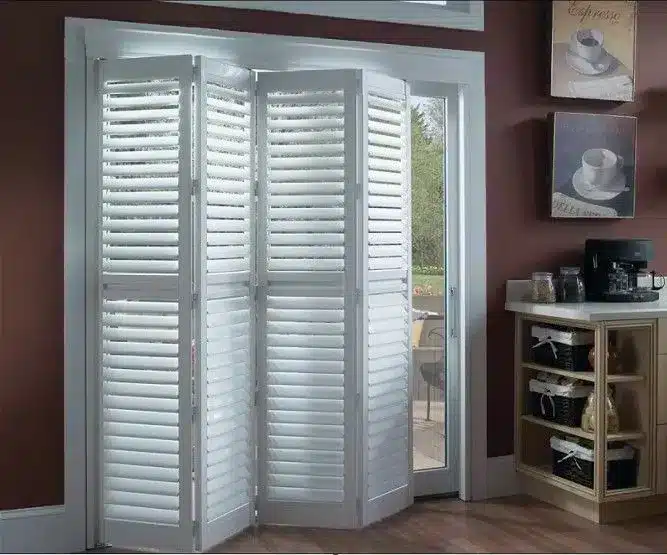
- Special shape shutters: Custom options for irregularly shaped windows.
Step 3: Prepare the Installation Site
Ensure the area around the windows is clean and clear of obstructions. Remove any existing window treatments to give yourself a workspace.
Step 4: Install the Shutter Frame
The installation frame should be attached first. Follow these steps:
- Using a level, mark where the mounting bracket will go with a pencil.
- Drill holes into the wall where the marks are made and insert anchors if needed.
- Attach the shutter frame using screws provided in the installation kit.
Step 5: Hang the Shutters
Now that the frame is secure, it’s time to hang your shutters:
- Lift the shutter panels and hook them into the frame.
- Ensure that they can open and close smoothly.
- Make adjustments if necessary to ensure the panels are level and fit snugly within the frame.
Step 6: Secure the Shutter Panels
Once the shutters are in place, secure them correctly:
- Use the screws to fasten the hinges into the pre-drilled holes on the frame.
- Double-check that the shutters are operating correctly.
Step 7: Final Touches
Finally, clean your shutters and perform a final inspection:
- Wipe down the shutters with a damp cloth to remove any dust from installation.
- Ensure all screws are tight and the shutters function smoothly.
Maintenance Tips for Your Plantation Shutters
To ensure that your shutters remain in top condition, consider the following maintenance tips:
- Regular Dusting: Dust your shutters with a soft cloth or feather duster to keep them clean.
- Spot Cleaning: For more stubborn stains, use a damp cloth with mild soap.
- Check for Loose Hardware: Regularly check screws and adjust as necessary.
Conclusion
In summary, this step-by-step guide to installing plantation shutters serves to empower you to enhance your home with beautiful window treatments. With proper measurements, quality materials, and careful installation, you can transform your windows into a stylistic focal point while enjoying the functional benefits of plantation shutters.
If you are still in doubt or need further assistance, our team at North London Shutters and Blinds is available to help. Our dedicated professionals have the expertise to ensure your plantation shutters are installed perfectly! Also, check out our guide on curtains for plantation shutters to learn how to complement your new shutters perfectly with the right window treatments. For additional insights on energy efficiency and how window treatments contribute to it, refer to the Energy Saving Trust.