How to Install Plantation Shutters on Your Own: 7 Tips
How to Install Plantation Shutters on Your Own
Installing plantation shutters can seem like a daunting task, but with a little bit of preparation and the right steps, you can achieve a professional result right in your own home. In this comprehensive guide, North London Shutters and Blinds shares expert advice on how to install plantation shutters on your own, allowing you to enhance your interior decor with style and flair.
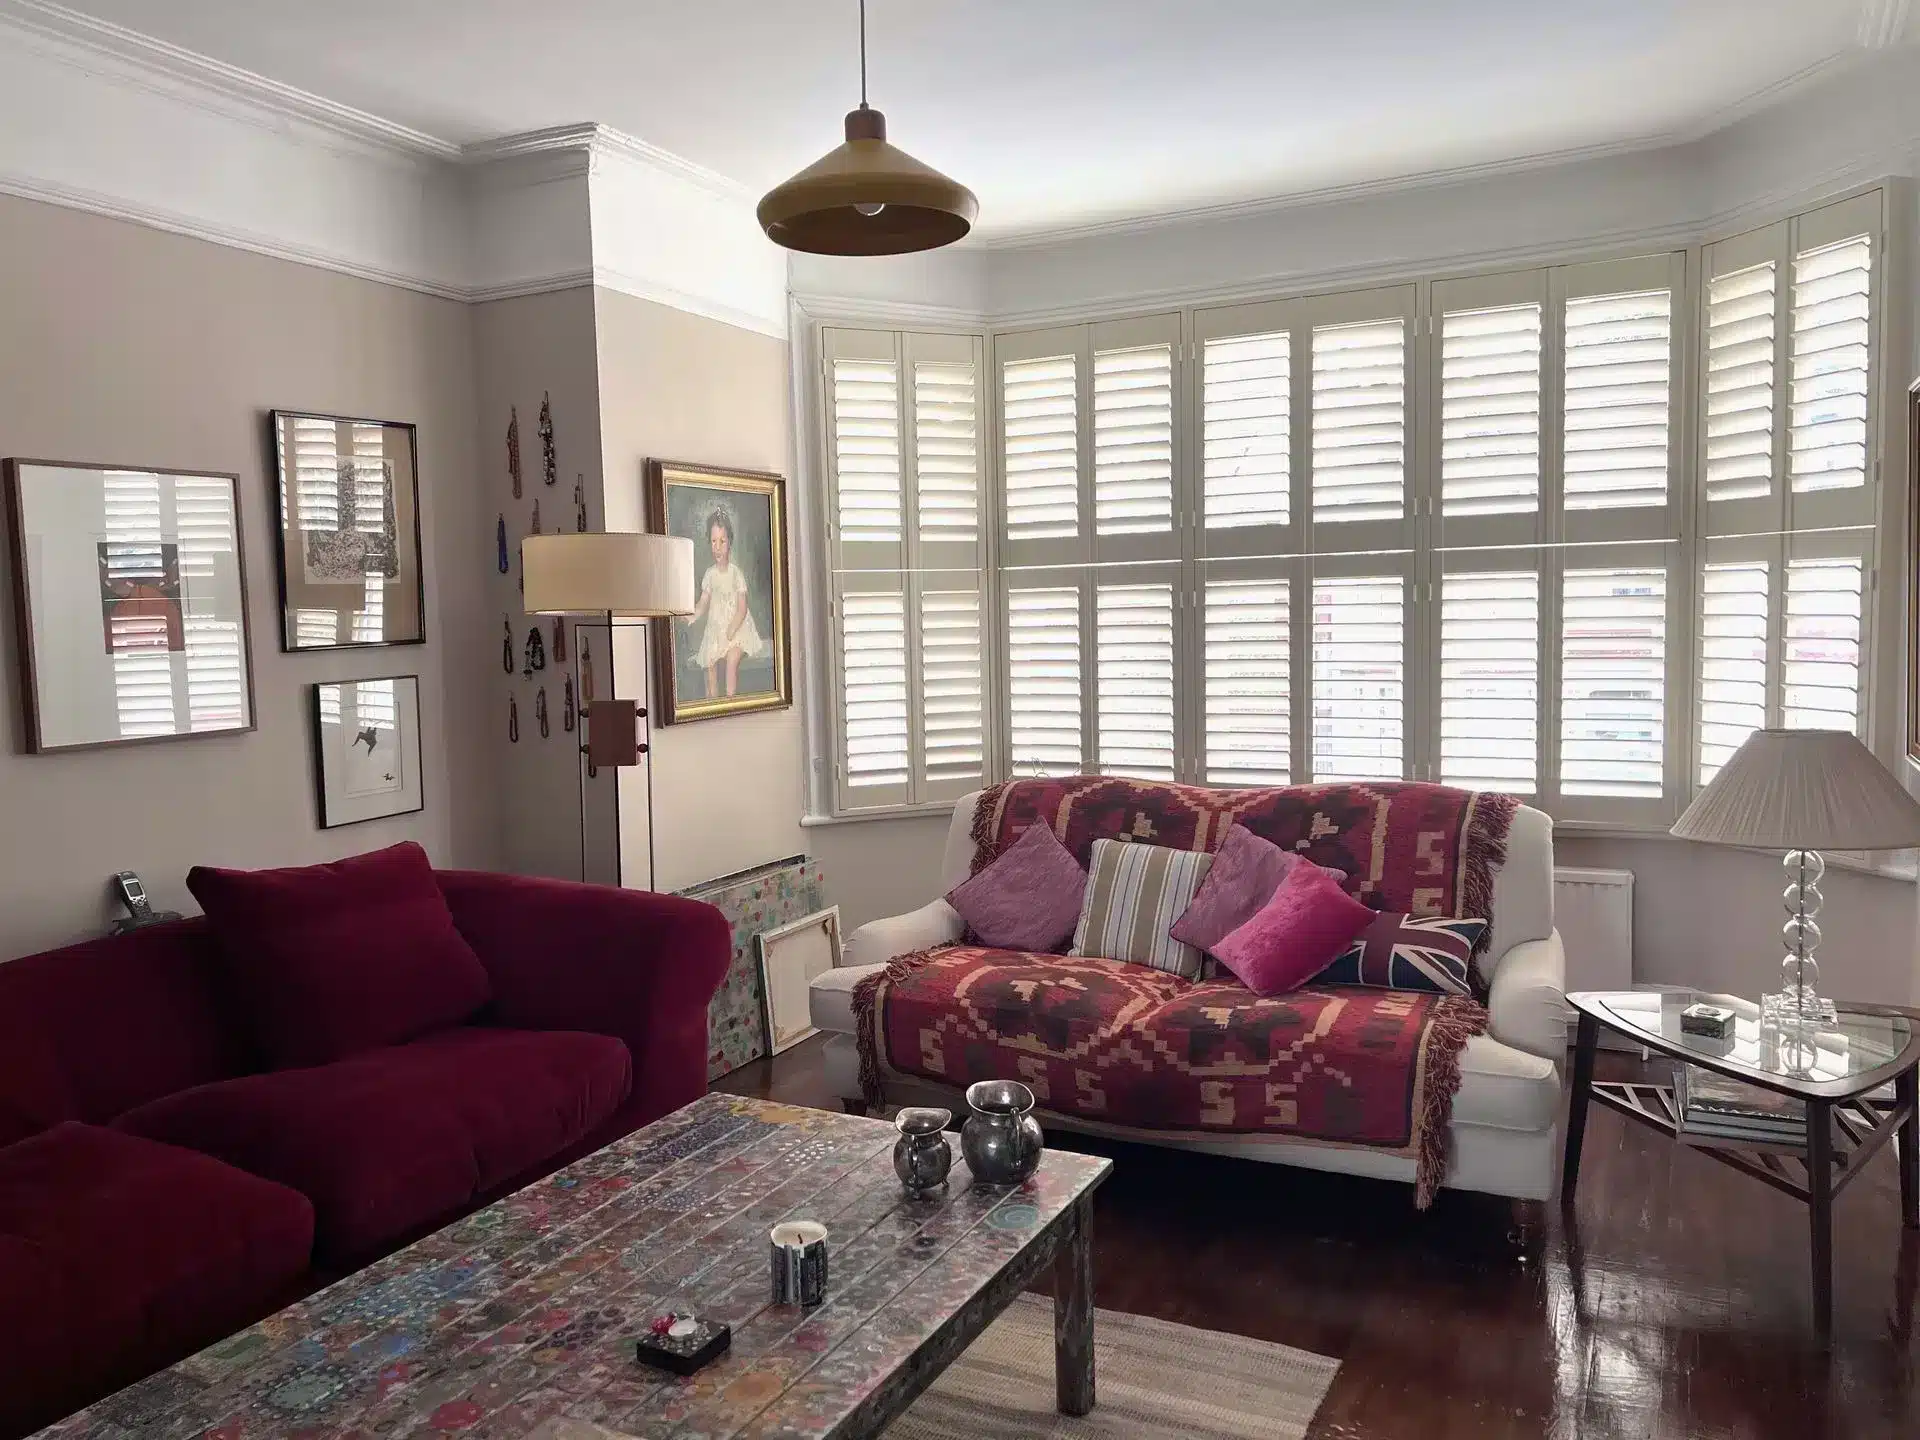
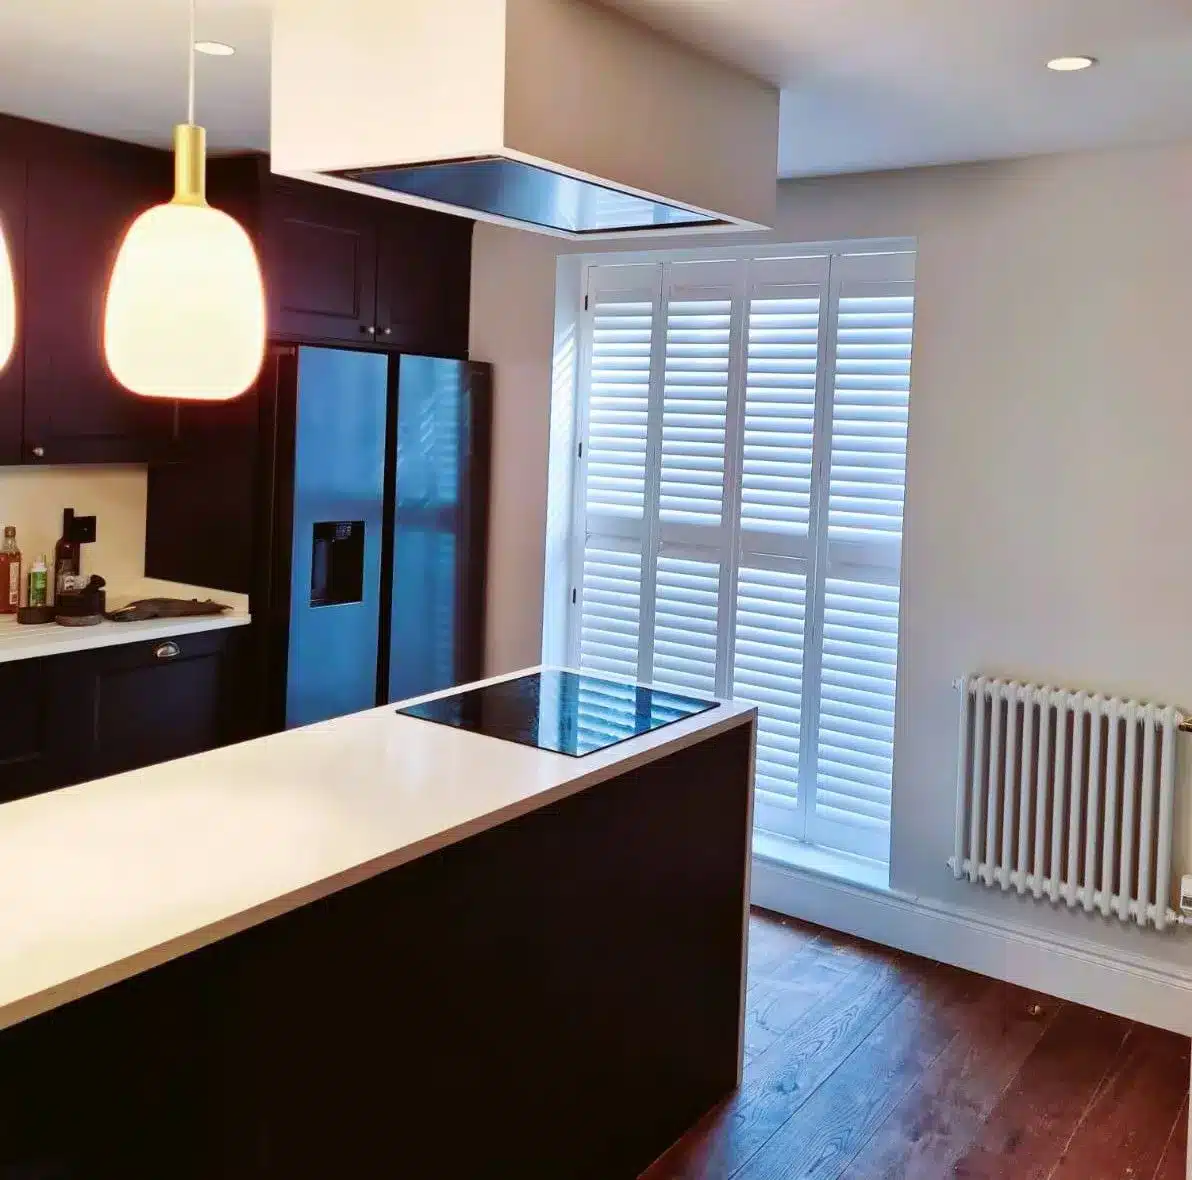
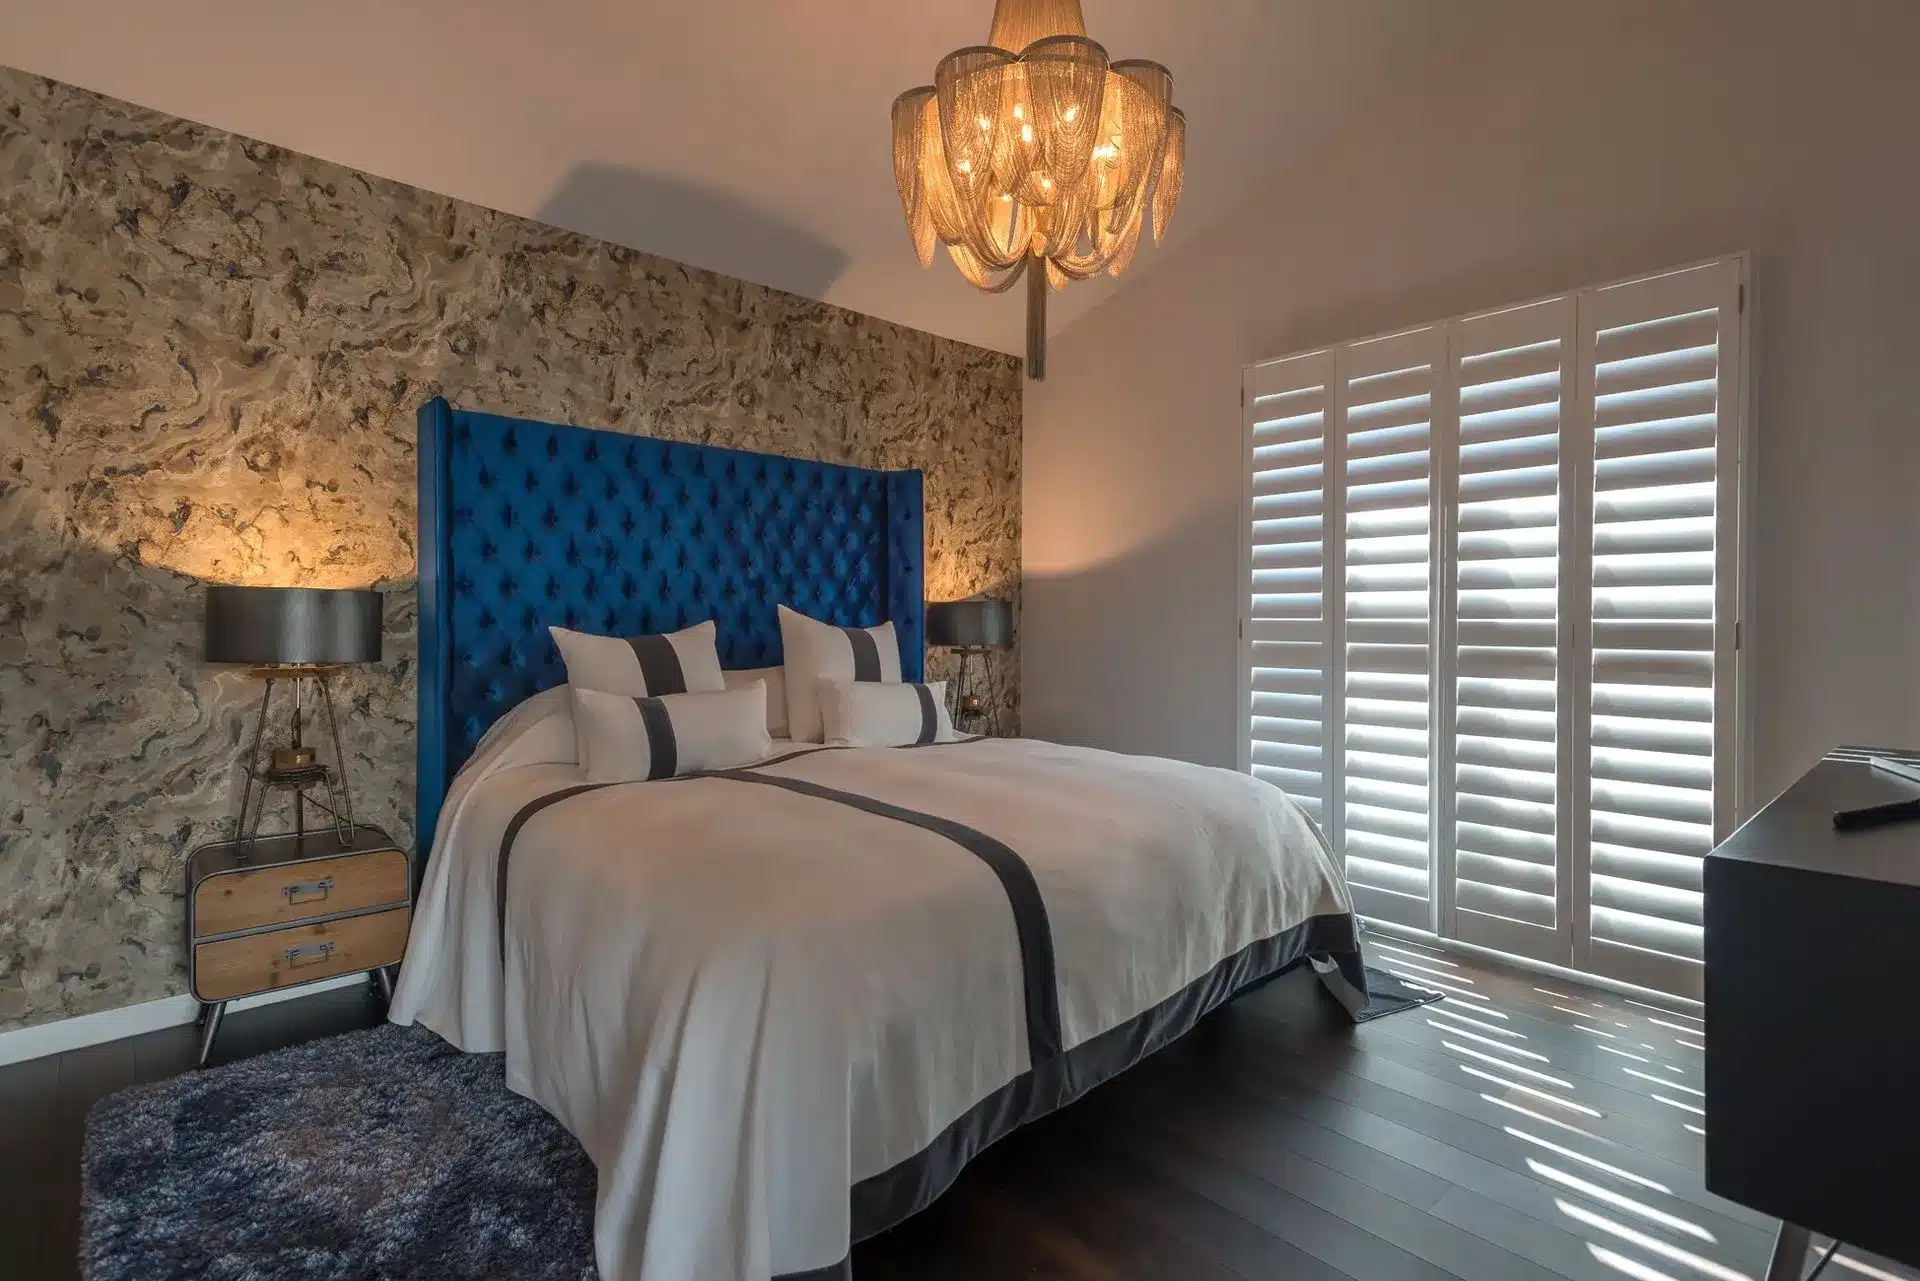
Why Choose Plantation Shutters?
Before we dive into the installation process, let’s briefly discuss why plantation shutters are a preferred choice for homeowners:
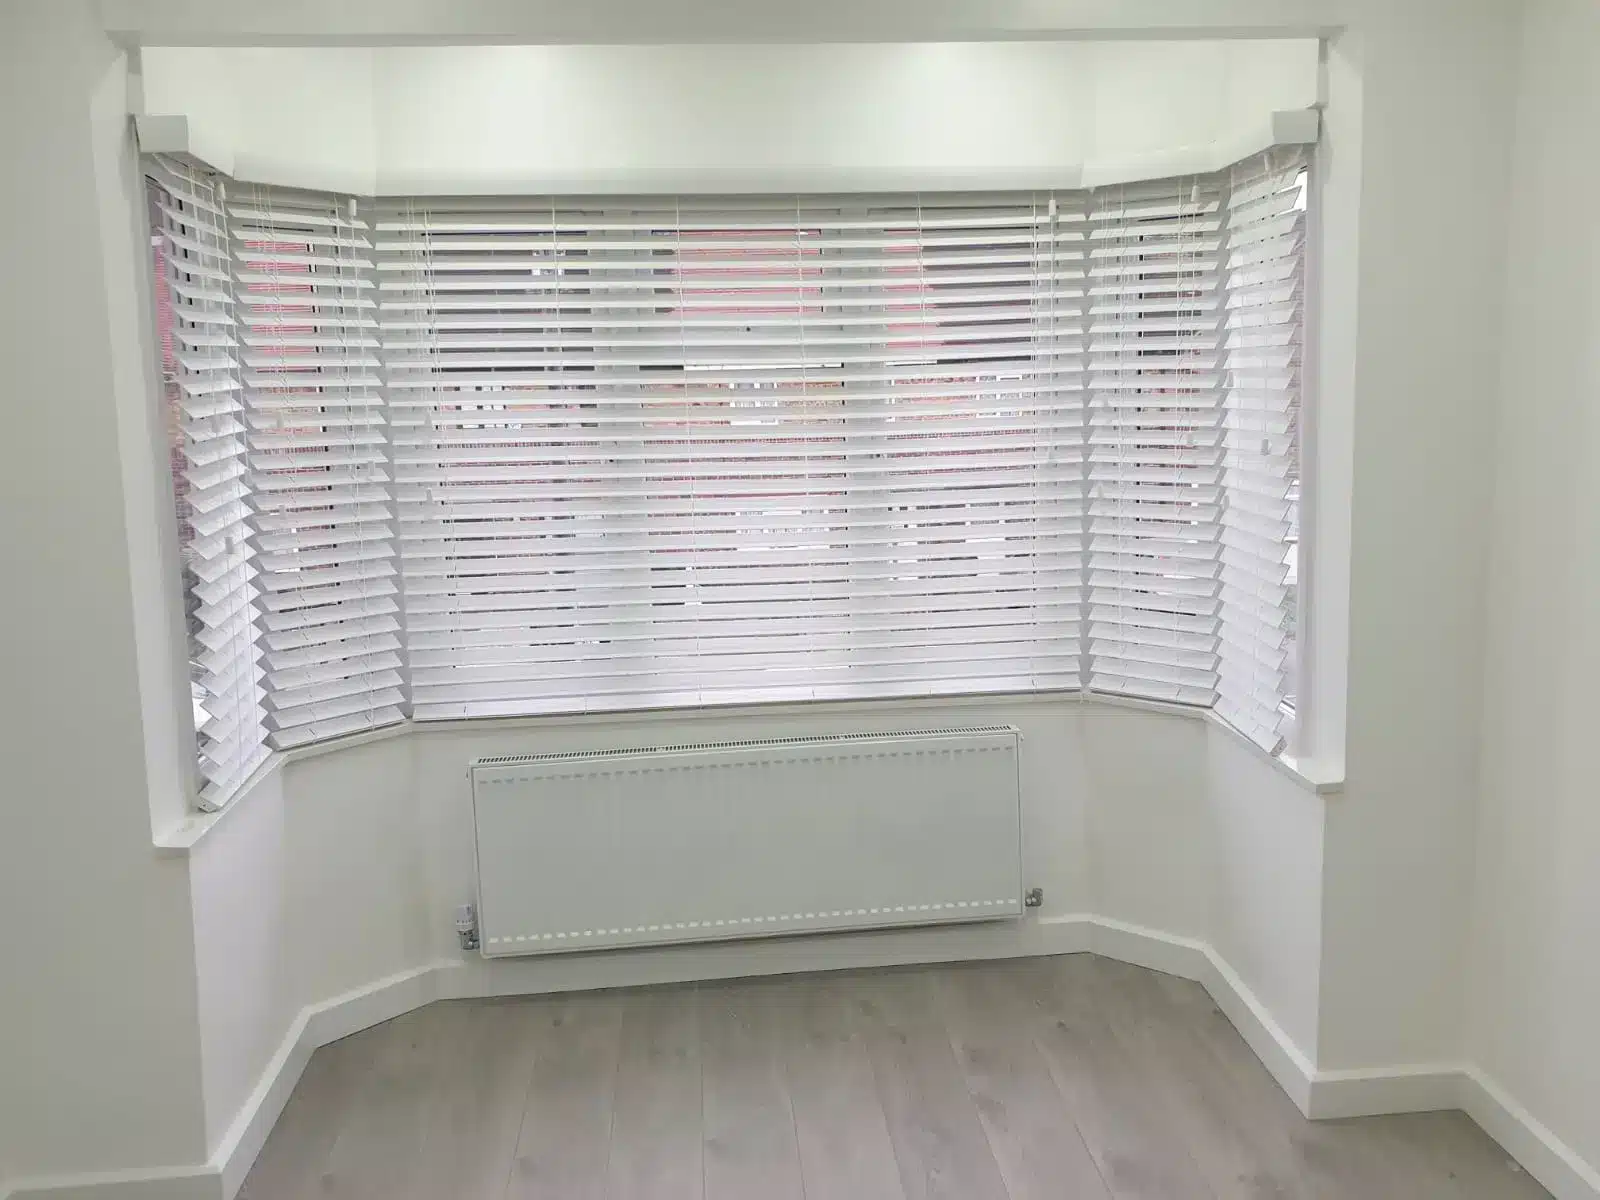
- Aesthetic Appeal: Their timeless design elevates any room.
- Light Control: Easily adjustable slats allow you to control the amount of light entering your space.
- Energy Efficiency: Excellent insulation properties help keep your home warm in winter and cool in summer. For more information on energy efficiency, you may refer to Ofgem’s guidelines.
- Durability: Quality wooden shutters can last a lifetime when properly maintained. Explore more on maintaining your home fixtures at Homes & Gardens.
Step 1: Gathering Your Tools
Before you begin the installation, make sure you have the following tools ready:
- Measuring tape
- Pencil
- Level
- Drill or screwdriver
- Mounting brackets (included with your shutters)
- Shutter panels
- Safety goggles
Step 2: Measuring Your Window
Accurate measurements are crucial in ensuring a proper fit for your plantation shutters. Follow these steps:
- Measure the width of the window opening in three places: at the top, middle, and bottom. Use the narrowest measurement for your shutters.
- Measure the height of the window opening in two places: on the left and right side. Use the taller measurement for your shutters.
Tip: For an inside mount, subtract 1/4 inch from your measurements to ensure a snug fit.
Step 3: Preparing the Window Frame
For optimal installation, your window frame should be clean and free of dust or debris:
- Use a damp cloth to wipe down the frame.
- Check for any obstructions that could hinder the placement of the mounting brackets.
Step 4: Marking the Mounting Locations
Use your level and pencil to determine where to install the mounting brackets. Here’s how:
- Hold the bracket against the frame and use a level to ensure it’s straight.
- Mark the screw holes with your pencil.
- Repeat this process for all brackets, generally placing them every 24 inches.
Step 5: Drilling the Holes
Using a drill, make holes where you marked the bracket locations. Ensure you’re drilling straight to avoid misalignment:
- Use a drill bit that matches the size of your screws.
- For added stability, consider using wall anchors if you’re drilling into drywall. You can learn more about wall anchors at Wickes.
Step 6: Installing the Mounting Brackets
Now that your holes are prepped, it’s time to install the brackets:
- Align the bracket with the holes you just drilled.
- Insert the screws and tighten them, ensuring the bracket is secure.
Pro Tip: Check alignment with a level after each bracket installation to ensure they’re straight.
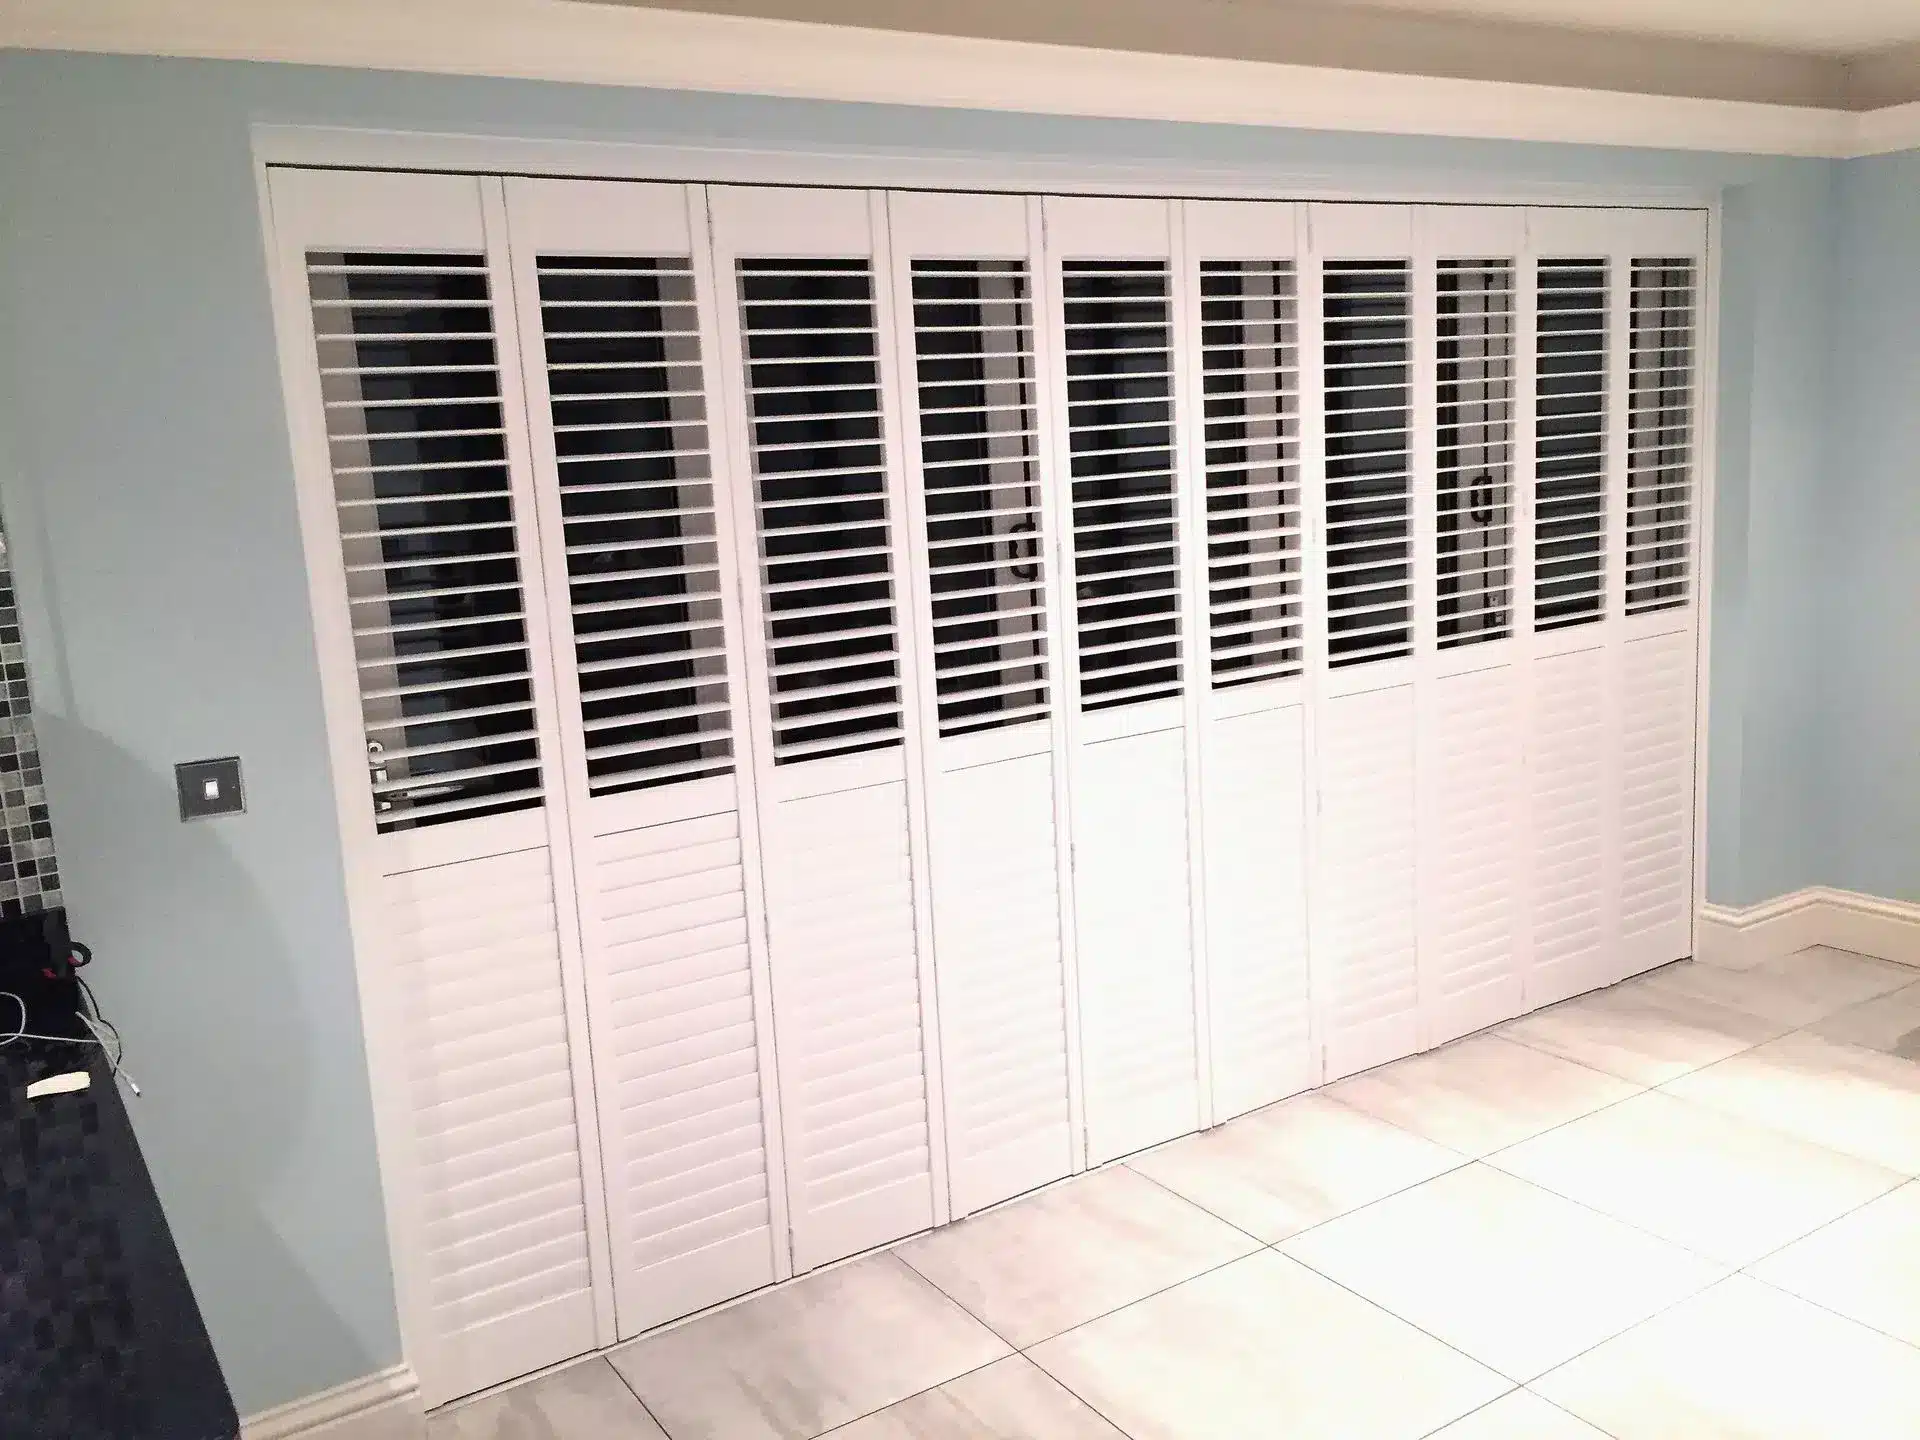
Step 7: Attaching the Shutter Panels
With the brackets in place, it’s time to hang your plantation shutter panels:
- Carefully lift the shutter panels into position.
- Align the panel hinges with the mounted brackets.
- Secure the panels with the provided screws or clips.
Step 8: Testing the Operation
Once the panels are up, it’s essential to test the operation:
- Open and close the panels to ensure they function smoothly.
- Adjust the tilt of the slats to check for proper light control.
Step 9: Final Adjustments
If everything looks good, make any necessary adjustments:
- Tighten any loose screws.
- Ensure the shutters are level and aligned.
Frequently Asked Questions
1. Can I install plantation shutters myself?
Yes! With the right tools and measurements, it’s a manageable DIY project.
2. How long does it take to install plantation shutters?
Depending on the number of windows, installation can take anywhere from a few hours to a full day. For more assistance, our recent article discusses this in detail.
3. What are the benefits of plantation shutters?
They offer beauty, energy efficiency, and excellent light control. You can find more options and styles at our plantation shutters page.
Conclusion
Installing plantation shutters can enhance the beauty and functionality of your windows. With North London Shutters and Blinds’s expert tips on how to install plantation shutters on your own, you’re well on your way to completing this rewarding home improvement project.
For any questions or assistance, feel free to reach out at T: 020 3417 6465 or E: admin@northlondonshuttersandblinds.co.uk.