Troubleshooting Shutter Installation Problems: 7 Tips
Troubleshooting Shutter Installation Problems
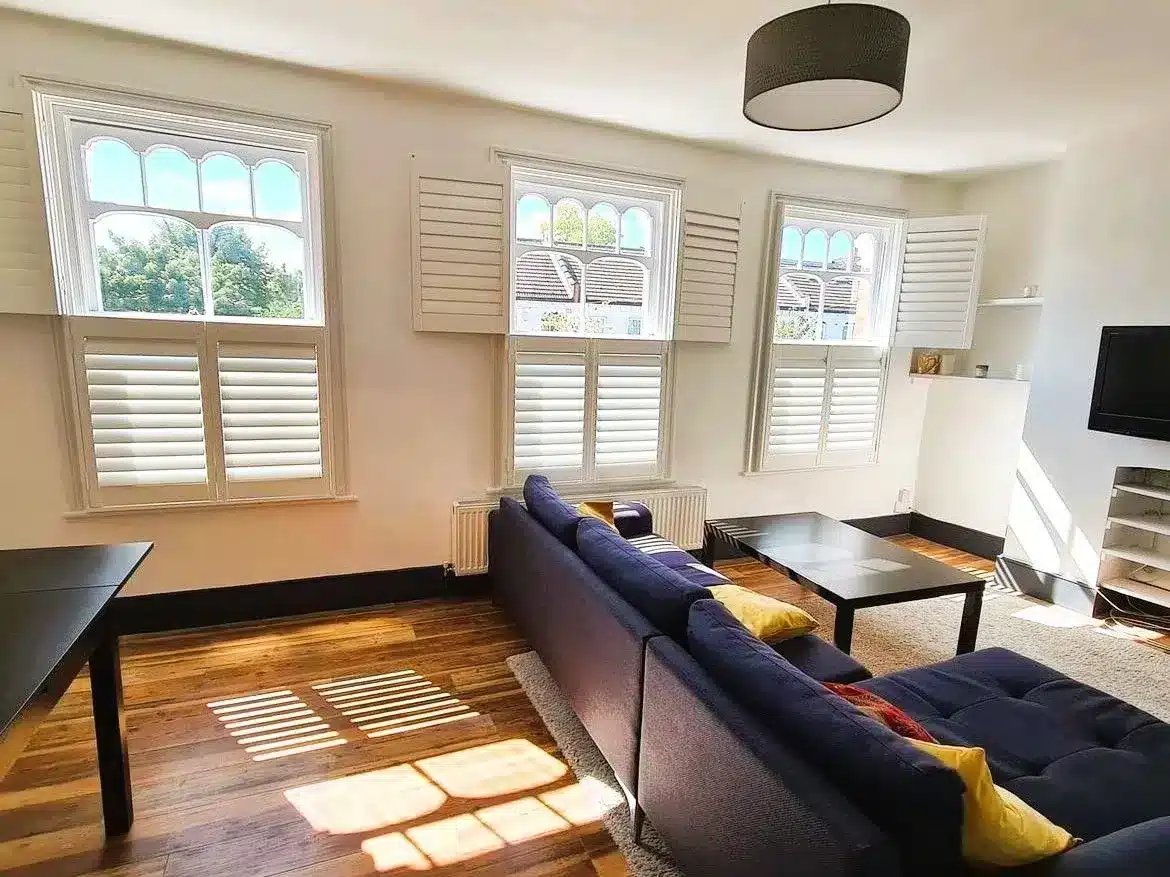
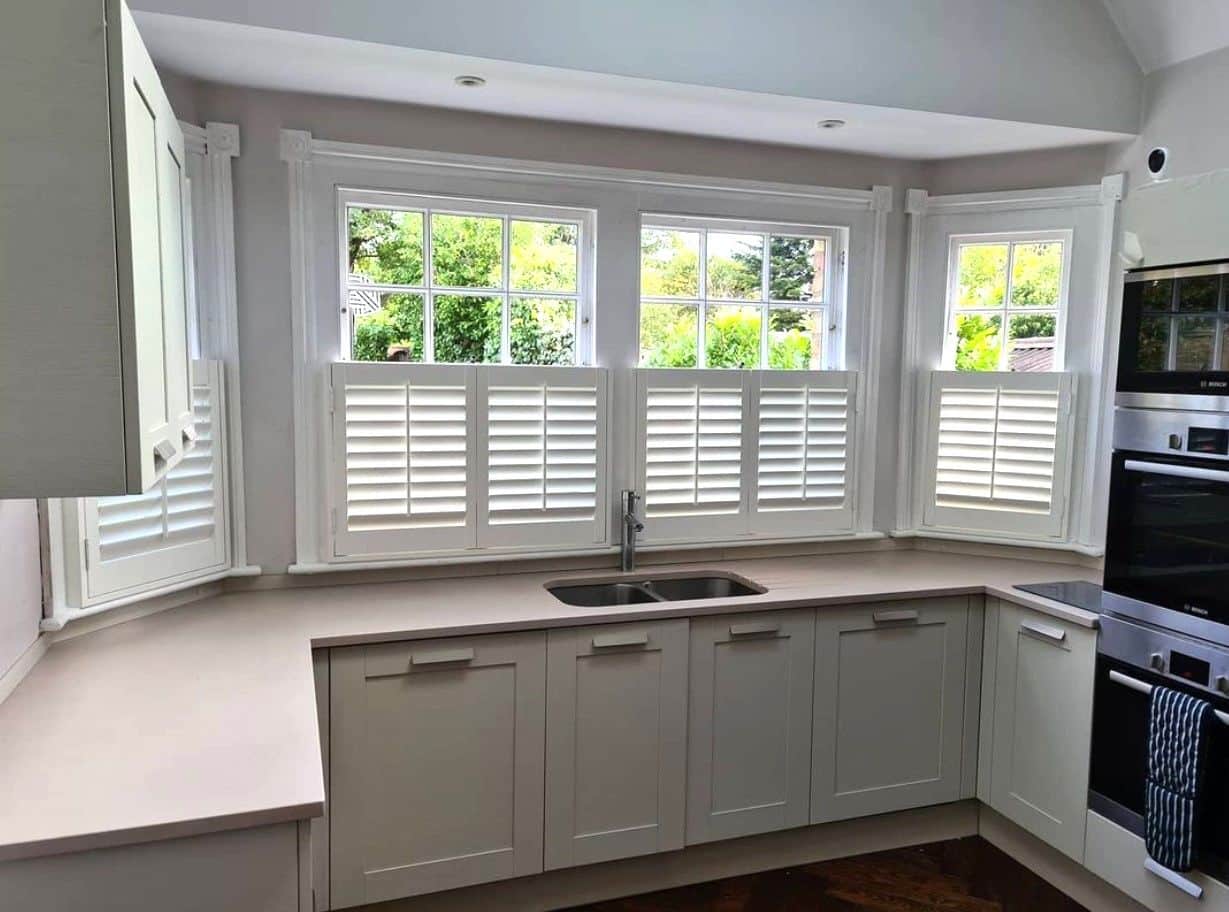
Installing shutters can significantly enhance the aesthetic of your home while providing privacy and light control. However, like any home improvement project, you may encounter some complications during the installation of your plantation shutters. Knowing how to tackle these potential issues can ensure a smoother process and create a beautiful end result. In this article, we’ll dive into effective ways for troubleshooting shutter installation problems.
Understanding Common Installation Issues
Before we discuss the troubleshooting aspect, it’s essential to understand some common issues that may arise during the installation process:
- Incorrect Measurements: One of the most prevalent issues homeowners face is inaccurate measurements. This can lead to shutters that do not fit properly. For guidance on achieving the perfect fit, you might want to check out our DIY Window Shutter Guide.
- Unlevel Mounting: Mounting shutters unevenly may cause them to function poorly or appear aesthetically unpleasing. Ensuring you follow proper techniques can save you a lot of frustration.
- Hardware Issues: Sometimes, the screws or brackets provided may not be suitable for the specific material of your window frame. Consult our Shutter Shoppe for compatible hardware options.
- Obstructions: Furniture or decor in the surrounding area may hinder the installation process. Preparing your workspace ahead can help.
- Inadequate Instructions: Not all shutter systems come with clear instructions, leading to confusion during installation. In such cases, consider watching instructional videos for further clarity.
Tip 1: Take Accurate Measurements
Accurate measurements are the foundation of a successful shutter installation. To avoid troubleshooting shutter installation problems later, use a reliable measuring tape and follow these steps:
- Measure the width of the window frame at the top, middle, and bottom.
- Measure the height of the window frame on the left, center, and right side.
- Record the smallest width and height measurements for your order.
Remember, it’s better to take your time to ensure measurements are correct than to rush the process and make costly mistakes. If you’re considering a affordable plantation shutter, accurate measurements are even more critical.
Tip 2: Ensure Level Mounting
Installing shutters that are not level can cause a series of functional and visual problems. Here’s how you can ensure level mounting:
- Use a Level: A carpenter’s level is essential to ensure the top rail of the shutter is perfectly horizontal.
- Mark Mounting Points: Use a pencil to mark where the brackets will be installed; check to ensure they are marked at the same height on each side.
By taking the time to double-check your work, you can prevent future frustrations. For inspiration on different styles, explore our range of shutter doors.
Tip 3: Choose the Right Hardware
Using the correct hardware is crucial for a successful shutter installation, especially for custom sizes and heavier shutters. Here’s a little guide:
- Consult the installation manual for recommended screws and brackets for your shutters.
- If necessary, visit a local hardware store for stronger screws compatible with your window material.
Remember, investing a bit more in quality hardware can save you time and effort down the line. For more options, visit our patio door shutters section.
Tip 4: Clear the Workspace
Before starting your installation, make sure the surrounding area is clear of obstructions. Here are some helpful steps:
- Move any furniture or decor that might obstruct the installation area.
- Ensure the window and surrounding frame are clean to prevent any accidental misalignment.
A tidy workspace will help minimize distractions and errors.
Tip 5: Seek Professional Help When Needed
If you find that your problems persist despite your best efforts, it may be worth seeking out professional assistance:
- Consider hiring a professional installer if you are uncertain about your skills.
- Check customer reviews of services in North London to find experienced local help. Our experts at North London Shutters and Blinds offer tailored installation services.
At North London Shutters and Blinds, we provide over 15 years of experience in crafting and installing premium plantation shutters. For more details on our offerings, visit shutter louvres.
Tip 6: Follow Instructions Carefully
Always refer back to the installation manual and follow the prescribed steps meticulously. Some key points include:
- Watch for any specific hinge placements and spacing requirements.
- If there are video instructions available, consider watching them beforehand for better clarity.
This preparatory work can keep your project running smoothly.
Tip 7: Perform Regular Maintenance
Even after installation, maintaining your shutters will help you avoid potential issues in the future:
- Check the brackets and screws periodically for signs of wear and tear.
- Clean your shutters regularly to prevent dust buildup that may impact functionality.
By caring for your shutters, you’ll ensure they remain a functional and beautiful element of your home for years to come. For more cleaning tips, check out our recent articles on waterproof blinds and black window shutters.
Conclusion
With the right preparation and troubleshooting strategies, you can successfully navigate troubleshooting shutter installation problems. Always take your time to measure accurately, clear your workspace, choose the right hardware, and follow instructions closely. Should you need assistance, don’t hesitate to reach out to a professional installer.
For expert advice and beautiful, crafted window treatments in North London, contact us at North London Shutters and Blinds. Our commitment to quality and customer satisfaction has made us a trusted name in the community.
Call us today at 020 3417 6465 or email admin@northlondonshuttersandblinds.co.uk to start your journey towards elegant window solutions!