Best Installation Tips for Plantation Shutters: 7 Expert Secrets
Best Installation Tips for Plantation Shutters
Welcome to North London Shutters and Blinds, your premier destination for premium plantation shutters. With over 15 years of experience, we understand that successful installation can make or break your window treatment experience. In this guide, we will explore the best installation tips for plantation shutters to ensure you achieve both aesthetic appeal and functional excellence.
1. Measure Accurately
The first step in any successful installation is taking accurate measurements. Follow these tips for precise measurements:
- Use a Steel Tape Measure: Always opt for a steel tape measure instead of a cloth one to ensure accuracy.
- Measure Height and Width: For full height shutters, measure the height from the top of the window casing to the bottom, and the width at the top, middle, and bottom.
- Account for Frame Style: If you are using a frame, ensure you measure according to the frame’s guidelines.
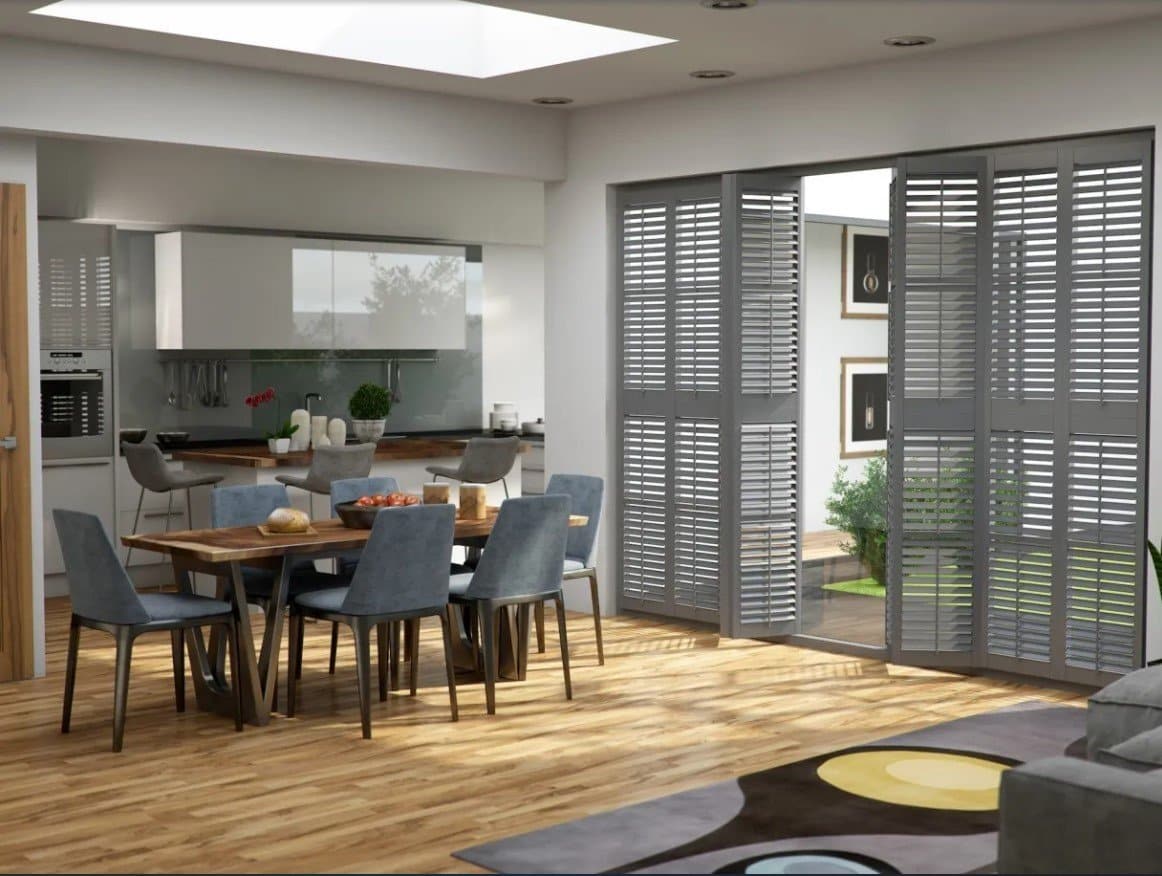
2. Choose the Right Style
The right style of shutters will enhance the beauty of your home. Consider the following styles for your plantation shutters:
- Full Height Shutters: Ideal for creating a uniform look across the window.
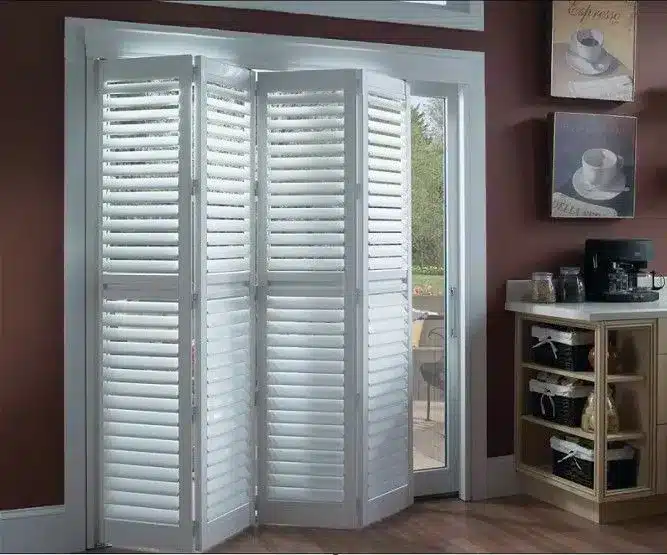
- Tier-on-Tier Shutters: Perfect for added flexibility with light control.
- Cafe Shutters: Great for privacy while allowing light from the top.
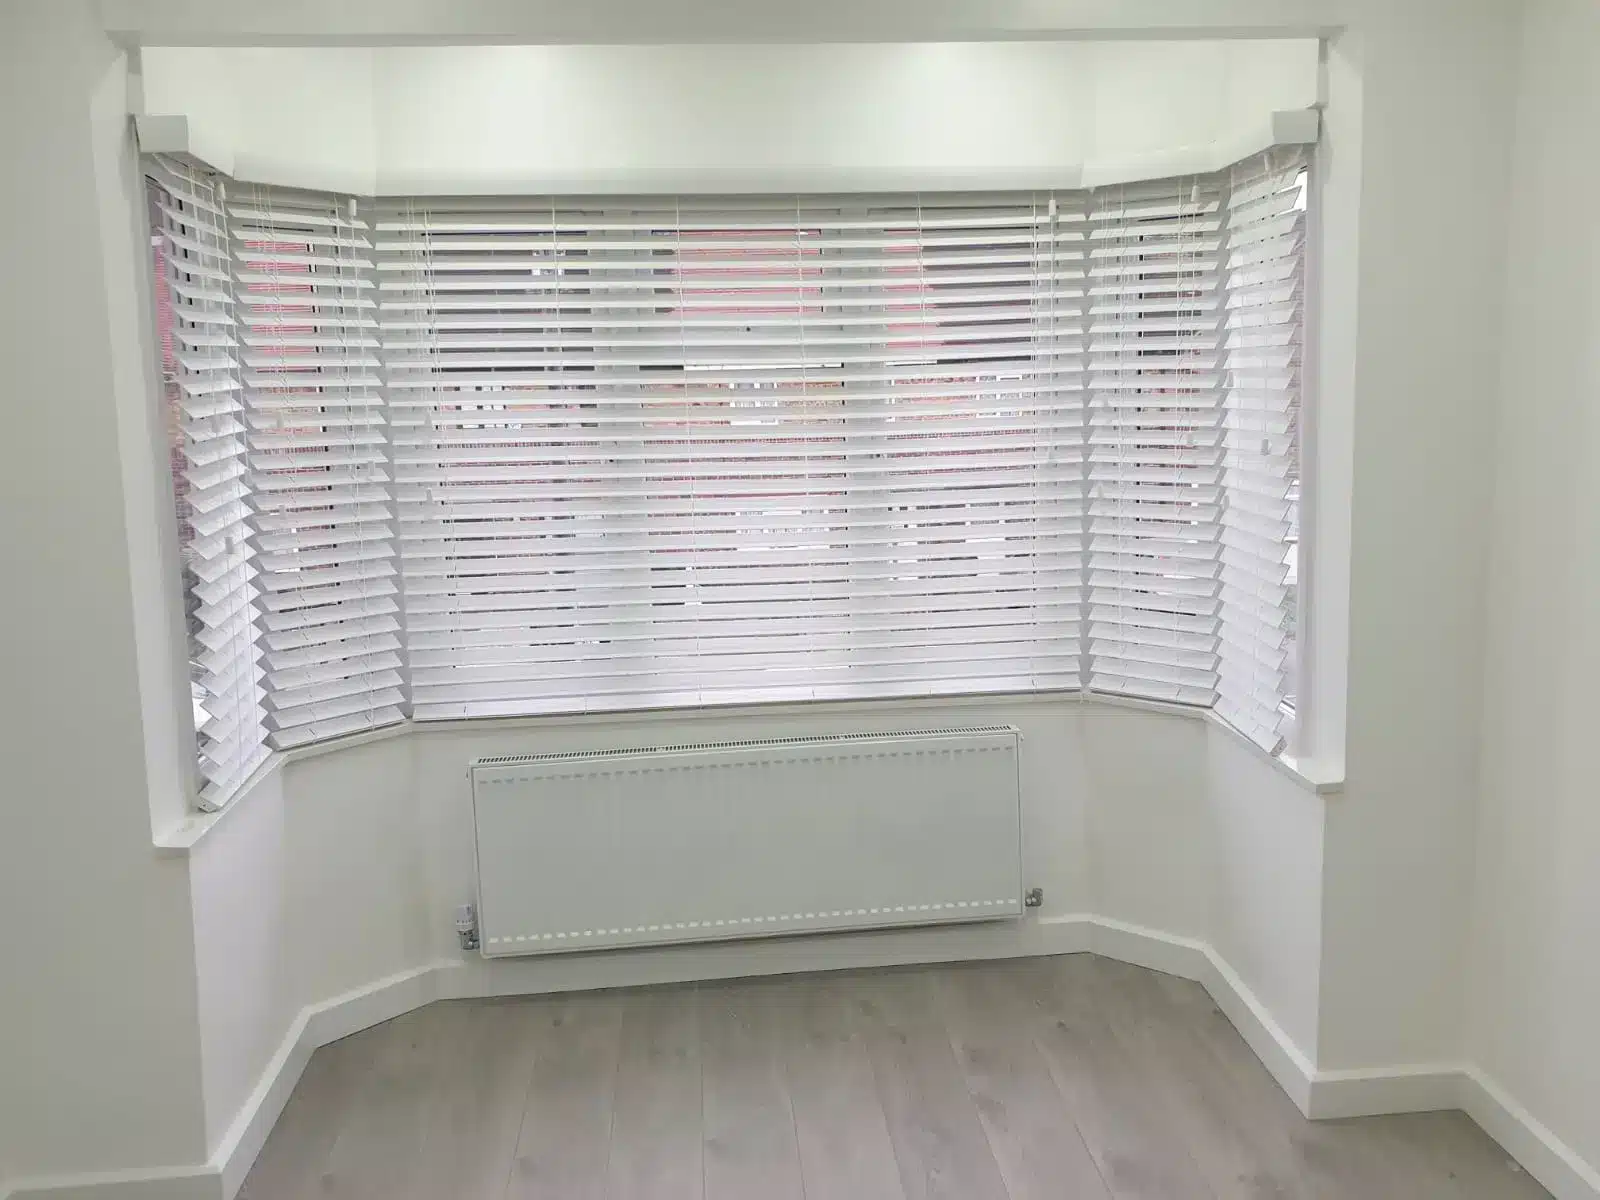
- Special Shape Shutters: Custom options for uniquely shaped windows.
3. Prepare Your Tools
Having the right tools at hand can simplify the installation process. Be sure to gather:
- Power drill
- Drivers (Phillips and flathead)
- Level
- Stud finder
- Measuring tape
- Safety goggles
- Stepladder
4. Installation Process
Follow these steps to install your plantation shutters effectively:
Step 1: Mark the Placement
Use a pencil to lightly mark where the shutters will be placed. Measuring from the top and sides will help ensure everything is level.
Step 2: Secure the Mounting Frame
Attach the mounting frame using the provided screws. Make sure it is level to avoid crooked shutters.
Step 3: Install the Panels
Attach the panels to the frame, ensuring they operate smoothly. Adjust as necessary for a perfect fit.
Step 4: Final Touches
Once everything is secure, go through and check the operation of each panel. Make adjustments if needed, and take pride in your hard work!
5. Common Mistakes to Avoid
Even seasoned DIYers can make mistakes. Here are common pitfalls to avoid:
- Neglecting to measure twice.
- Failing to level the shutters, which can cause improper alignment.
- Using incorrect screws or hardware, which can lead to instability.
6. Maintenance Tips for Longevity
To ensure that your plantation shutters remain in excellent condition, consider:
- Regular cleaning with a soft cloth or vacuum attachment.
- Avoiding harsh chemicals which may damage the finish.
- Checking hinges and screws periodically to maintain firm attachment. For additional tips, visit the British Institute of Interior Design.
7. Call the Experts
If you’re ever unsure about your installation skills or simply want a flawless finish, don’t hesitate to contact North London Shutters and Blinds. Our team of experts has years of experience and can ensure your plantation shutters are installed to perfection. Explore our services further by visiting our Plantation Shutters and Curtains page.
Conclusion
In conclusion, understanding the best installation tips for plantation shutters can drastically enhance both your installation experience and the final aesthetic of your home. From accurate measurements to choosing the right style and avoiding common mistakes, these guidelines will serve you well in your journey towards beautifully installed plantation shutters. For more personalized assistance or to explore our range of shutters, contact us at 020 3417 6465 or email admin@northlondonshuttersandblinds.co.uk. You can also check our recent article on window shutters in London for more insights. Additionally, learn more about sustainable materials and energy efficiency options for your home.