How to Install Tier-on-Tier Shutters: 7 Easy Steps
How to Install Tier-on-Tier Shutters: A Complete Guide
Welcome to our comprehensive guide on how to install tier-on-tier shutters! At North London Shutters and Blinds, we specialize in providing top-quality window treatments, including tier-on-tier shutters that offer both functionality and style. Whether you are looking to enhance your home’s privacy or control natural light, installing these shutters can be a rewarding project. With over 15 years in the business, our expert team is here to guide you through every step.
What are Tier-on-Tier Shutters?
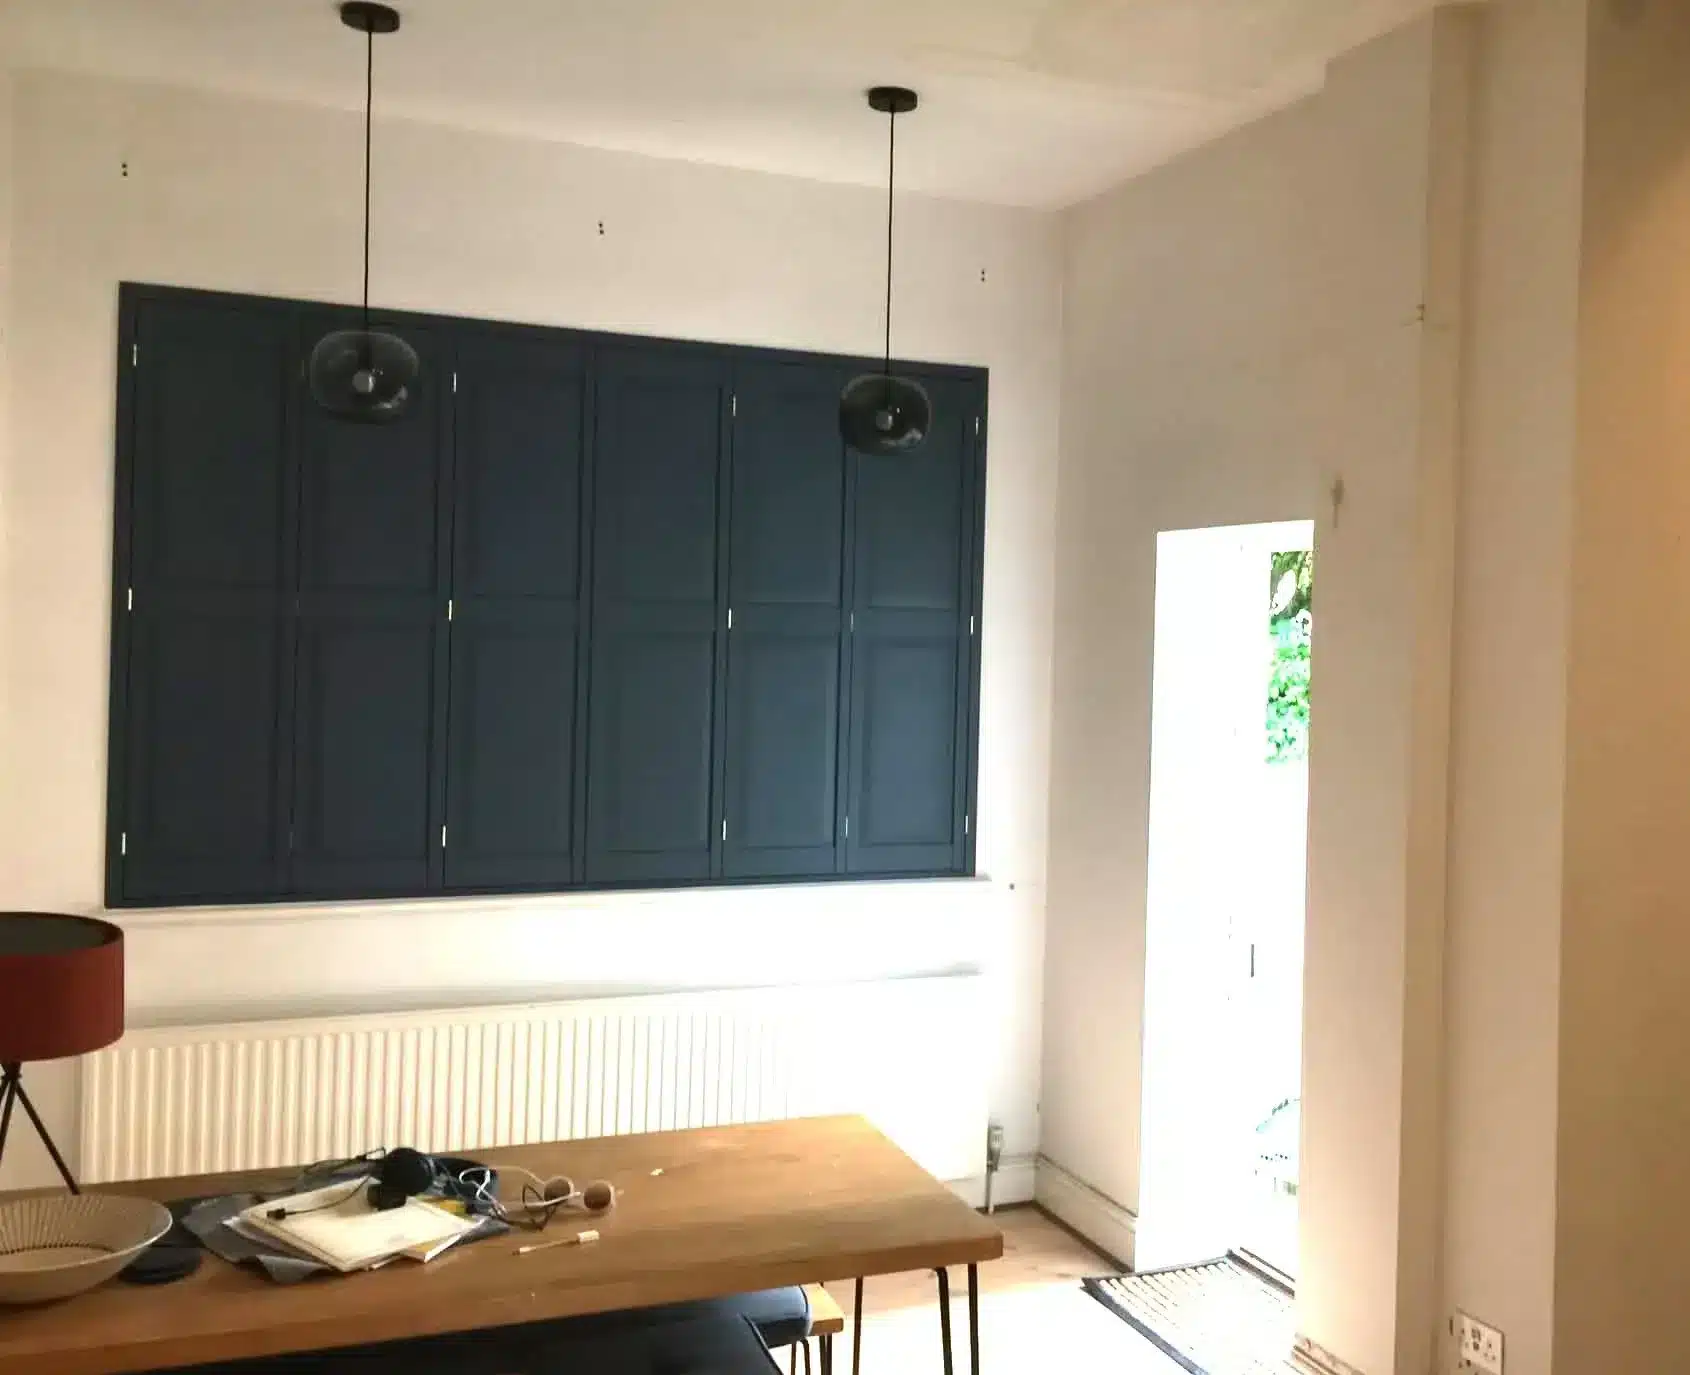
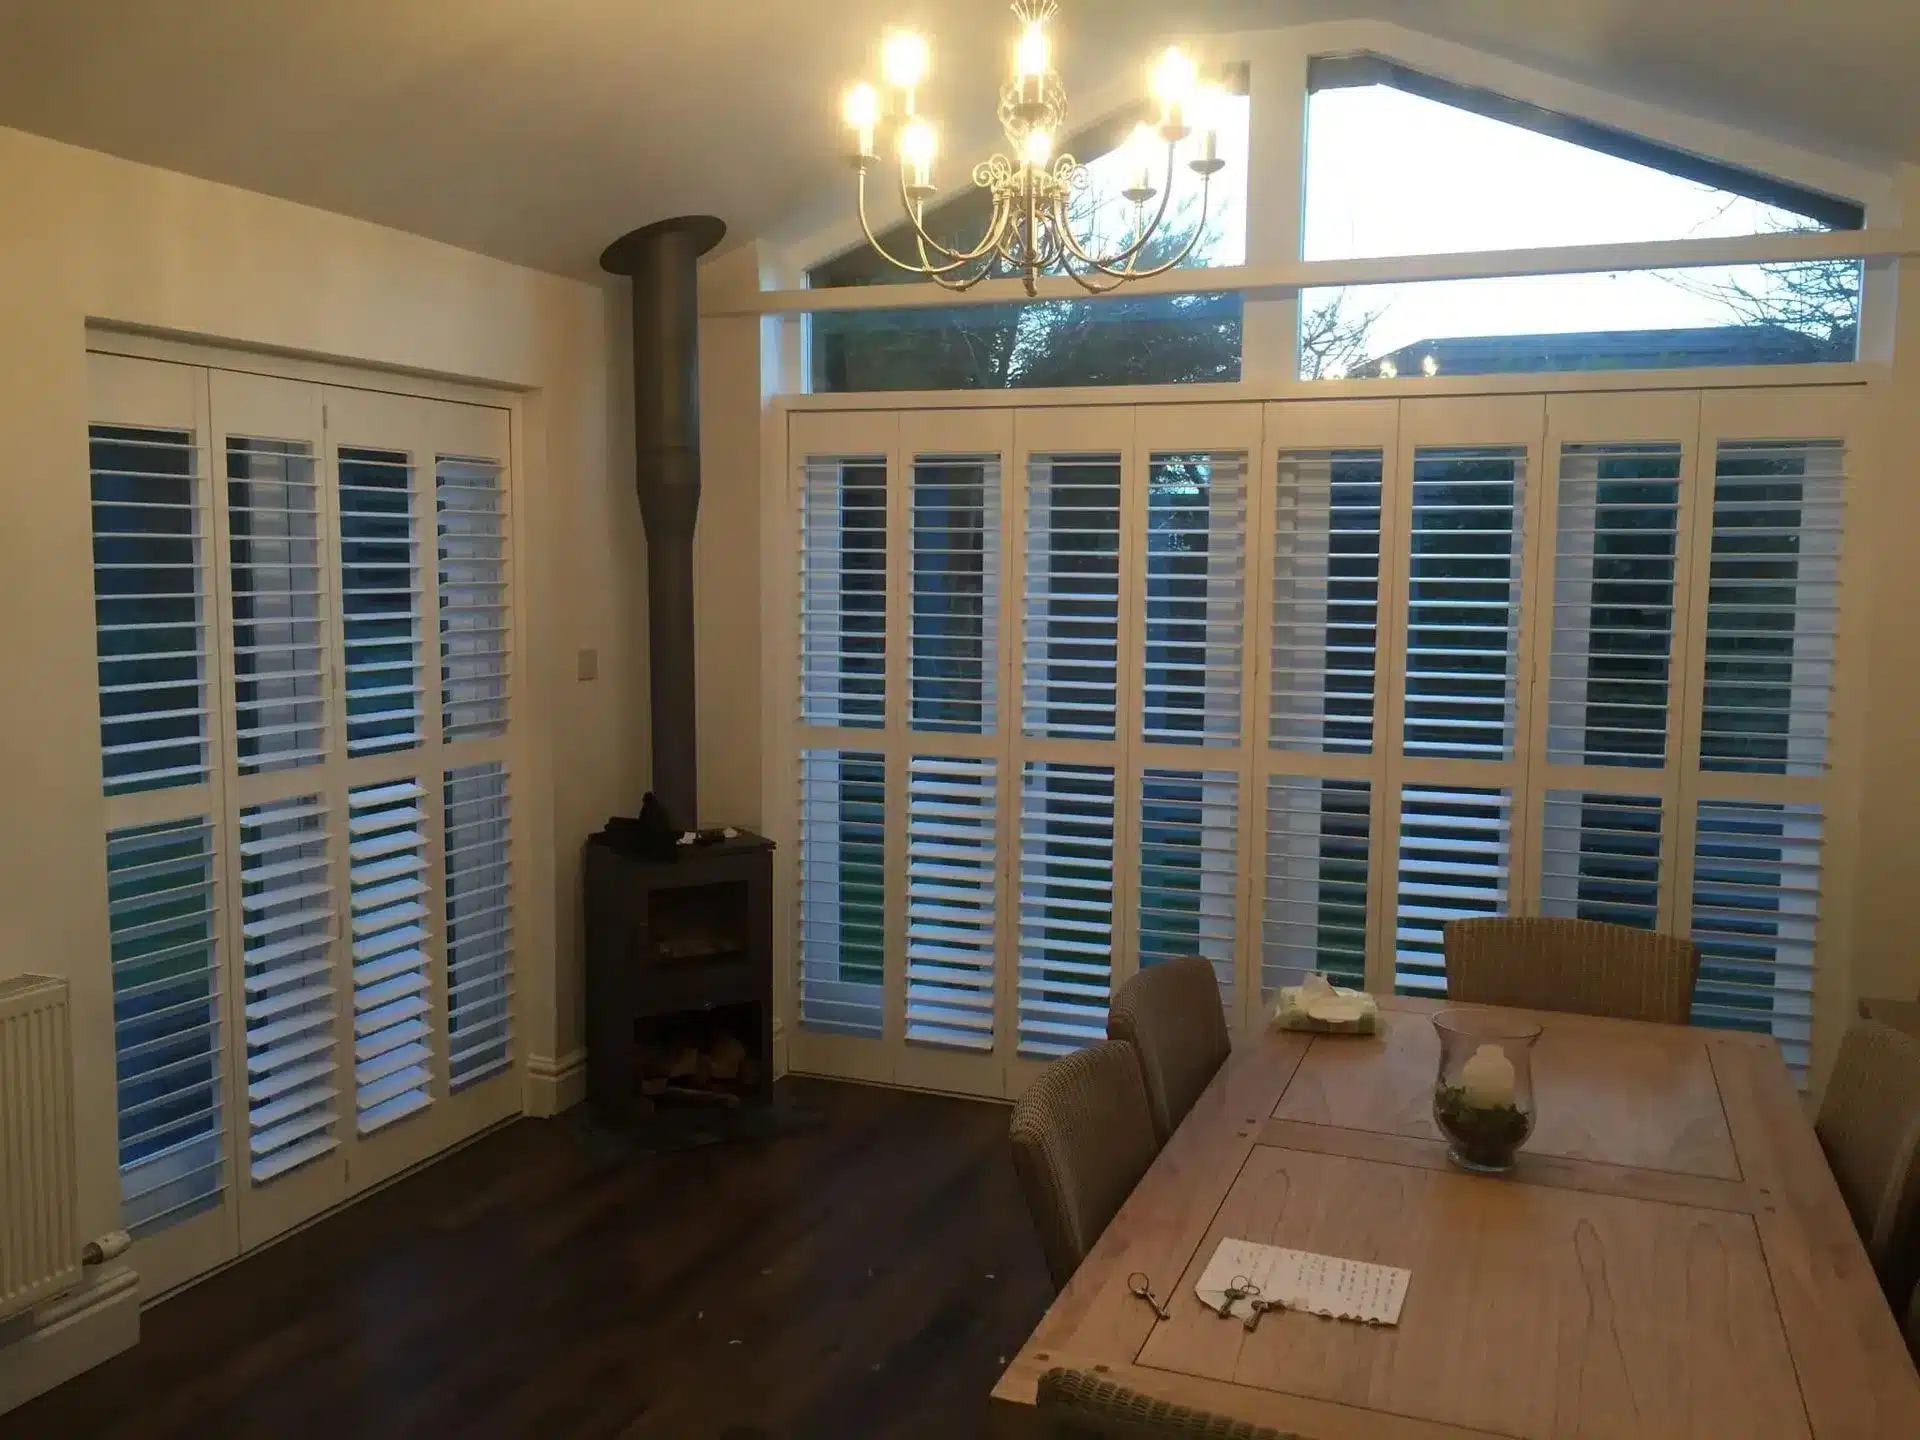
Before we dive into the installation process, it’s important to understand what tier-on-tier shutters are. These beautiful shutters are split into two separate panels that can be operated independently—allowing you to control light and privacy more effectively. They are perfect for larger windows and can add a touch of elegance to any room. For a similar style, you may also want to consider white wooden shutters.
Benefits of Installing Tier-on-Tier Shutters
- Enhanced Light Control: Open the top or bottom tier to maximize light and privacy as needed.
- Versatile Style: Available in various materials and finishes to match your home’s decor, including wooden interior shutters.
- Energy Efficiency: Helps to regulate indoor temperatures, reducing energy costs. For more on energy-efficient home improvements, visit the Energy Saving Trust.
- Durability: Made from high-quality materials for long-lasting use.
Necessary Tools and Materials
Before you start the installation of your tier-on-tier shutters, make sure you have the following tools at hand:
- Measuring tape
- Level
- Drill and drill bits
- Screwdriver
- Shutter hinges
- Bracket mounts
- Wood screws
- Pencil
Step 1: Measure Your Windows
Accurate measurements are crucial for installing tier-on-tier shutters. Start by measuring the height and width of your window. Make sure to measure at three different points: the top, middle, and bottom to ensure consistency. Document the smallest measurements to order the correct shutter sizes.
Step 2: Prepare Your Shutters
Your tier-on-tier shutters will arrive pre-cut and ready for installation. Before you begin, check the components to ensure all pieces are included. Review the manufacturer’s instructions for any specific guidelines or additional components that may be required.
Step 3: Install the Bracket Mounts
Using your level, mark the position for the bracket mounts on the window frame. Using a drill, create holes for the brackets and secure them with wood screws. Ensure they are level and firmly attached.
Step 4: Attach the Shutter Panels
Carefully lift the first tier panel and align it with the installed brackets. Secure the hinges on the brackets, ensuring the shutters can open and close smoothly. Repeat this step for the second tier panel.
Step 5: Adjust the Alignment
Once both panels are attached, check the alignment. Open and close each panel individually to ensure they operate correctly without obstruction. Make any necessary adjustments to the hinges or brackets.
Step 6: Install the Operating Rods
Install the operating rods according to your manufacturer’s instructions. These rods allow you to open and close each tier independently. Ensure they are positioned so they are easy to access and operate.
Step 7: Final Touches
Finally, perform a thorough inspection of your tier-on-tier shutters. Check for any adjustments that may be needed and ensure everything is securely in place. Once you’re satisfied, clean the shutters with a soft cloth to remove any fingerprints or smudges from the installation process.
Maintenance Tips for Tier-on-Tier Shutters
To keep your tier-on-tier shutters looking great, follow these maintenance tips:
- Regularly dust your shutters with a microfiber cloth.
- Avoid harsh chemicals; instead, use gentle soapy water for deep cleaning.
- Check hinges and operating rods periodically for any loose screws or wear.
Why Choose North London Shutters and Blinds?
At North London Shutters and Blinds, we pride ourselves on offering premium, handcrafted tier-on-tier shutters tailored to meet your specific needs. With our commitment to sustainability, all our products are made using eco-friendly paints and local craftsmanship. For best practices in interior design, you might find useful insights from Homes & Gardens. When you choose us, you support local jobs and contribute to a healthier environment. For more options, explore our DIY shutters for windows.
For personalized service and expert advice on how to install tier-on-tier shutters, don’t hesitate to reach out. Contact us at 020 3417 6465 or email admin@northlondonshuttersandblinds.co.uk.
Conclusion
Installing tier-on-tier shutters can enhance your home’s aesthetics, privacy, and energy efficiency. By following this step-by-step guide, you can successfully complete the installation and enjoy the benefits of these beautiful window treatments. Trust North London Shutters and Blinds for high-quality, sustainable solutions that reflect your style and values.